How to Apply Window Decal Graphics Without Air Bubbles
 Jean
October 31, 2026Updated November 3, 20268 min read
How Do You Apply a Window Decal Without Bubbles?
Apply a window decal by cleaning the glass with isopropyl alcohol, taping a hinge across the middle, peeling one half of the backing and squeegeeing from the center out, then the other half. Lift the transfer tape slowly at a low angle. Glass door decals print in the USA in 48 hours, with flat $10 shipping.
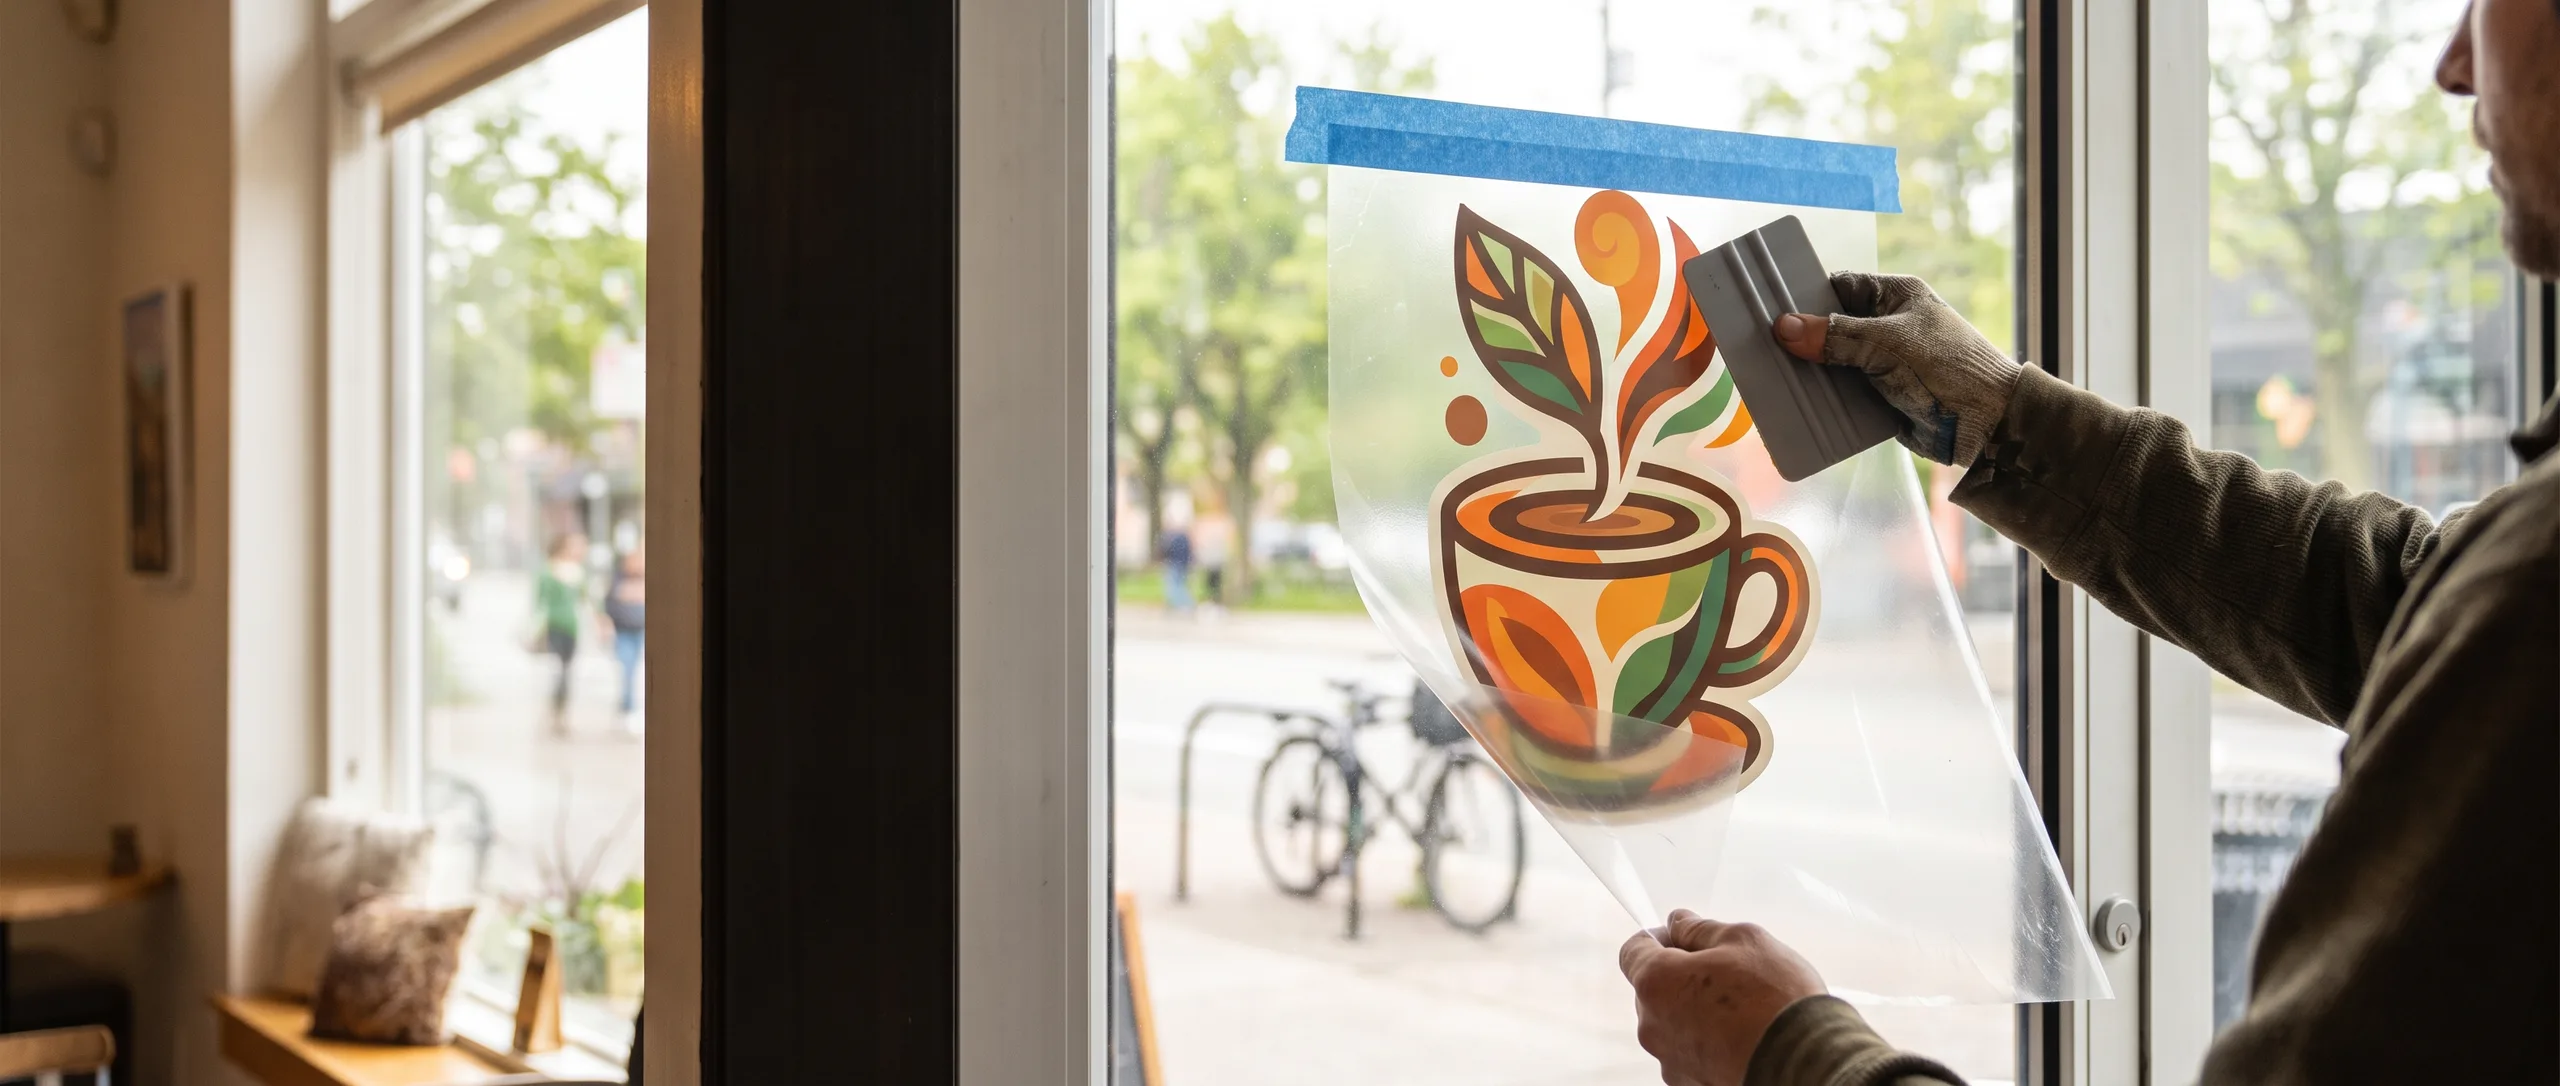
Apply a window decal in seven steps, working dry on clean glass with a tape hinge and a squeegee. Bubbles come from dust, from laying the whole decal down at once, and from pressing the edges before the middle. The hinge method avoids all three.
- Clean the glass with isopropyl alcohol and a lint free cloth, then let it dry.
- Position the decal with painter's tape and check that it is level.
- Tape a hinge across the middle of the decal, top to bottom or side to side.
- Peel the backing from one half, back to the hinge, and cut it away.
- Squeegee from the hinge out, in firm overlapping strokes.
- Remove the hinge, peel the other half of the backing, and squeegee that half.
- Lift the transfer tape slowly, folded back flat against itself.
| Step | Common mistake | Fix |
|---|---|---|
| Clean | Glass cleaner left a film | Wipe with isopropyl alcohol |
| Position | Decal crooked | Measure from the frame, not by eye |
| Squeegee | Pressed edges first | Always work from the center out |
| Transfer tape | Pulled straight up | Peel back flat, at a low angle |
What Tools Do You Need?
You need five things, all cheap and easy to find:
- Isopropyl alcohol and a lint free cloth to clean the glass.
- Painter's or masking tape for the hinge and positioning.
- A felt edged squeegee to press the decal without scratching it.
- A tape measure to center and level the decal.
- A craft knife or fine pin to fix a stubborn bubble.
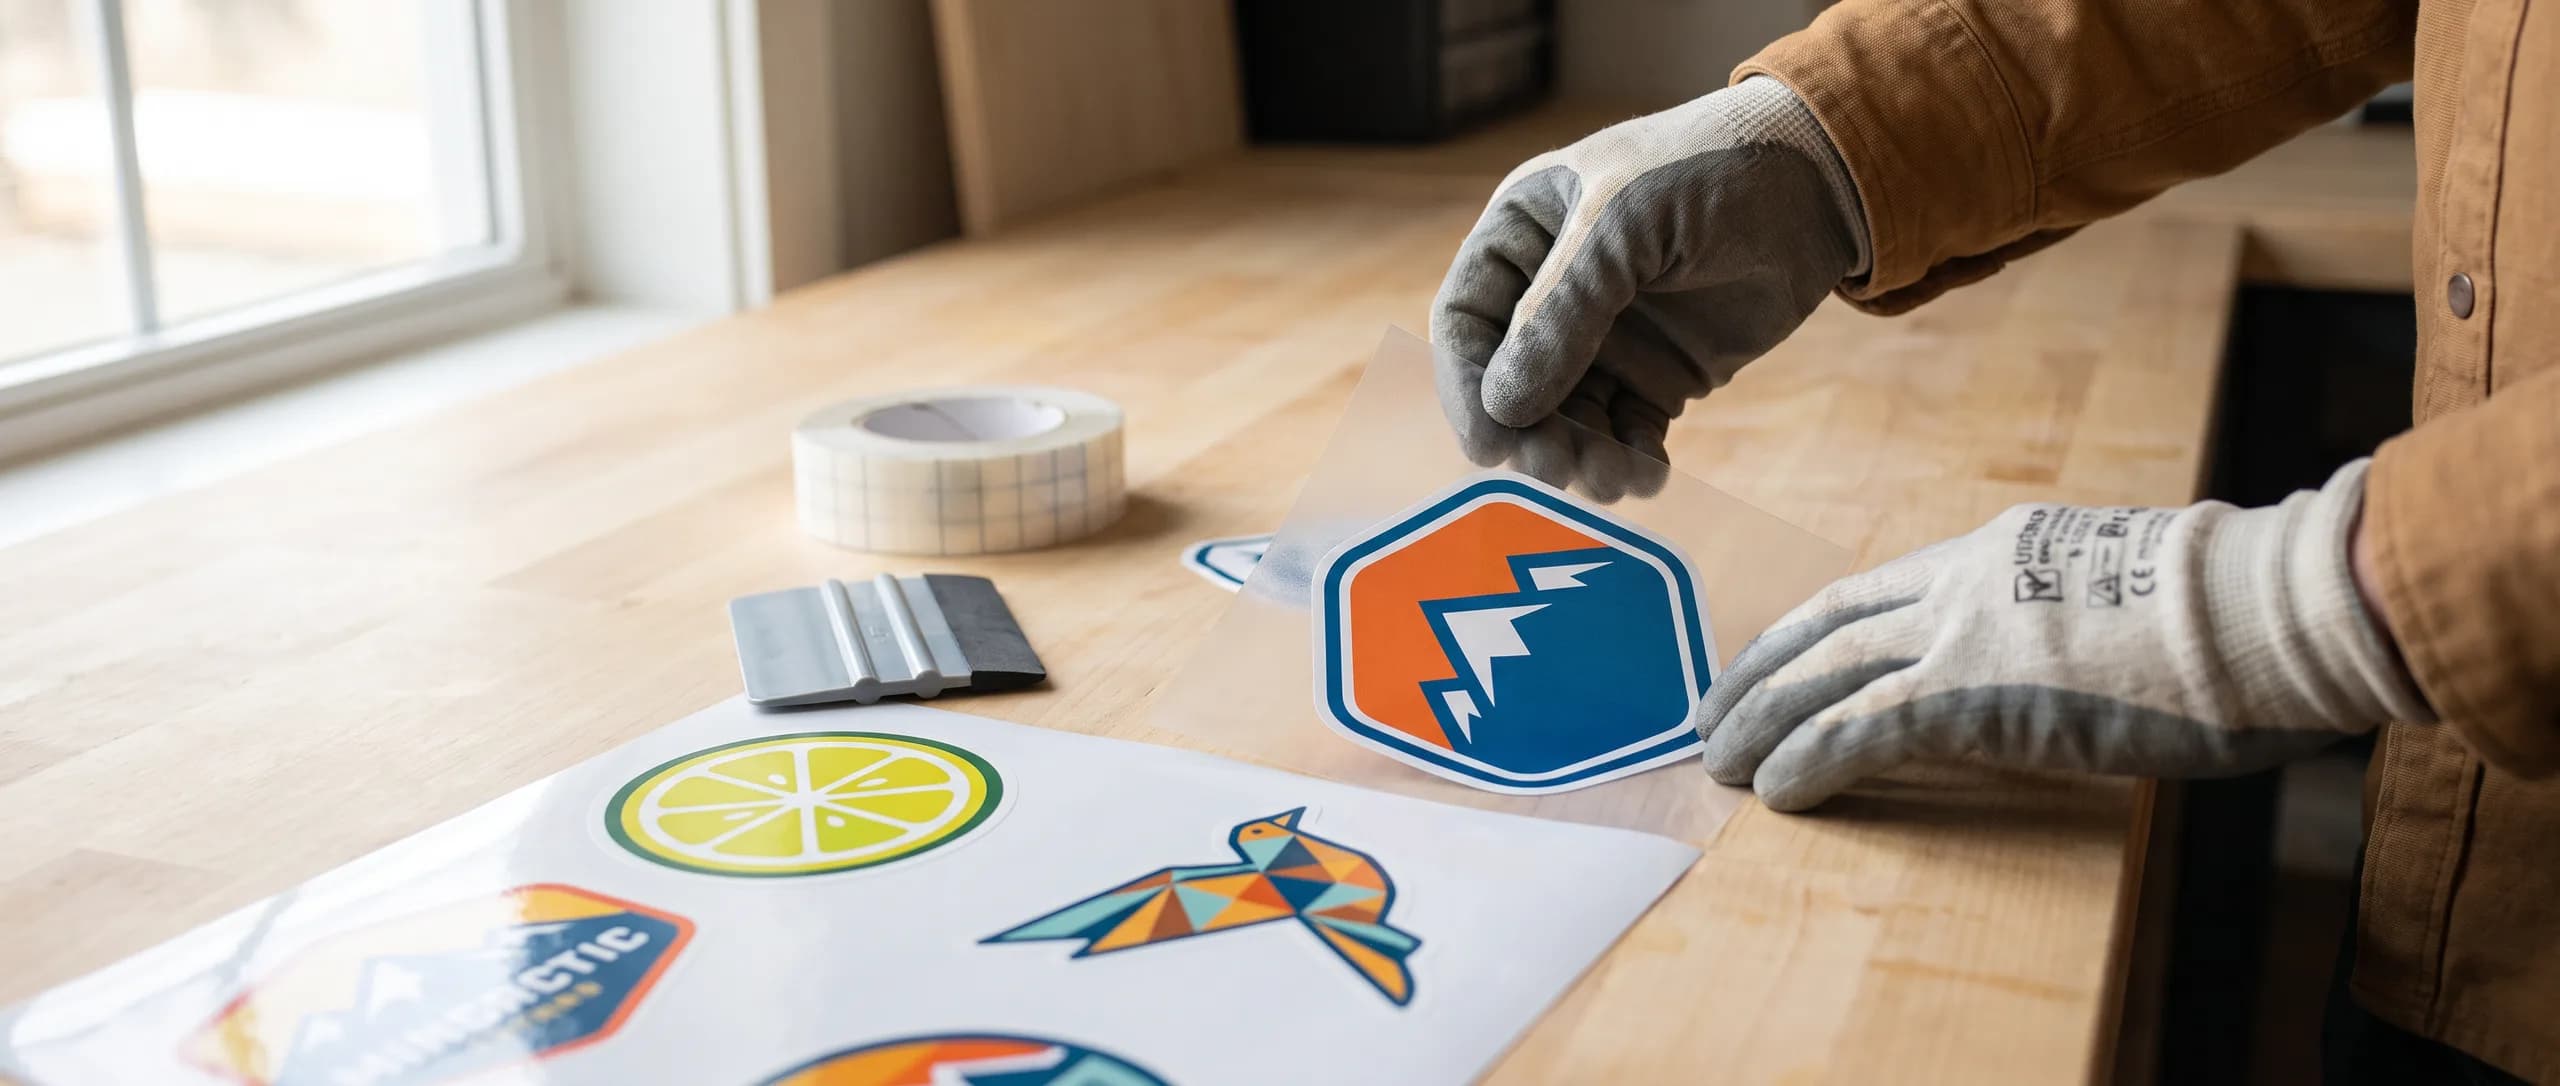
Transfer tape is the clear or paper tape that holds a cut decal together while you move it. Most cut decals need it, and it is not included with the order. If you weed the decal yourself, apply transfer tape over the front before you start.
How Should You Prepare the Glass?
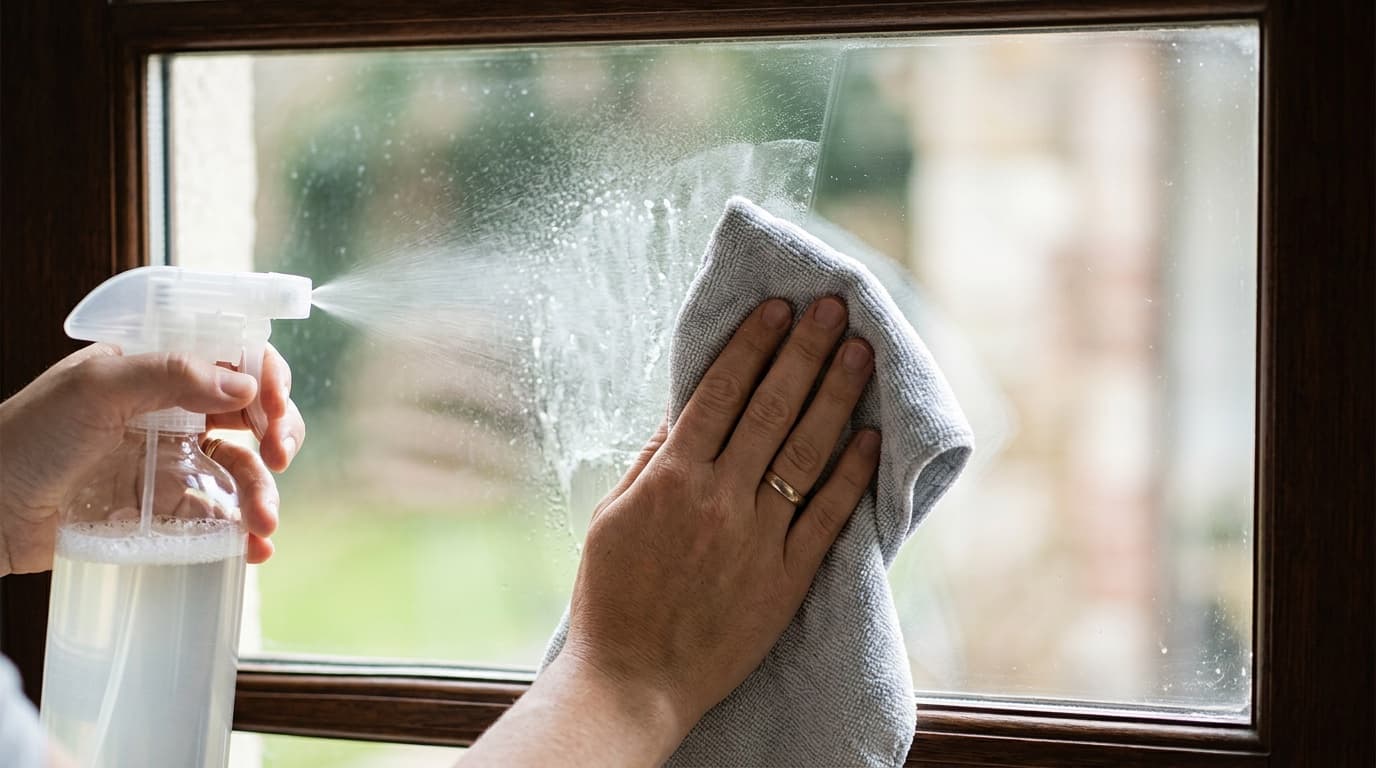
Clean the glass twice: once with soap and water to remove dirt, and once with isopropyl alcohol to remove any film left by household cleaners. Many glass cleaners leave a slick residue that keeps the adhesive from grabbing.
Work on dry glass at a comfortable room temperature. Cold glass keeps the adhesive from bonding; glass in hot direct sun makes the vinyl soft and stretchy. Early morning or a shaded side of the building is easiest.
Check which side of the glass the decal goes on. A decal read from outside but applied on the inside must be printed reversed. If you are not sure, hold the decal up to the glass before you remove anything.
How Do You Position and Hinge the Decal?
Hold the decal against the glass, backing still on, and tape the top corners lightly. Step back and look at it from where people will read it. Measure from the door frame or the bottom of the glass to make sure it is level; the eye is easily fooled by a frame that is not square.
When it is right, run a strip of tape across the middle of the decal, from one edge of the decal to the other. That is the hinge. It holds the decal in place while you work on one half at a time.
For a large decal or long lettering, use a horizontal hinge across the middle. For a tall decal, use a vertical one.
How Do You Squeegee Out the Air?
Lift one half of the decal at the hinge, peel the backing back to the hinge and cut it off. Hold the free edge of the decal away from the glass, and squeegee from the hinge outward, in firm, overlapping strokes, lowering the decal as you go.
Keep the squeegee at about a 45 degree angle and push the air ahead of it toward the edge. Do not start at the edge and work in; that traps air in the middle.
Remove the hinge, peel the backing from the other half, and repeat from the center out.
How Do You Remove the Transfer Tape?
Rub the whole decal firmly through the transfer tape once more. Then peel the transfer tape back on itself, flat against the glass, slowly, starting at one corner. If a letter starts to lift with the tape, lay the tape back down, rub that spot again, and try once more.
Pulling the tape straight out from the glass lifts small letters and thin lines with it. A low, slow peel leaves them on the glass.
After the tape is off, run the squeegee over the decal one last time, with a soft cloth between the squeegee and the vinyl if it has no laminate.
How Do You Apply Lettering and Hours?
Apply lettering and store hours the same way as a logo, with one extra step: measure twice. A line of hours that runs uphill is the first thing people notice. Mark a light level line on the glass with a strip of painter's tape, set the bottom of the transfer tape on it, and hinge from there.
Multi line hours decals are cut as one piece on one sheet of transfer tape, so the lines stay evenly spaced. Do not cut the lines apart to apply them one by one; you will lose the spacing.
Small letters need the slowest transfer tape peel of all. Rub each letter firmly through the tape before you lift it, then peel back flat and slow. If the inside of a letter like an O or an A stays on the tape, lay the tape back down and rub that spot again.
When Should You Use the Wet Method?
Use the wet method for a large decal that is hard to position, and only on glass. Mist the glass with water and a drop of dish soap, lay the decal on, slide it into place and squeegee the water out from the center.
The wet method takes longer to bond, and it is not a good choice for small lettering or fine detail, which can slide or lift. For logos, hours and lettering, apply dry with the hinge method.
How Do You Fix Bubbles After Applying?
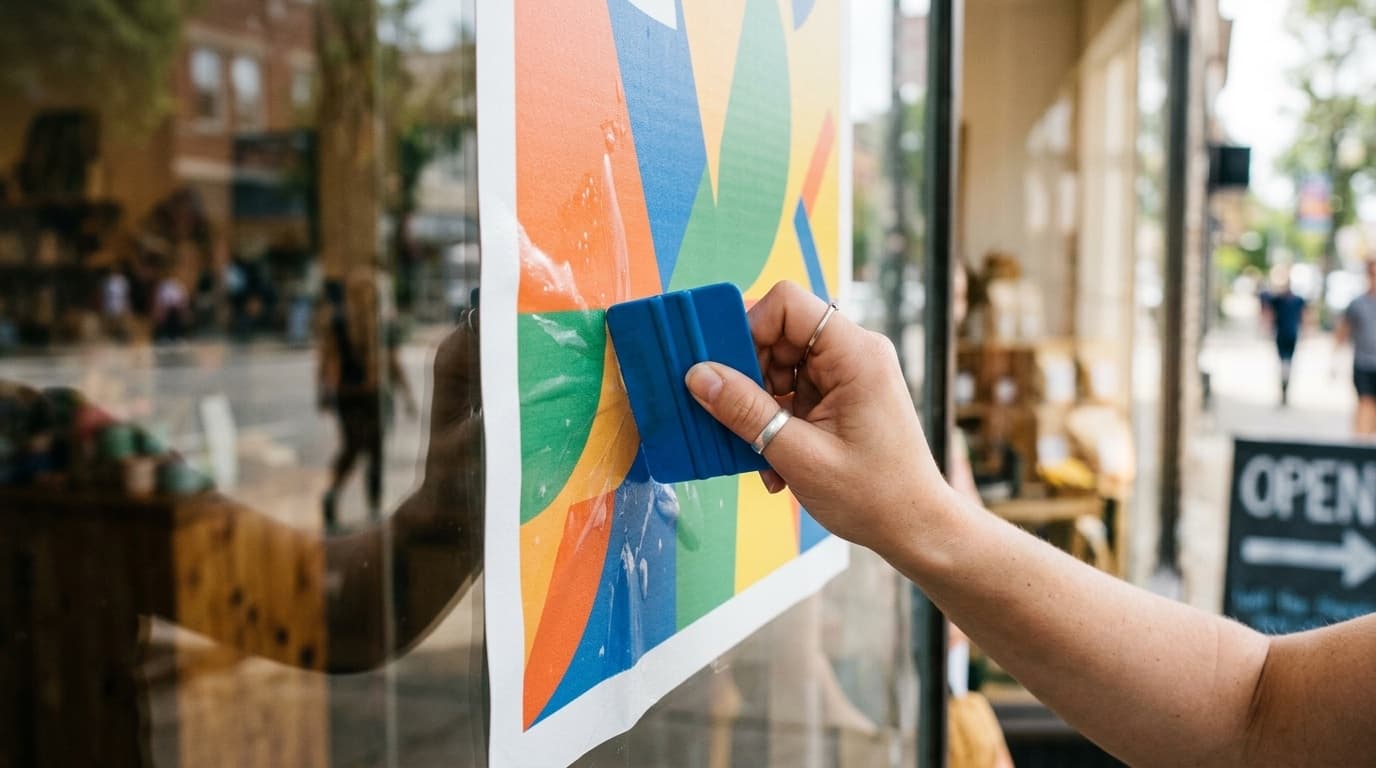
Push a small bubble toward the nearest edge with the squeegee. For a bubble that will not move, prick it with a fine pin at the edge of the bubble, not the center, and press the air out through the hole with your thumb. The hole will not show.
Tiny bubbles often flatten on their own after a few days in the sun as the adhesive settles. Leave very small ones alone for a week before you work on them.
A large wrinkle or crease usually means the decal was laid down unevenly. If it is fresh, you can sometimes lift that area gently and squeegee it again.
Why Do Window Decals Fail?
Decals that peel or bubble were usually applied to glass that was not clean, in cold weather, or with the edges pressed before the middle. The vinyl and laminate are rarely the problem.
The second cause is the wrong side of the glass: a decal applied outside where it meets weather and scrapers every day, when it could have gone inside, printed reversed.
Which Decals Are Made for Glass?
Glass door decals and store hours decals are made for glass. Both are printed on 3M IJ-35C vinyl with a gloss laminate and cut to the shape of the artwork. A store hours decal set includes a business hours template.
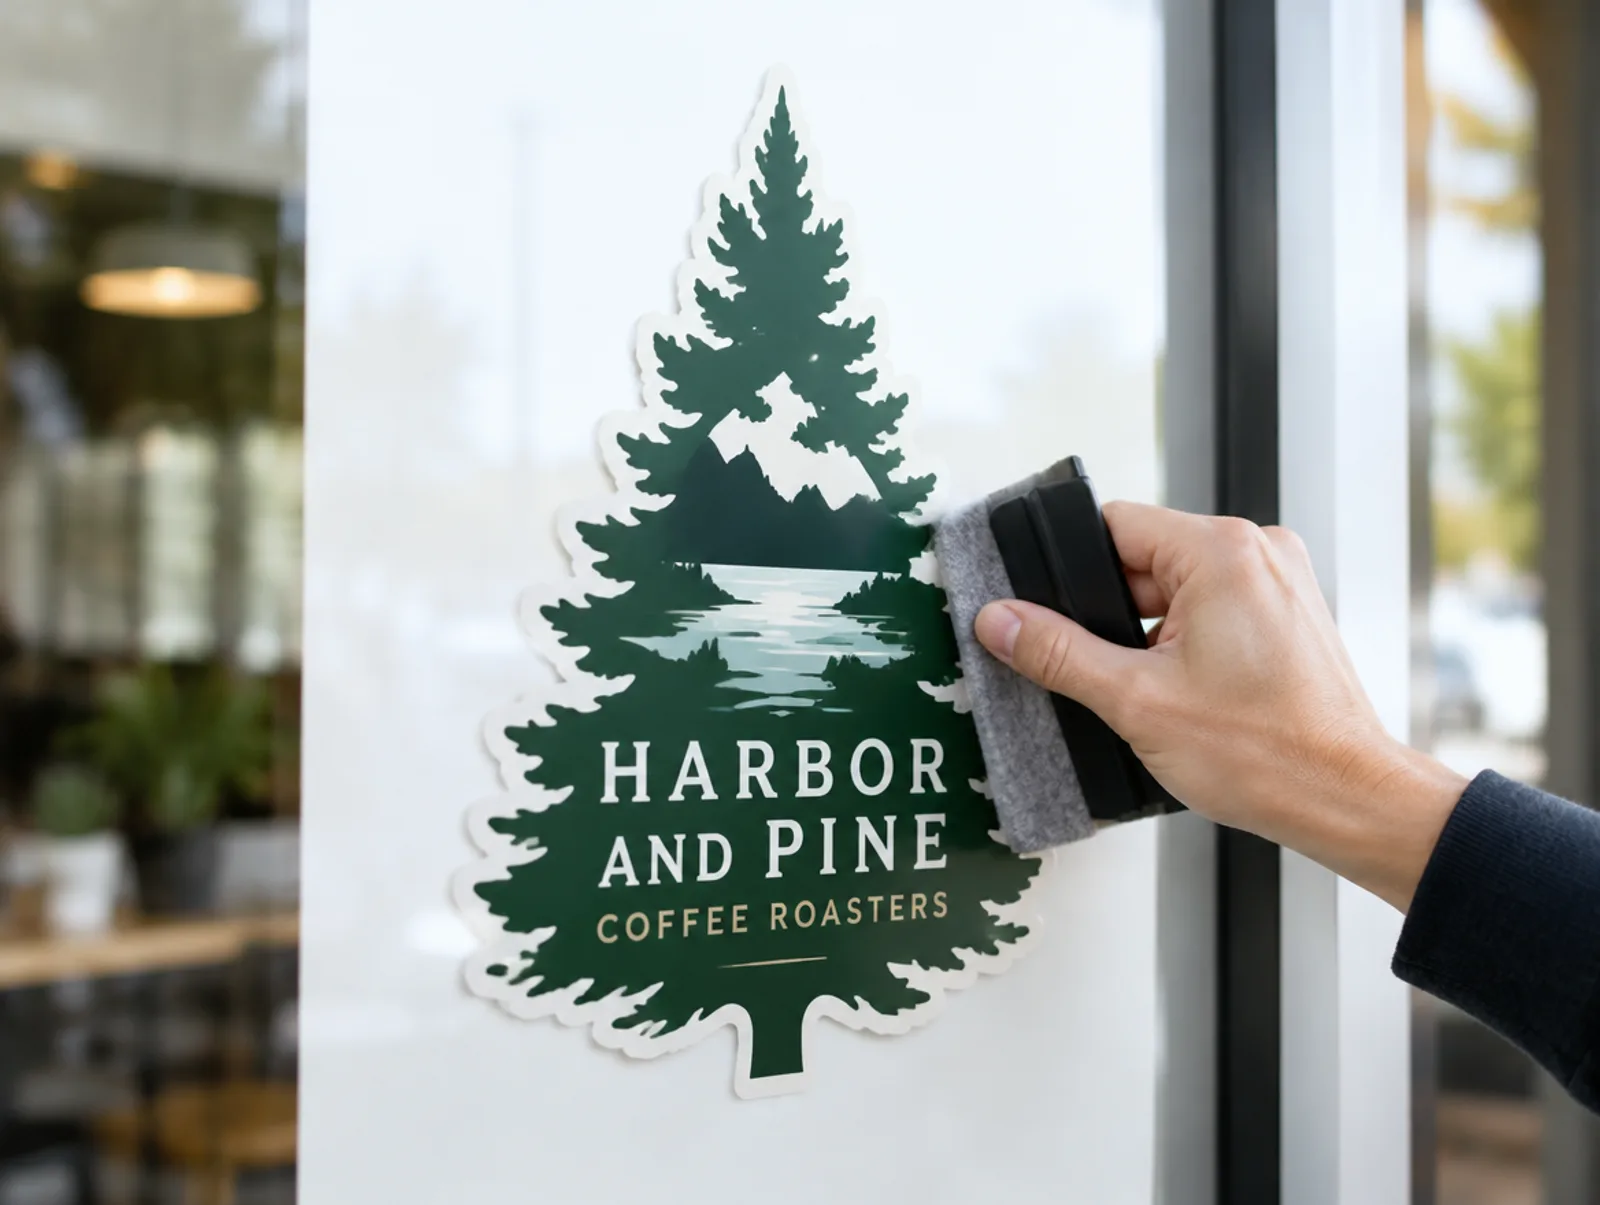
A glass door decal suits a logo or lettering on a door or window. An 18" × 18" 3M IJ-35C Glass Door Decal is $84.19. Artwork prep is $14.99 per item. Printed in the USA in 48 hours and shipped nationwide, flat $10 shipping to any US address. Contour cutting carries a one time setup fee per design, shown on the product page.
For a promotion that changes, a window cling holds by static and peels off; it starts at $29.99 for 12 x 18 in.
How Do You Order Decals for Your Windows?
Measure the glass, decide which side each decal goes on, and send your artwork. Artwork prep is $14.99 per item if you send a phone photo or a ChatGPT image, and a free proof comes with every order. Decals print in 48 hours after proof approval and ship for a flat $10 to any US address.
Frequently Asked Questions
Clean the glass with isopropyl alcohol, position the decal with a tape hinge, peel the backing from one half at a time, and squeegee from the center out with firm, overlapping strokes. Lift the transfer tape slowly, folded back flat against itself.
Apply most window decals dry for the strongest bond. A light wet method, a mist of water with a drop of dish soap, lets you slide a large decal into place, but it takes longer to bond and is not recommended for small lettering.
Apply decals at a comfortable room temperature, out of direct hot sun and not on cold glass. Very cold glass keeps the adhesive from grabbing; very hot glass makes the vinyl stretch.
No. Cut decals ship on the full vinyl sheet with the cut lines plotted. You remove the extra vinyl first, and most applications need transfer tape, which is not included.
Push small bubbles toward the nearest edge with a squeegee. For a bubble that will not move, prick it with a fine pin at its edge and press the air out. Most tiny bubbles flatten on their own in the sun.
Glass door, store hours and custom vinyl decals print in 48 hours after proof approval and ship for a flat $10 to any US address.
Related Articles
How to Apply Vinyl Decals to Windows Without Bubbles
Weed the sheet, add transfer tape, then squeegee from the center. An 18 x 18 in glass door [...]
Read More: How to Apply Vinyl Decals to Windows Without Bubbles
Store Hours Decal: Glass Door Sizing and Setup Guide
A store hours door set pairs a 12 x 18 in hours decal with a 12 x 12 in logo decal, printed in [...]
Read More: Store Hours Decal: Glass Door Sizing and Setup Guide
Window Cling vs Vinyl: Adhesive and Perforated Films
A 12 x 18 in window cling starts at $29.99 and peels off; adhesive vinyl stays put; perforated [...]
Read More: Window Cling vs Vinyl: Adhesive and Perforated Films
How to Remove Stickers and Decals Without Damage, by Surface
To remove a sticker or decal, compare 4 surface types: glass, paint, walls and plastic. Use [...]
Read More: How to Remove Stickers and Decals Without Damage, by Surface