Vendor Event Checklist: What to Pack for an Outdoor Booth
 Jean
June 12, 2026Updated November 6, 202610 min read
What belongs on an outdoor vendor event checklist?
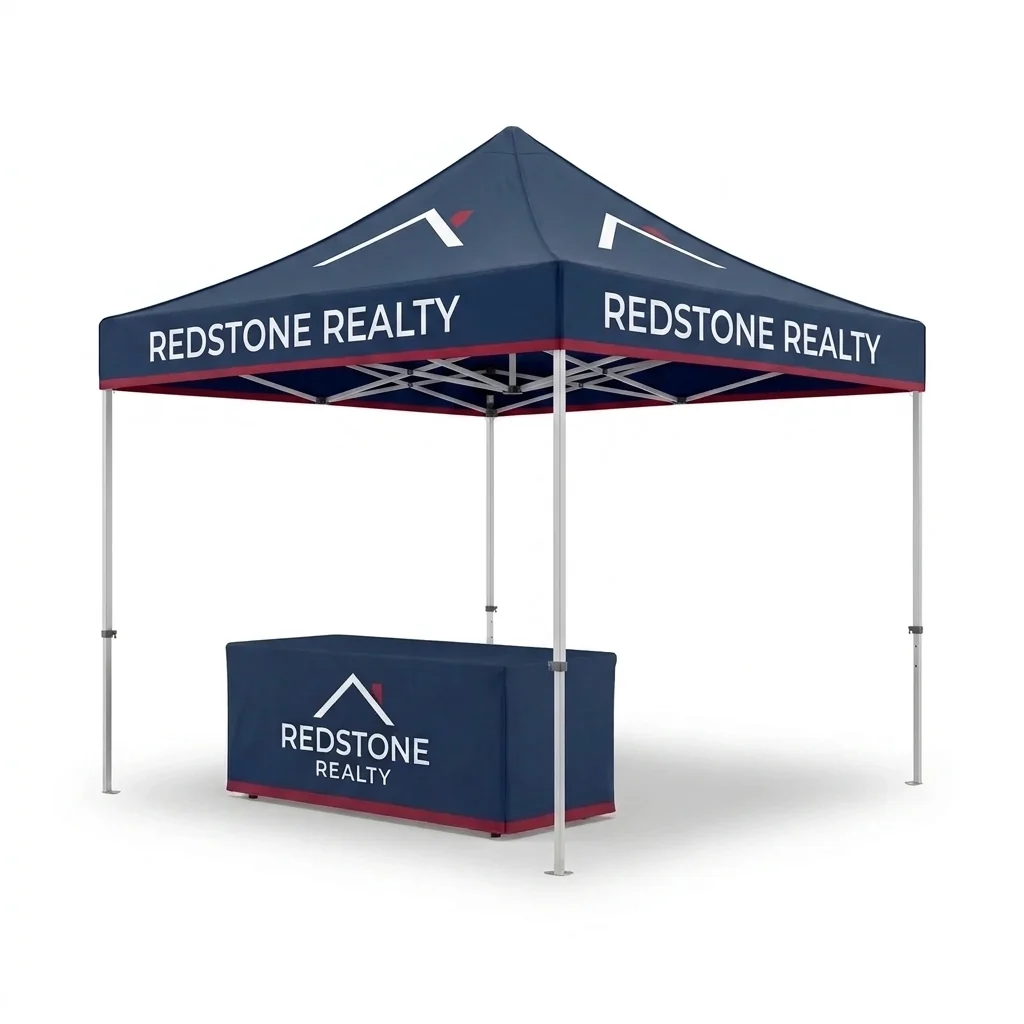
Pack shelter, branding, displays, payments, comfort items and paperwork. Inline Graphics' 10x10 Essentials kit has a V6 frame, custom polyester tent and 6ft open-back cover for $1,149.99. Design is included; production takes 3 to 4 business days after artwork approval, printed in the USA with flat $10 nationwide shipping per kit.
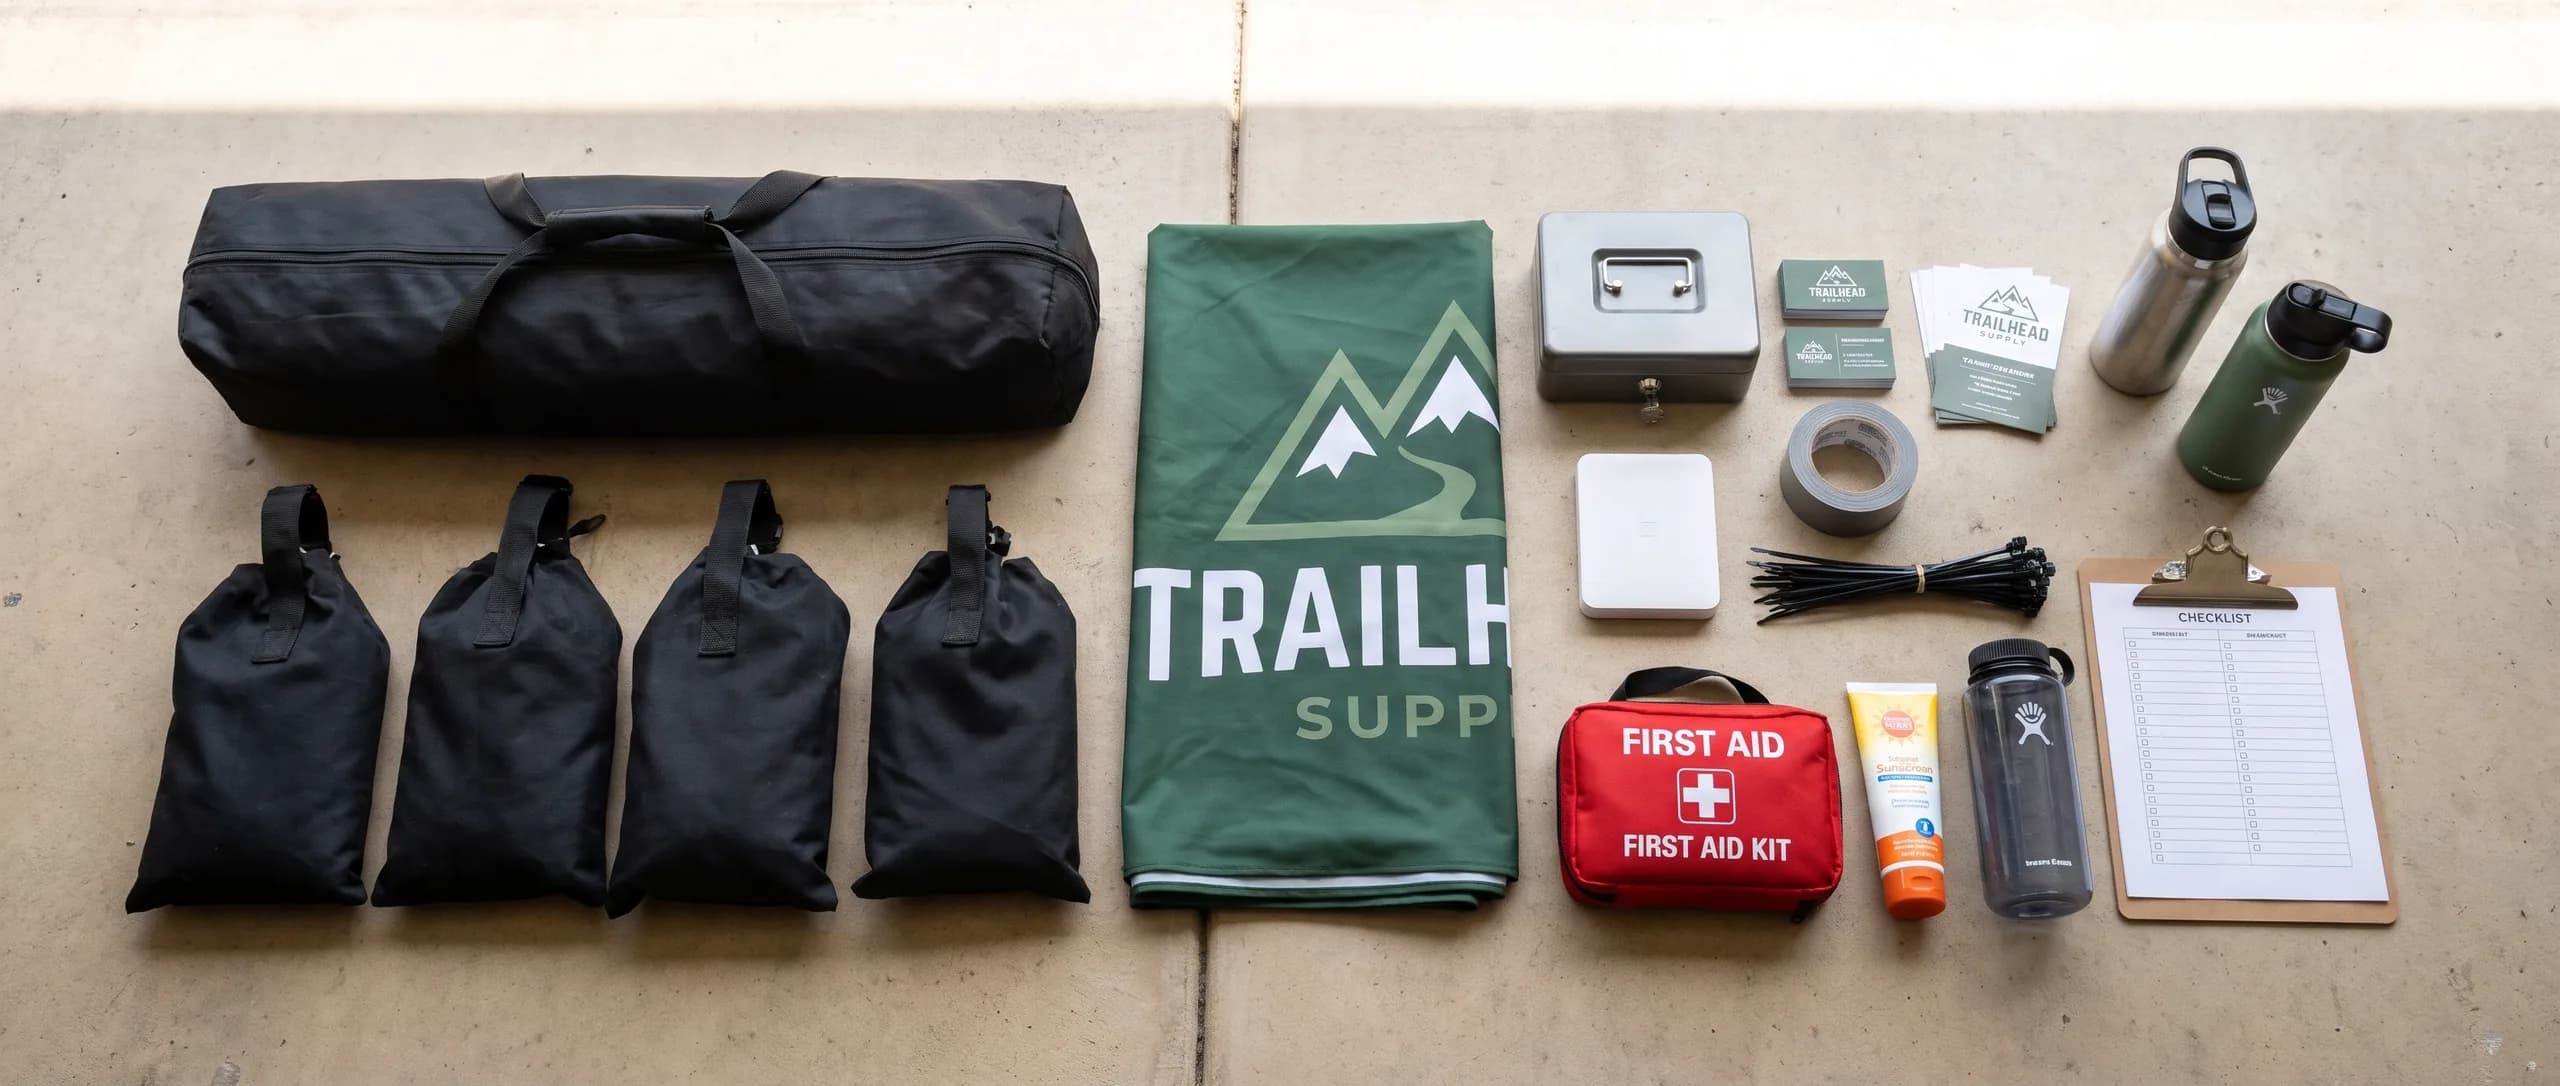
Use the six groups below to pack by purpose, then check the actual boxes as they go into the vehicle. A list of things you own is different from a record of what you loaded.
This is general practice for an outdoor 10x10 booth. Some items come from your existing equipment, some from other providers, and some are print products. The 10x10 Essentials package covers a branded tent and fitted cover, not every supply on this list.
Keep the setup hardware with the structure it belongs to. Put selling supplies in one reachable container. Save the event instructions offline so a weak connection does not hide the booth number or unloading directions.
What shelter and weights should you pack?
Pack the complete tent and the anchoring equipment approved for your specific event, including a plan to fill any empty sandbags.
- Tent frame and correctly sized canopy top.
- Carry bag and equipment instructions.
- Required anchoring equipment and attachments.
- Sandbag filling material or a confirmed way to fill on site.
- Ropes and stakes, for use only where permitted.
- Printed back wall and attachments if your booth uses one.
- Weather forecast and the organizer's emergency instructions.
A base Essentials kit includes ropes and stakes but no sandbag set. Their inclusion does not mean staking is permitted at your event. Ask the organizer what method and weight it requires. We recommend at least 40 lb on each leg unless your organizer sets a different number. One 4-piece set holds about 76 lb filled, about 19 lb a leg, so plan extra weight.
No fire rating or wind rating is published for the canopy. If a fire certificate is required, ask Inline Graphics before ordering. Rules vary by city, county, state, venue and HOA where applicable. Site-specific documents such as the National Park Service event planning guide show why equipment should be checked against the actual location's requirements.
Which booth branding pieces should you bring?
Bring the printed pieces that identify your booth, explain the offer and tell visitors how to follow up.
- Branded canopy graphic, packed with its frame.
- Table cover sized for the table you will use.
- Back wall, if planned, with its attachment points checked.
- Flags with compatible poles and mounts or bases.
- Retractable banner with its support pole and carry case.
- Printed business cards and offer flyers.
- QR code or short website address leading to a working offer page.
Pack every graphic with its hardware. A banner insert without a stand or flags without mounts cannot do their intended jobs. Check that the business name, offer dates and website agree across the booth.
Scan any printed QR code with a phone before packing. Open the destination without an account already signed in and confirm that the offer is available to a new visitor.
What table and display equipment should be loaded?
Bring a stable table, its matching cover and only the display fixtures needed to show the products clearly.
- Folding table with working leg locks.
- Fitted table cover in the correct length, depth and height.
- Product samples and sale inventory.
- Display stands or risers you already use.
- Staff chair, if appropriate for the booth plan.
- Storage containers that fit behind or beneath the display.
- Inventory list and a pen for recording replenishment needs.
- Packing materials for fragile merchandise.
The standard package cover is a 6ft open-back fitted cover for a 72 x 30 x 30 in table. An 8ft fitted cover fits 96 x 30 x 30 in. The printed cover is not the folding table itself.
Sketch the display before packing. Keep the entrance usable and reserve a checkout area rather than loading every spare fixture. Indoor exhibitors can use the separate trade show booth checklist for a hall-oriented preparation plan.
What do you need for selling and checkout?
Pack a working payment system, visible prices and the materials needed to finish each sale.
- Charged payment reader and its charging cable.
- Phone or tablet with the payment app ready.
- Charged power bank, if used, and compatible cable.
- Change and a secure way for staff to control cash.
- Shopping bags, wrapping and tissue as needed.
- Price signs and a staff price list.
- Receipt method and access to order records.
- Written instructions for the payment provider's backup process.
- Business cards or flyers for people who want to return later.
Test a normal checkout before event day. Know which device connects to the reader, who controls it and where the sale is recorded. Do not assume a payment method works offline without checking your provider's instructions.
Price signs should sit beside the corresponding products. Put the checkout supplies in one container so unpacking stock does not bury the reader or change.
Which comfort and safety supplies are worth packing?
Pack water, personal comfort supplies and basic first aid items, then identify real shelter before the event opens.
- Drinking water and suitable food for staff.
- Sunscreen and sun protection.
- First aid kit suited to your group.
- Necessary personal medication, stored as directed.
- Hand-cleaning supplies and cleanup cloths.
- Trash bags and a way to contain packing waste.
- Weather alerts and the organizer's emergency contact.
- Location of an enclosed shelter.
A branded canopy provides a booth roof, not lightning protection. The CDC's lightning safety guidance identifies enclosed buildings and hard-top vehicles as safe-shelter options and warns against relying on tents. Follow the event's emergency directions and prioritize people over packing equipment when conditions become dangerous.
Keep personal supplies where staff can reach them without opening inventory bins. A packed water bottle is less useful if it sits under the entire display load.
What paperwork should you check with the organizer and state?
Confirm permits, insurance and tax information with your organizer and the relevant government authorities before assuming any document is universally required.
- Event acceptance or registration confirmation.
- Booth assignment, arrival window and unloading instructions.
- Organizer contact details and event rules.
- Permits or licenses required for your activity.
- Insurance documentation if requested or required.
- Tax ID or other tax documentation as applicable.
- Any required tent documentation, confirmed before purchase.
The Small Business Administration's launch guidance explains that licensing depends on business activity and location. Check your state, county and city requirements as well as the event's instructions. Store sensitive tax information securely rather than leaving it on the sales table. This is general information, not legal advice.
What should you print ahead, and how long does it take?
Plan V6 packages around 3 to 4 business days of production after artwork approval, plus proof-review time and shipping.
Every product shares one production window, 3 to 4 business days:
- Tent packages: 3 to 4 business days, on the V6 frame or an upgraded frame.
- Vinyl banners: 3 to 4 business days.
- 16pt business cards: 3 to 4 business days.
- Flyers, every stock: 3 to 4 business days.
- Standard retractable banners and stands: 3 to 4 business days.
These windows follow artwork approval. A weekday approval before 12 PM Central lets production start the next business day. Ground transit is about 3 business days after production. Allow time to unpack and inspect the order, and avoid treating production alone as your delivery date. The last-minute event printing guide explains how to plan a tight deadline without promising an arrival date.
What do common vendor print items cost?
The prices below identify exact print configurations; physical tables, payment equipment and personal supplies are outside this print list.
| Print item and exact quantity | Price |
|---|---|
| One 10x10 Essentials kit: full-custom 6 oz polyester tent, V6 frame, ropes, stakes, standard bag and 6ft open-back 8.8 oz polyester fitted cover | $1,149.99 |
| One 6 x 3 ft single-sided 13 oz vinyl banner | $89.99 |
| One Standard 33 x 81 in retractable stand with single-sided UV-printed fabric insert | $213.99 |
| 250 standard 3.5 x 2 in business cards, double-sided 16pt gloss cardstock | $74.89 |
| 100 custom 4 x 6 in flyers, double-sided Standard 16pt Gloss cardstock | $74.89 |
A package ships as one kit for one flat $10 ground charge. Separate products each carry a $10 shipping charge. Do not assume the individual print rows ship together for one charge.
Canopy and package orders include design, with the AI image fee waived. For separate non-canopy print items, there is no production setup fee. Existing files, including ChatGPT or other AI images, go through AI image to print for $14.99 per item. Design it for me is +$29.99 with two revisions, free when the item is $499 or more. The free digital proof comes after ordering, and nothing prints until approval.
What should you check before driving to the event?
Check the loaded vehicle against the list, then test the payment device and confirm the event instructions one final time.
Put the tent and anchoring equipment where they can unload before merchandise. Keep the arrival instructions, phone, reader and personal supplies accessible. Assign one person to confirm that hardware pouches, printed graphics and the table actually made it into the vehicle.
Need vendor event printing or other custom printing? Inline Graphics helps businesses, churches, schools, and event organizers across the country design and print cards, banners, signs, decals, displays, and marketing materials that get noticed. Contact us today for a quote.
Frequently Asked Questions
Bring your shelter and event-approved anchoring equipment, booth graphics, table, products, price signs, payment reader, change, bags, water, sunscreen, first aid supplies and required paperwork. Confirm the event's own list before loading.
One 10x10 Essentials package is $1,149.99 with a full-custom 6 oz polyester tent, V6 frame, ropes, stakes, standard carry bag and one 6ft open-back fitted cover. Design is included. Bring a folding table and the anchoring equipment required for your event.
The base Essentials package does not include sandbags. One four-piece fillable sandbag set is $139.09 separately. Confirm the anchoring method and filled-weight requirements with the organizer; the set has no published claim of satisfying every event's rules.
Allow for proof review, production and shipping. Tent packages, vinyl banners, business cards, flyers and retractables all take 3 to 4 business days in production. Ground transit is about 3 business days after production.
Yes. Standard 16pt Gloss, Premium 100# Gloss and 70# Uncoated flyers all print in 3 to 4 business days after proof approval, like every other product.
Check your organizer and state, county and city authorities for the requirements that apply to your products and location. Bring permits, insurance documentation and tax information only as required. A general packing checklist cannot establish your legal requirements.
Related Articles
Trade Show Booth Checklist: Tent, Wall, Table, Stands
A 10 by 10 event tent with canopy and frame is the first booth order, in 3 to 4 business days. [...]
Read More: Trade Show Booth Checklist: Tent, Wall, Table, Stands
Last Minute Event Printing: Order, Proof, Then Ship
A 33 x 81 in UV fabric retractable stand is $213.99 and ships 3 to 4 business days after proof [...]
Read More: Last Minute Event Printing: Order, Proof, Then Ship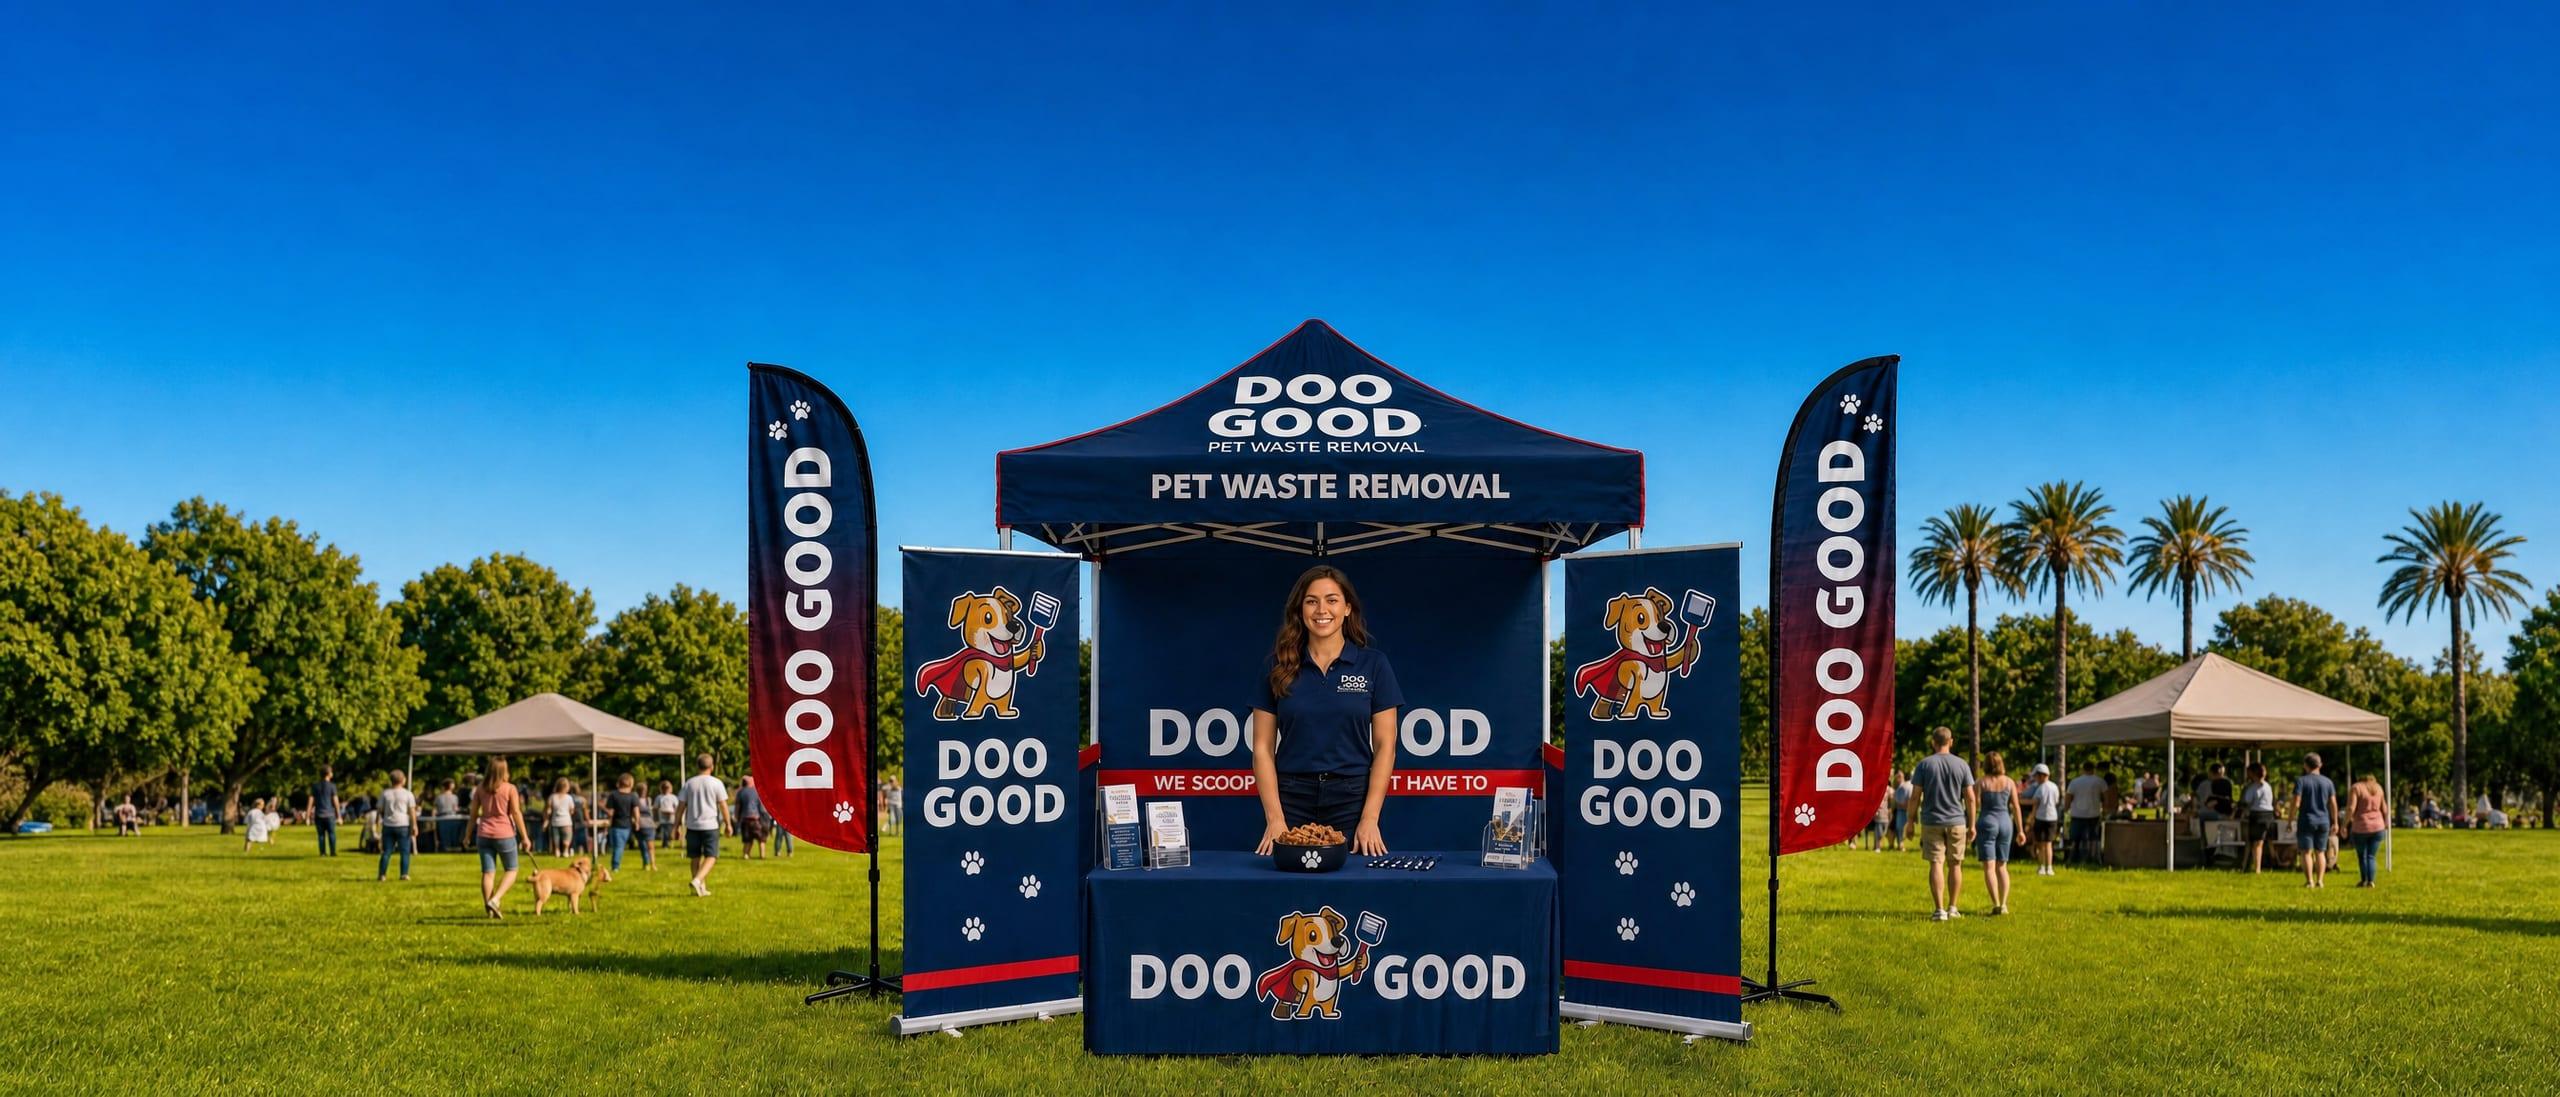
Trade Show Planning Timeline: 12 Weeks to Show Day
A trade show planning timeline should start 12 weeks out. Work backward through testing, [...]
Read More: Trade Show Planning Timeline: 12 Weeks to Show Day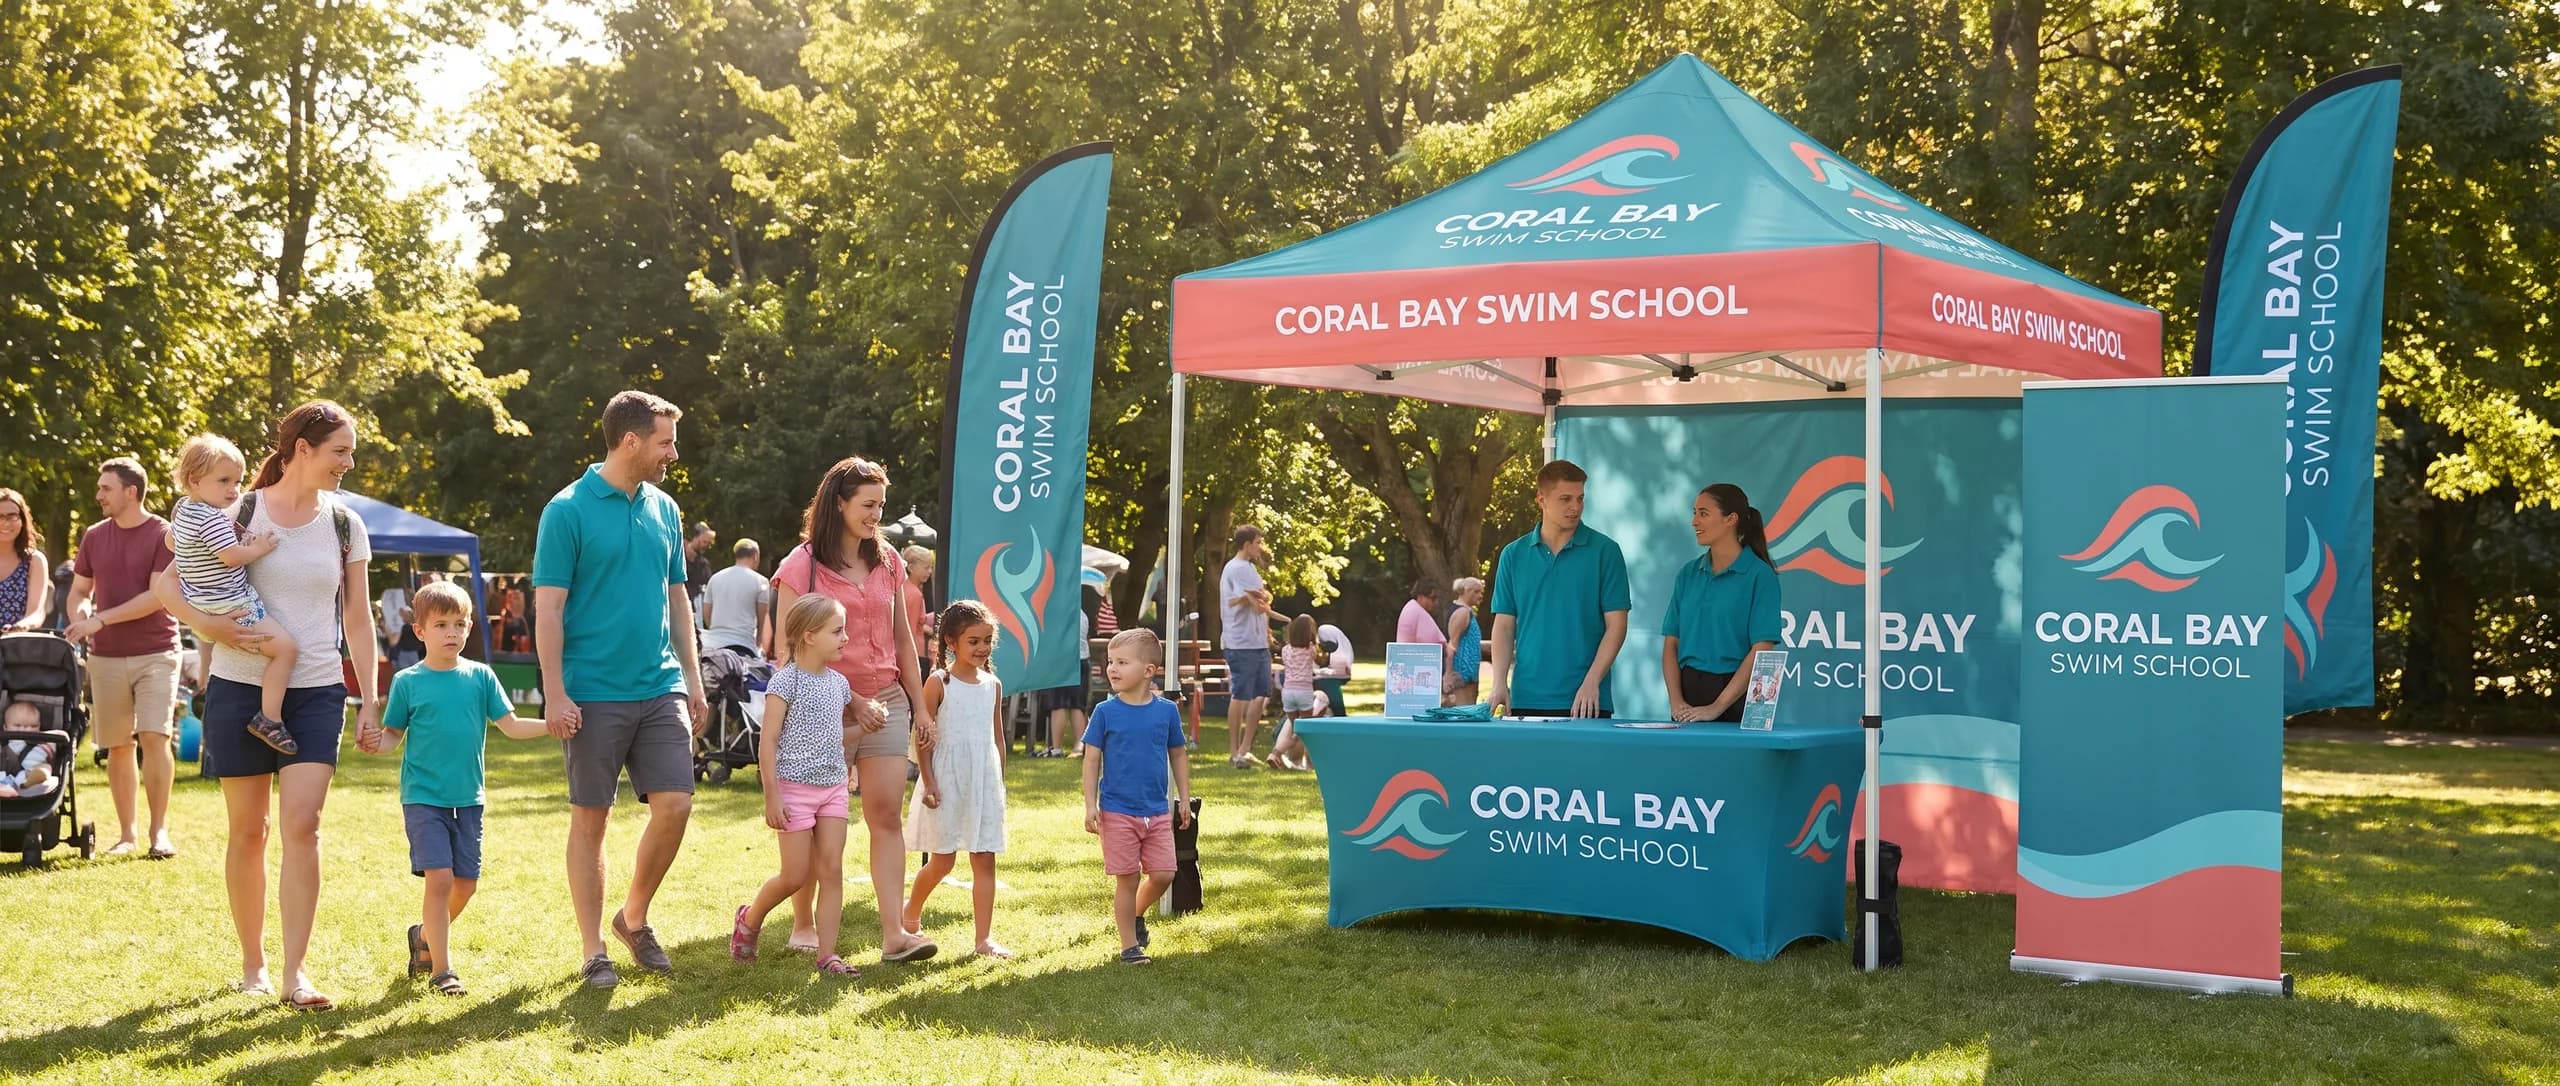
Durable Event Booth Signage: Materials, Prices, Shipping
Durable booth signage shipped to any US address: 33 x 81 in retractable stands $213.99, 10 ft [...]
Read More: Durable Event Booth Signage: Materials, Prices, Shipping