Trade Show Planning Timeline: 12 Weeks to Show Day
 Daniel
July 3, 2026Updated October 19, 202611 min read
What Is a Practical Trade Show Planning Timeline?
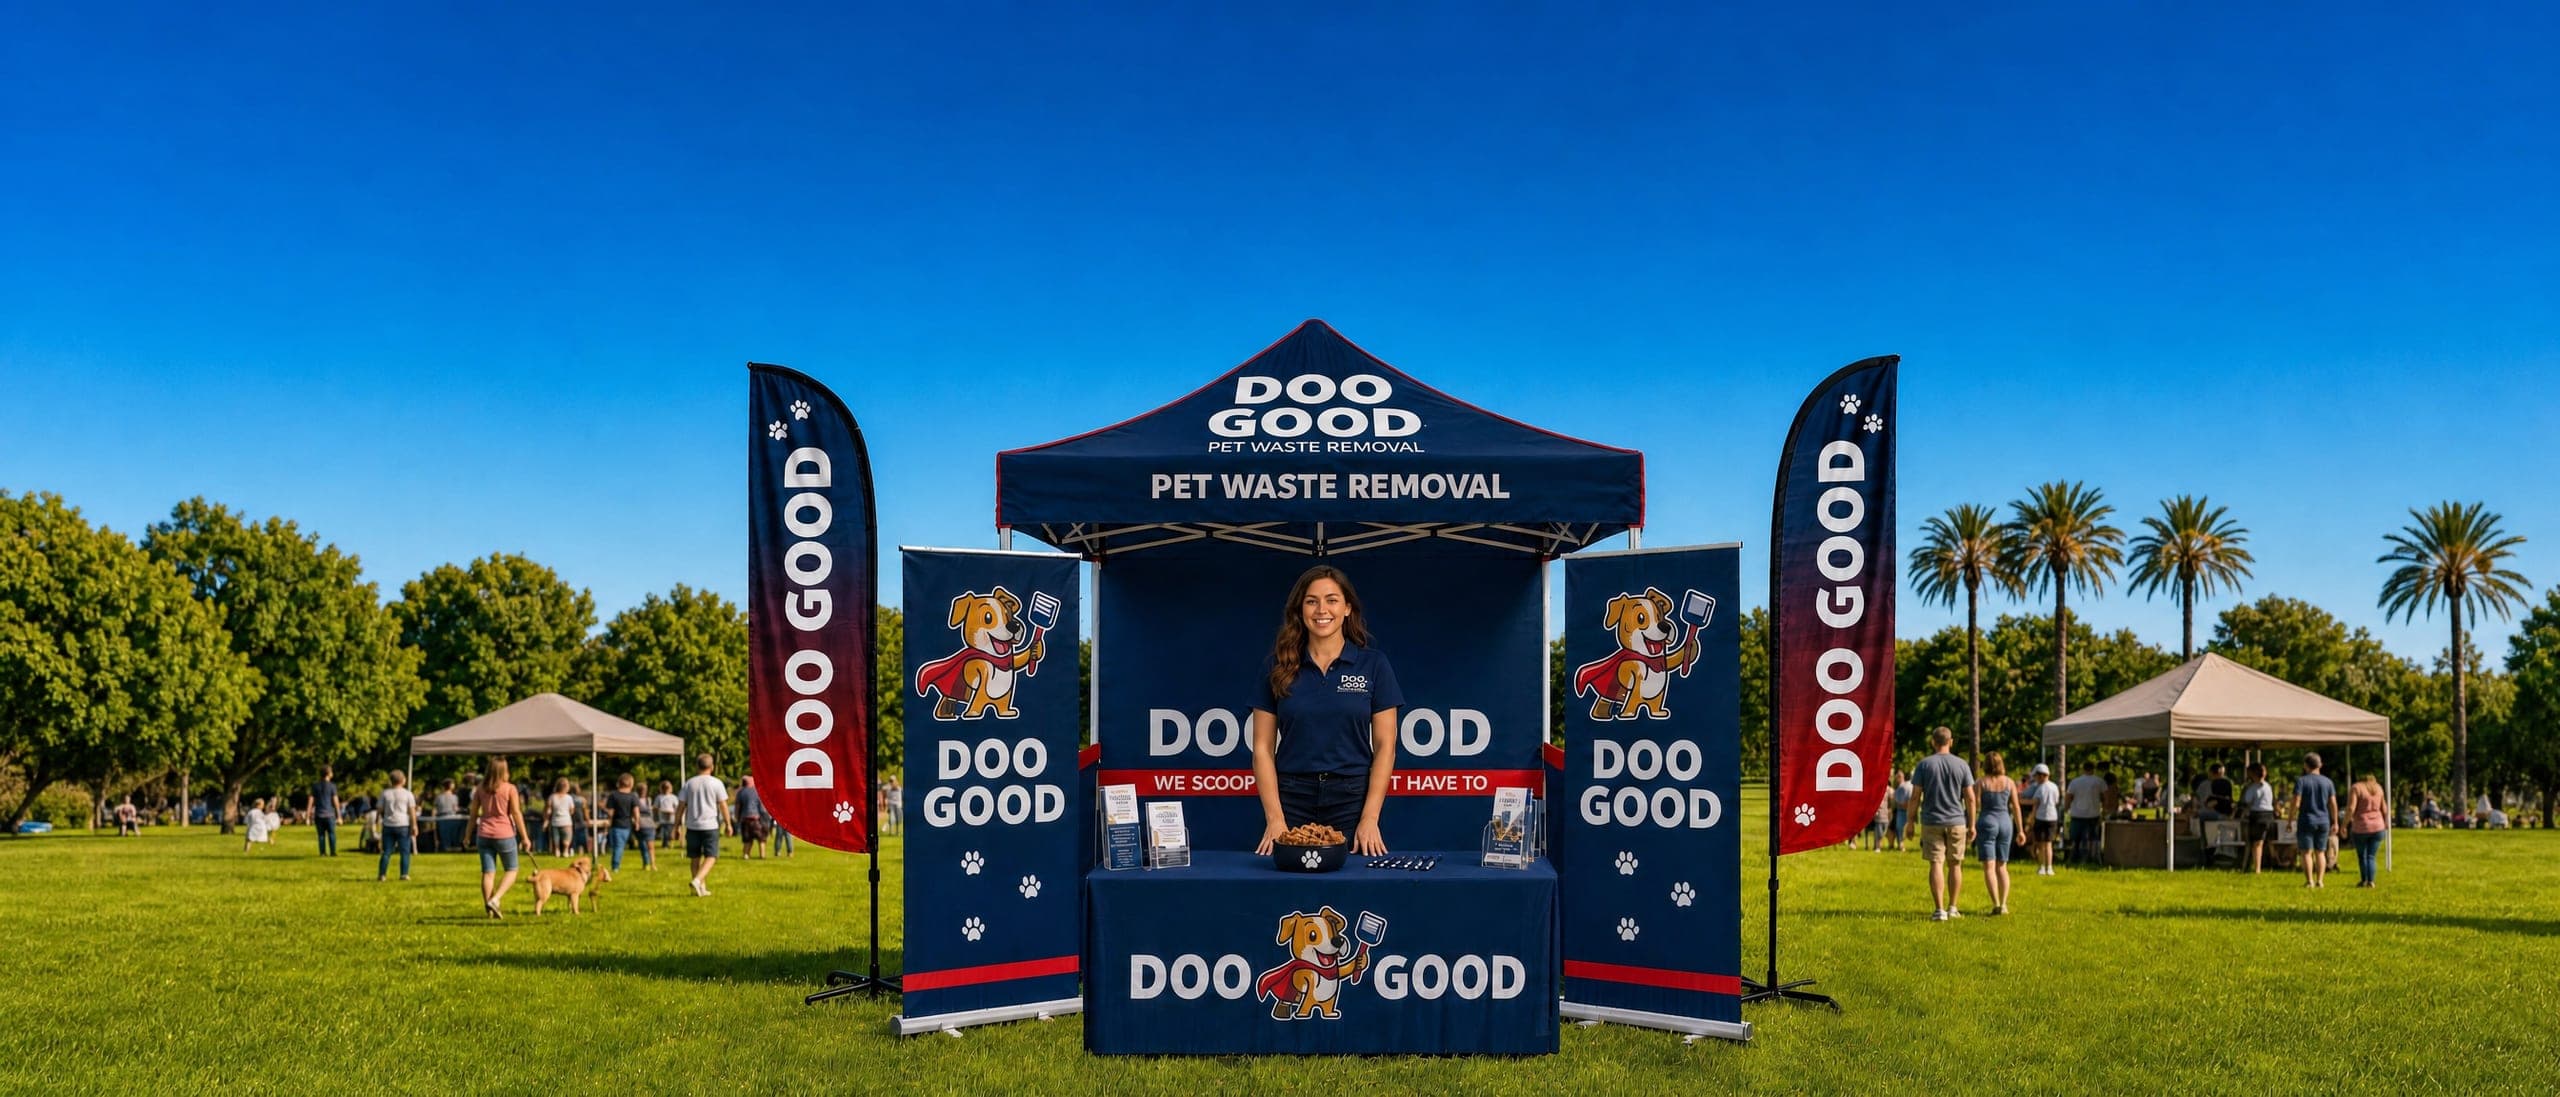
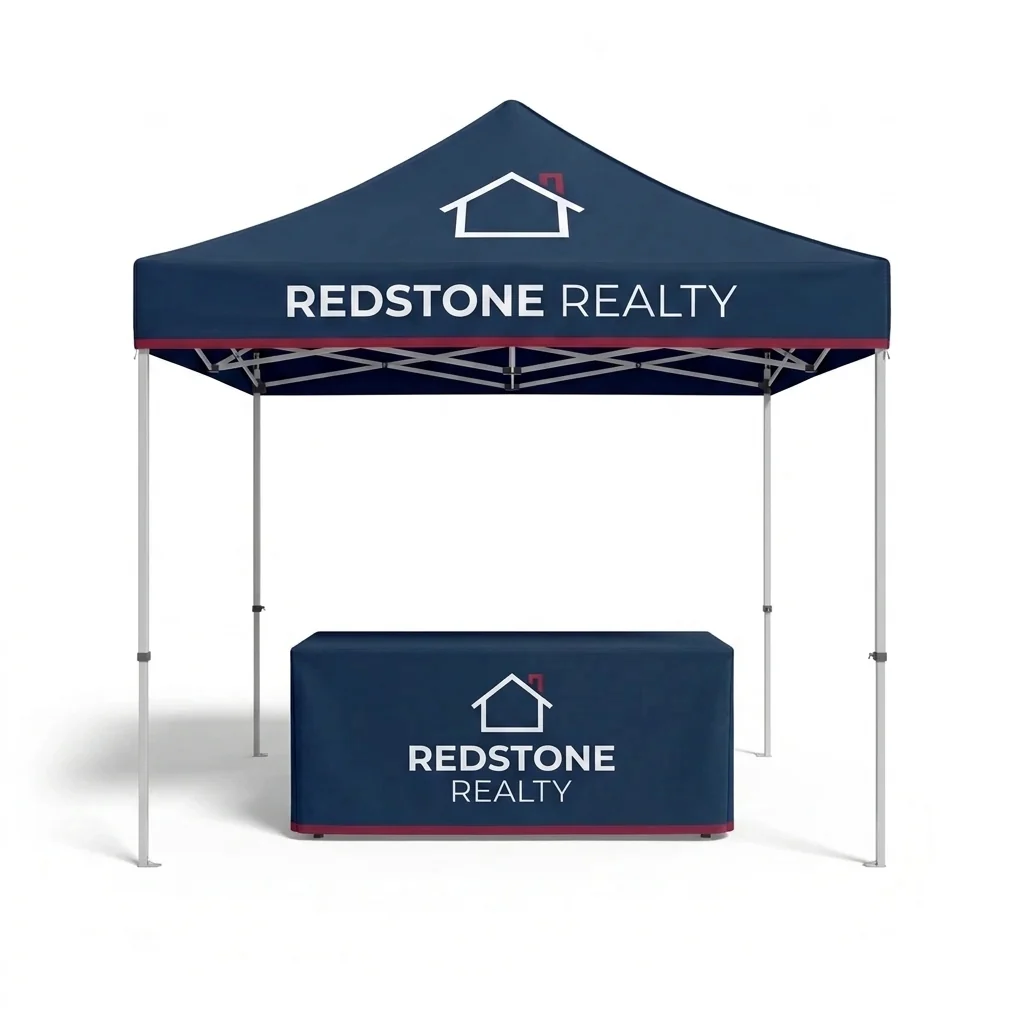
A useful trade show planning timeline starts 12 weeks before show day and works backward from a complete test setup through shipping transit, production, proof approval, and artwork. Inline Graphics offers the 10x10 Essentials Package for $1,059.29, with design included and flat $10 ground shipping to any US address.
Place a complete booth test on the calendar before the event. That date becomes the deadline for physical items because the booth must still be unpacked, assembled, checked, repacked, and moved.
Use this backward formula for each printed item:
Order date = test setup date minus buffer minus shipping transit allowance minus production time minus proof approval allowance.
Inline Graphics sends a free digital proof after ordering. Production starts after approval, shipping transit follows production, and a planning buffer follows delivery. These stages keep production time separate from an arrival plan.
The 10x10 Essentials Package costs $1,059.29 and combines a custom 10x10 tent with a 6ft fitted table cover. Design is included. Production takes 3 to 4 business days after artwork approval, plus shipping transit and the buffer you choose.
| Printed item and production after approval | Price |
|---|---|
| 10x10 Essentials Package, tent plus 6ft fitted table cover: 3 to 4 business days | $1,059.29 |
| 6ft x 3ft 13oz single-sided vinyl banner: 3 business days | $133.00 |
| 23 x 66 in standard retractable stand, UV printed fabric insert: next business day | $213.99 |
These windows describe production, not delivery. Add shipping transit separately for every destination. If several products have different production windows, plan the order around the slowest item and still test the group together.
Standalone table covers also have next-business-day production. A table cover included in a tent package follows the complete package's 3 to 4 business day window, so the standalone cover time does not shorten the kit schedule.
What Should You Finish 12 Weeks Before the Show?
At 12 weeks, finish the decisions that control every later deadline: booth dimensions, exhibitor rules, goals, ownership, budget, and the first version of the floor plan. Confirm what the organizer allows before artwork is built around the wrong height, entrance, table position, or display type.
Read the exhibitor manual and record the official move-in window, receiving instructions, electrical rules, and any organizer deadlines. Name one person who owns the master calendar. Give each task an owner and a review date rather than keeping a loose list with no accountability.
Measure the footprint and place the aisle-facing message. Inventory reusable displays, test uncertain pieces, and separate anything that needs replacement.
Set one measurable goal for the booth. The goal may be booked demonstrations, qualified conversations, newsletter signups, or direct orders. That choice determines the main message, lead capture method, staffing plan, and printed handouts.
A week later, at 11 weeks out, check every booth decision against the exhibitor rules and the approved budget. Resolve conflicts between the planned layout and venue limits before those conflicts reach artwork or purchasing.
Turn the first floor plan into a dated working version. Record the booth size, open sides, planned entrance, electrical needs, and receiving route. Mark any decision that still needs organizer confirmation and assign one person to close it that week.
What Should You Decide 10 Weeks Before the Show?
At 10 weeks, decide the booth message and map it onto the physical space. Choose one primary idea people can understand from the aisle, then assign supporting information to the table, banner, handout, or conversation instead of repeating the same paragraph everywhere.
Sketch the visitor path. Mark the canopy, table, display stand, storage area, product demonstration, lead capture point, and staff positions. Check that the table does not block the intended entrance and that the most important graphic faces approaching traffic.
Create an artwork list with a size and purpose for every printed surface. Name the final decision-maker and collect the logo, brand colors, photos, approved copy, contact details, and destination URLs. Settling those inputs now gives the proof stage a clear standard.
For a coordinated canopy booth, review the broader tent package collection and select the exact package before artwork begins. The size and included pieces shape the layout, so the product choice should lead the design brief.
What Should You Settle 9 Weeks Before the Show?
At 9 weeks, settle the exact printed products and give every artwork file a size, purpose, and approver. A generic request for booth graphics is not enough to calculate production or review the final proof.
Write one short brief for the complete booth. List the selected package, any separate banner or stand, the message assigned to each surface, and the final source for every name, date, URL, and phone number.
What Should You Complete 8 Weeks Before the Show?
At 8 weeks, complete the first full artwork review and set a target order date for every printed item. Use the backward formula rather than assuming every product shares one production window.
For the Essentials Package, count back 4 business days for production from the test setup date (the long end of its 3 to 4 business day window), then also subtract shipping transit, a separate buffer, and time for proof review. Count production in business days rather than calendar days. Set the target order date earlier when several people must approve artwork.
Check names, URLs, phone numbers, offers, and event-specific dates against the source used by the business. Review the full booth as one visual system. A canopy, table cover, banner, and handout can each look correct alone while competing when assembled.
The Essentials Package includes design, but that covers the kit only. A banner or retractable stand added to the same order is separate: your own file or image is $14.99 per item through AI image to print, or "Design it for me" is +$29.99 per item. Keep the approval stage in the schedule even when design is included, because production still waits for proof approval.
What Should You Do 7 Weeks Before the Show?
At 7 weeks, place any order whose calculated internal deadline has arrived and prepare one complete proof review. The calendar may call for an earlier or later order, depending on the product, destination, approval team, and buffer.
Review the proof against the source copy and the full booth plan. Consolidate corrections into one clear response, then record the approval date because it starts the stated production window.
What Should You Confirm 6 Weeks Before the Show?
At 6 weeks, confirm the delivery route, receiving rules, staffing, travel, and packing structure. The address may be a business, hotel, advance warehouse, or venue service point, but its acceptance window and labeling rules come from the recipient and organizer.
Record who will receive each shipment and how that person will confirm it. Keep order references and tracking information with the master plan. Confirm transit for the destination, then preserve a separate buffer.
Assign booth shifts and setup roles. Decide who carries the organizer paperwork, who leads assembly, who tests any electronics, and who verifies that printed graphics face the intended aisle. Book travel around official access hours rather than the public opening time.
Use the 10x10 trade show booth cost guide for the larger budget categories. Keep this timeline focused on when decisions and orders must happen, while the cost guide handles the detailed booth budget.
A week later, at 5 weeks out, organize shipment records, setup instructions, and the crew's access to both. Confirm that the person receiving the booth can identify each order and notify the project owner when it arrives.
Build a simple setup document from the approved floor plan. Put the assembly order, product orientation, lead capture location, and staff assignments in the sequence the crew will use.
What Should Happen When the Booth Arrives?
As soon as each shipment is in hand, inspect every booth component that has arrived; aim for this around 4 weeks out, but the real trigger is delivery, not the calendar. Open the packaging early enough to identify an issue before the travel day. Compare the delivered graphics with the approved proof and the original order.
Confirm the product, size, printed face, and condition before moving it into event storage.
When Should You Test the Booth Setup?
Once every piece is in hand, ideally about 3 weeks out, assemble the complete booth and rehearse the setup in the planned footprint. The goal is to verify how the pieces work together while time remains to resolve a real problem.
Build the booth in the same footprint available at the show. Center the table, place the display pieces, walk the visitor path, and view the main message from the aisle direction. Take reference photos so the show-day crew can reproduce the approved arrangement.
Test the full lead capture path, including any form, code, device, charging plan, and follow-up ownership. Check that the destination page is current. Pack the exact cables and supplies needed for the tested setup.
What Should You Do 2 Weeks Before the Show?
At 2 weeks, close remaining logistics and confirm that every shipment, traveler, and event requirement has an owner. This is the point to verify status, not the point to begin essential booth artwork.
Confirm tracking, receiving instructions, access times, staff assignments, and the packing list. Place order confirmations, proof approvals, reference photos, and organizer documents in one accessible folder. Keep a second copy available to someone who is not traveling with the primary folder.
Review the trade show booth checklist for item-level packing. This planning timeline handles the countdown, while that checklist handles what goes into the cases and boxes.
What Should You Do 1 Week Before the Show?
At 1 week, freeze the tested booth plan and focus on packing, communication, and staff readiness. Add a late item only when it solves a specific gap.
Repack the booth by setup sequence. Put the earliest needed pieces where they can be reached first. Attach a plain contents label to each case or box and keep the setup reference photos with the person leading assembly.
Brief the staff on the booth goal, opening question, lead capture process, and follow-up handoff. Confirm the event hours and the time the crew must arrive. A clear staffing plan keeps the physical booth from becoming the only part that was rehearsed.
What Should Happen on Setup Day and Show Day?
On setup day, follow the tested assembly order and compare the finished booth with the reference photos. Correct the orientation, logo centering, sight lines, and visitor path before public hours begin.
Walk toward the booth from each open aisle. Confirm that the main message is readable, the table does not block entry, and the lead capture point is easy to reach. Test devices on site and secure any materials according to venue rules.
On show day, arrive before the public opening, reset the display, and brief the team on any schedule changes. Keep the booth orderly and replenish printed material from the packed reserve. Record useful notes after each shift so the next event plan starts with real decisions rather than memory.
The 10x10 tent package cost and contents guide explains the package choices in more detail. Use it when selecting a kit, then return to this countdown to place design, proof, production, transit, testing, and show-day tasks on the calendar.
Need a tent package or other custom printing? Inline Graphics helps businesses, churches, schools, and event organizers across the country design and print cards, banners, signs, decals, displays, and marketing materials that get noticed. Contact us today for a quote.
Frequently Asked Questions
Start 12 weeks before show day when possible. That gives you time to confirm the booth space, finish artwork, approve the proof, allow for production and shipping transit, and test the complete setup before it travels.
Set the order date by working backward from your test setup date. Subtract your shipping transit allowance, the stated production window, and enough time to place the order, review the free digital proof, and approve it.
The 10x10 Essentials Package has a 3 to 4 business day production window after artwork approval. Shipping transit comes after production, so the delivery date should include both transit and a separate buffer.
The base 10x10 Essentials Package includes a custom 10x10 tent and a 6ft fitted table cover. It costs $1,059.29, ships as one kit, and includes design.
Shipping is a flat $10 ground charge per order to any US address. Inline Graphics does not publish a ground transit-day promise, so confirm transit for the destination and add a separate event buffer.
Production begins after you approve the free digital proof sent after ordering. Time spent reviewing the proof or requesting changes happens before the stated production window.
Related Articles

10x10 Trade Show Booth: Print Costs and Budget Builds
A 10x10 trade show booth can start with 2 printed pieces: a table throw and a retractable [...]
Read More: 10x10 Trade Show Booth: Print Costs and Budget Builds
Trade Show Booth Checklist: Tent, Wall, Table, Stands
A 10 by 10 event tent with canopy and frame is the first booth order, in 3 to 4 business days. [...]
Read More: Trade Show Booth Checklist: Tent, Wall, Table, Stands
10 x 10 Tent Package Cost: What Ships Inside the Kit
A 10 x 10 Essentials kit includes a printed canopy tent and a 6 ft fitted table cover. Compare [...]
Read More: 10 x 10 Tent Package Cost: What Ships Inside the Kit
Event Booth Display Options: How to Choose for Your Setup
Compare 6 event booth displays, from a $203.29 feather flag to a $973.69 custom canopy, with [...]
Read More: Event Booth Display Options: How to Choose for Your Setup