How to Set Up a Vendor Booth: 10x10 Outdoor Layout Guide
 Daniel
May 6, 2026Updated October 29, 20269 min read
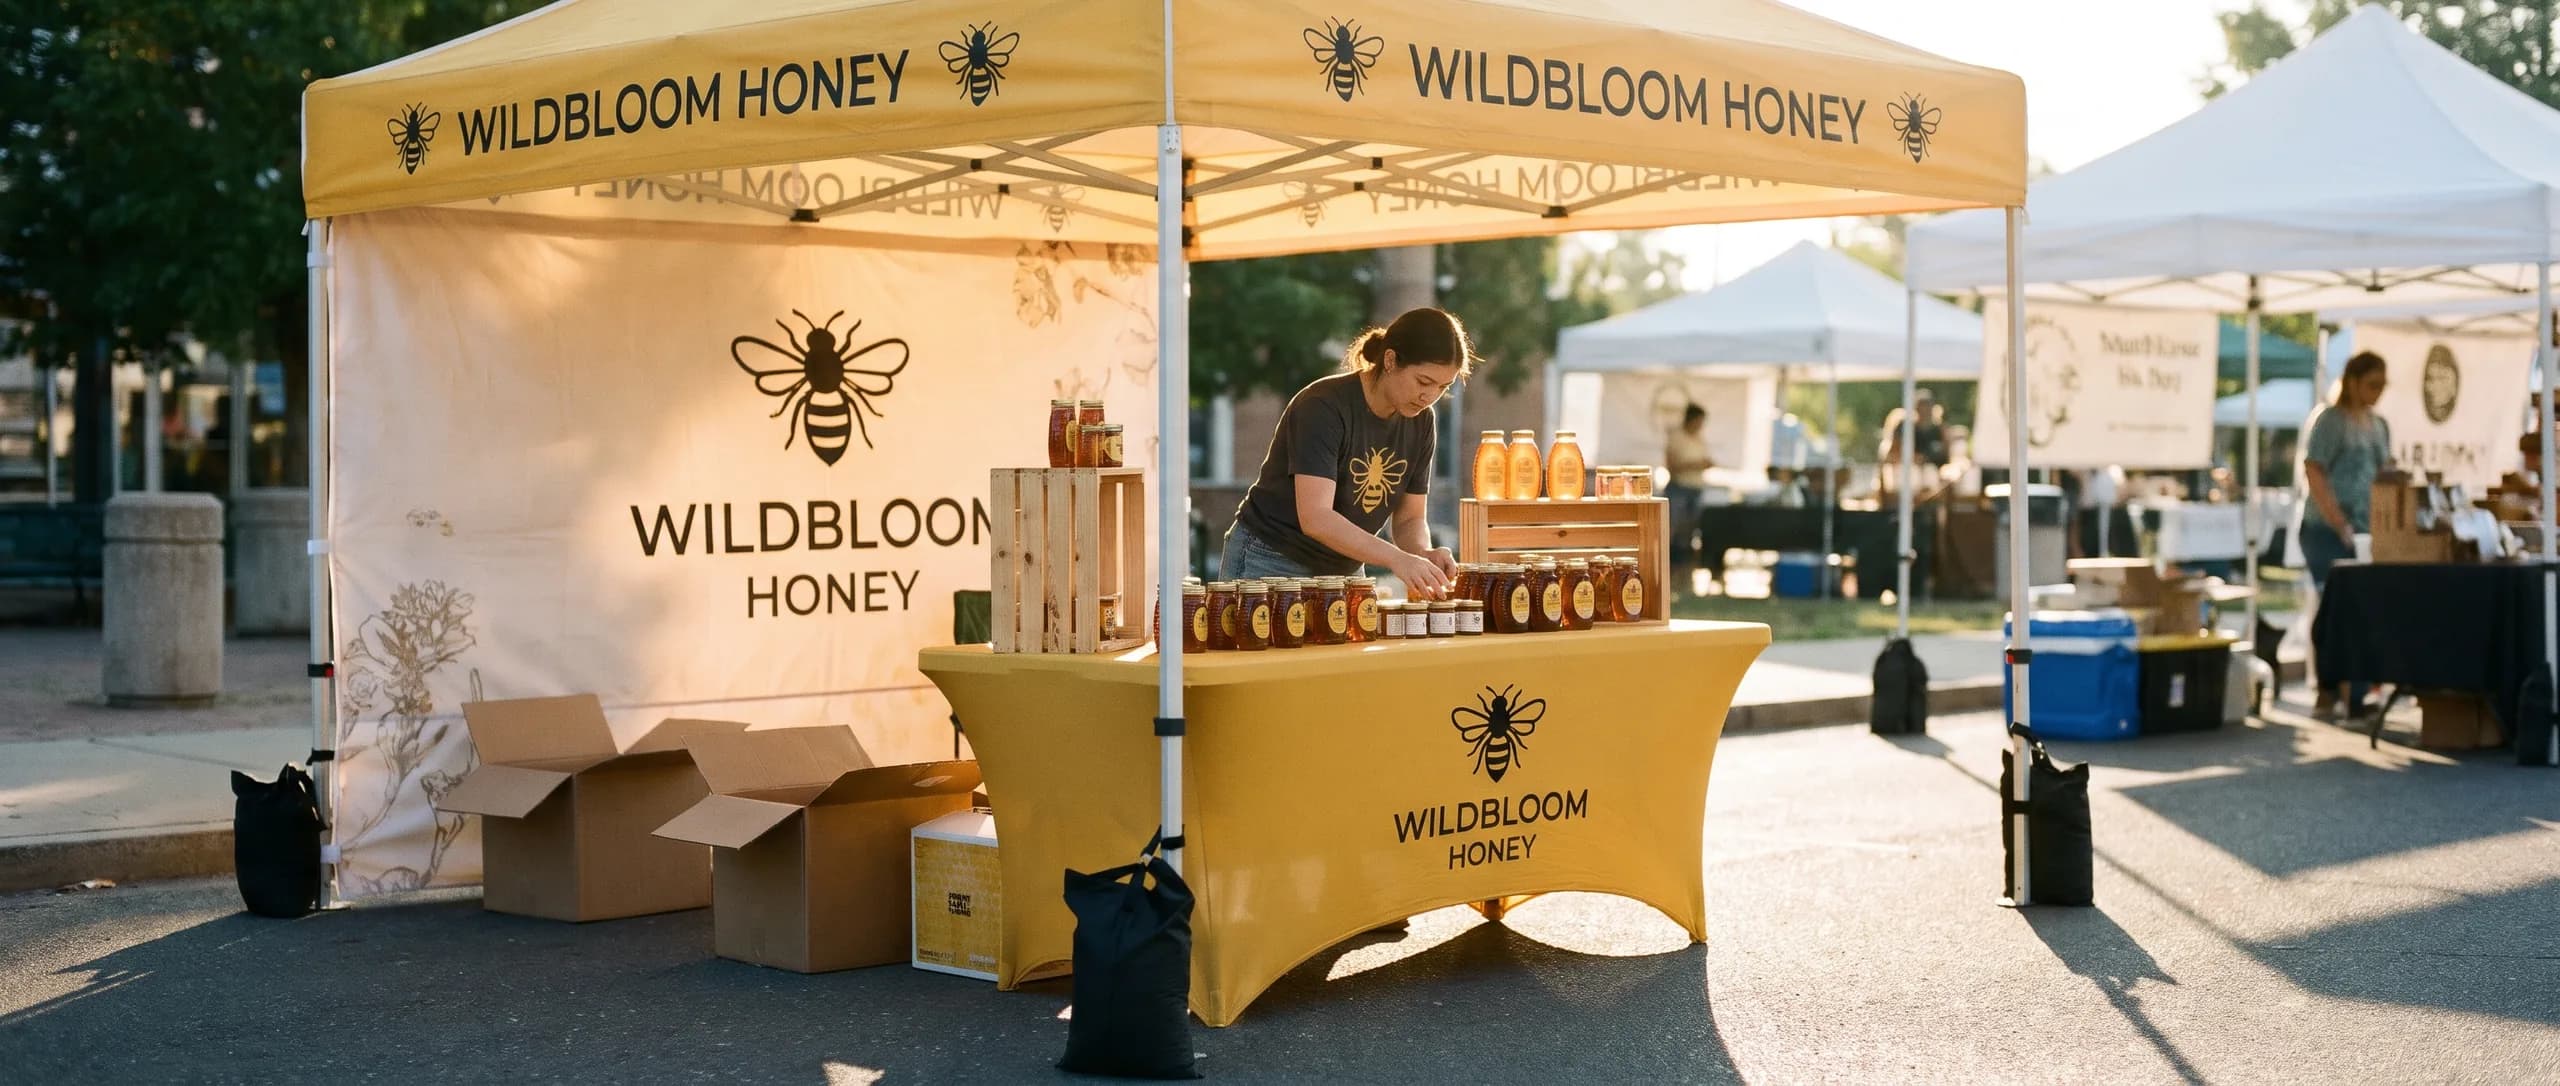
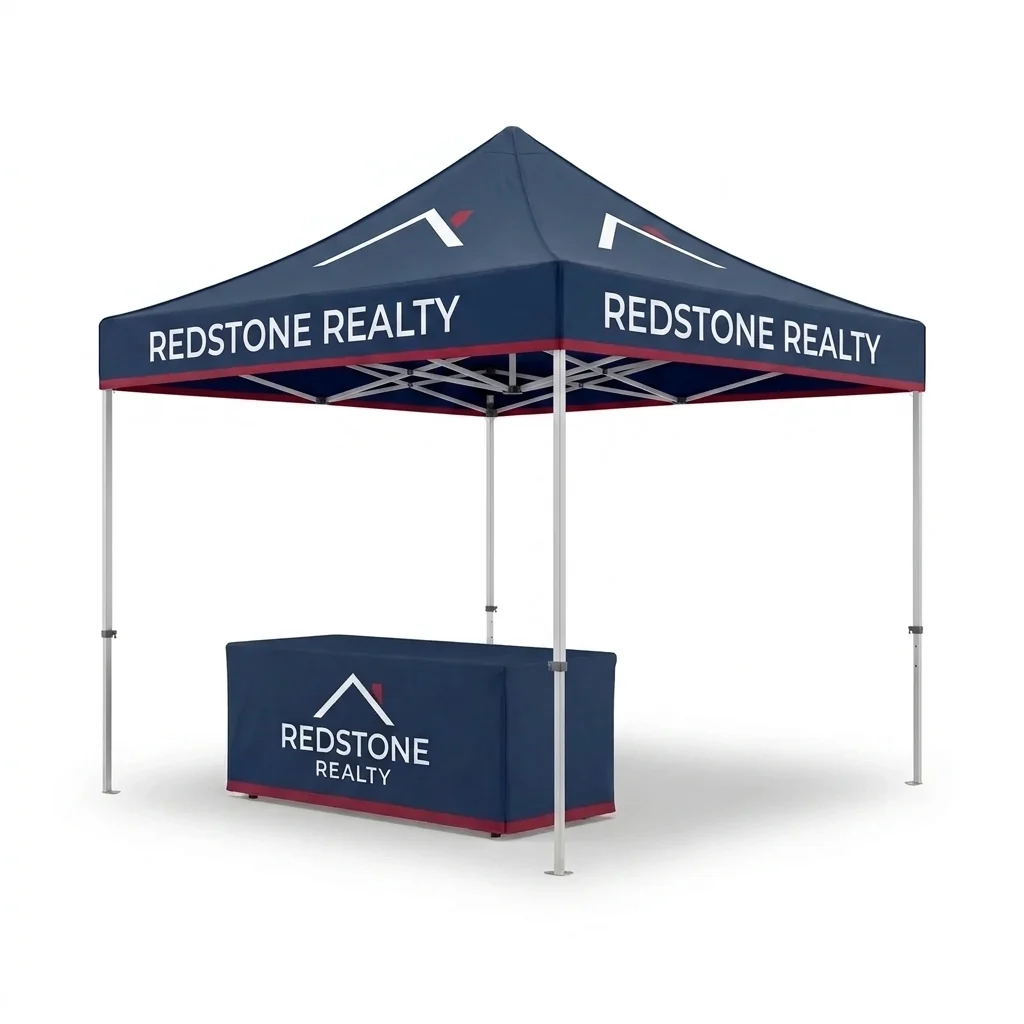
What order should you follow when setting up a vendor booth?
Set up shelter, branding, products and checkout in that order. Inline Graphics' 10x10 Spotlight V6 kit, with custom polyester tent, back wall and 6ft open-back cover, is $1,412.39. Design is included; production takes 3 to 4 business days after artwork approval, printed in the USA with flat $10 nationwide shipping per kit.
Unload the large structural pieces first and leave fragile products packed until their display surfaces are ready. That keeps merchandise out of the work area while you open the frame and attach graphics.
The numbered sequence below is general practice for a 10x10 outdoor booth. Use the instructions supplied with your equipment for the actual assembly, and follow your organizer's requirements. The 10x10 canopy installation guide covers the tent itself in more detail.
1. Check your assigned space and event instructions
Find the booth number, identify the public-facing side and confirm the boundaries before opening any equipment. Check where unloading is allowed, when vehicles must leave and whether your table, flag mounts or banner base would project outside the space.
Ask about anchoring, staking permission, wall restrictions and any required fire documentation. Rules vary by city, county, state, venue and HOA where applicable. Government guidance such as the National Park Service event planning guide illustrates why requirements must be checked for the actual site. No fire rating or wind rating is published for these canopies; contact Inline Graphics before ordering if a certificate is required. This is general information, not legal advice.
2. Erect and secure the tent
Open the frame and fit the canopy according to its instructions, using the appropriate help for the equipment. Secure the tent using the event-approved method before adding display pieces. Do not use merchandise boxes or the table as substitutes for a proper anchoring plan.
We recommend at least 40 lb on each leg unless your organizer sets a different number. One 4-piece set holds about 76 lb filled, about 19 lb a leg, so plan extra weight. Confirm requirements with the organizer. Keep anchors and any permitted tie-downs from intruding into the visitor path.
3. Attach the printed back wall
Position the main graphic toward arriving visitors and attach the wall using its sewn-in hook-and-loop loops. Check the orientation before fastening every point. Keep fabric away from moving frame joints and leave the front open.
For a side-entry booth, consider which view needs the message most. The assigned aisle and neighboring displays can change the best orientation. Do not let the back wall become a reason to ignore the approach guests actually use.
4. Place the table and fit its cover
Lock the table legs before dressing it. The 6ft fitted cover fits a 72 x 30 x 30 in table; the 8ft cover fits a 96 x 30 x 30 in table. Both dimensions include height, so checking length alone is not enough.
An open-back cover gives staff access to supplies underneath. Aim its printed front toward shoppers. Keep storage behind the fabric and place the table along a side or toward the rear if you want people to enter the booth.
5. Install flags where they can be seen
Attach frame-mounted flags with their compatible holders, following the hardware instructions. Check overhead clearance and the flags' moving space. Put only a logo or short identifier on a flag rather than a detailed menu.
The base Spotlight package does not include flags. If they are part of your plan, bring the complete compatible kit, including mounts. A loose graphic without its pole or holder does not finish the booth.
6. Position the banner stand at the entry
Put the retractable banner just inside the booth edge where approaching visitors can read it. Keep its base and support hardware inside your assigned area. Use the supplied instructions to raise the graphic without forcing the mechanism.
Keep a retractable out of exposed wind and weather; the tent roof does not turn it into a wind-rated outdoor structure. Reposition or put it away when conditions are unsuitable. A useful banner message says what you offer and the next action, rather than repeating every detail on the table.
7. Arrange products around an open path
Group related products so a visitor can understand the range without moving piles. Put a few representative items forward and keep replenishment stock behind or underneath the table. Leave room to step in, turn and look.
Use the front opening deliberately. Filling it with cartons, a chair and a banner defeats the reason for leaving it open. If a display needs a demonstration area, reserve that space before you add small decorative pieces.
8. Check signage height from outside
Walk beyond the booth and look back from the likely approach. The canopy identifies the booth above nearby tables; the back wall explains the offer; price signs answer questions at the products. Make sure taller merchandise does not hide the main message.
Check the view with a person standing at checkout. A logo that looks clear in an empty booth may disappear behind staff during the event. Adjust within the event's permitted display heights rather than improvising an extension.
9. Set up cash and checkout
Choose one checkout spot with enough room for the payment reader, bags and a purchase in progress. Keep cash under staff control and away from the public edge. Charge the reader and phone, test the connection and know your payment provider's backup procedure.
Keep the line from blocking browsing. Give staff a defined place for completed purchases awaiting collection so they do not mix with unsold inventory. Bring a price list that staff can read without searching through boxes.
10. Walk the booth before opening
Approach as a shopper, read the first sign and move through the browsing path. Check for loose packing, protruding stand feet, hidden prices and cables in the way. Confirm that every piece remains within the assigned footprint.
Check the forecast and the organizer's shutdown plan as well. A canopy is not lightning shelter, as the CDC lightning safety guidance explains. Know where people should go before severe weather develops; equipment can wait when people need shelter.
What do the booth pieces cost?
One V6-frame 10x10 Spotlight package costs $1,412.39; other display pieces below are separate purchases unless explicitly included.
The tent and wall use 6 oz polyester. The package's open-back cover uses 8.8 oz polyester and covers the table's top, front and ends. No folding table is included.
| Exact item and configuration | Price |
|---|---|
| One 10x10 Spotlight kit: V6 frame, full-custom tent, one single-sided back wall, 6ft open-back fitted cover, ropes, stakes and standard bag | $1,412.39 |
| One standalone 6ft open-back fitted cover, 8.8 oz polyester, for a 72 x 30 x 30 in table | $235.39 |
| One standalone 8ft open-back fitted cover, 8.8 oz polyester, for a 96 x 30 x 30 in table | $267.49 |
| One standalone 113 x 78 in full wall for a 10x10 tent, single-sided 6 oz polyester, sewn-in attachment loops | $385.19 |
| One four-piece set of fillable sandbags, fill on site | $139.09 |
| One Standard 33 x 81 in retractable stand with single-sided UV-printed fabric insert | $213.99 |
The wall and cover already in Spotlight do not need to be purchased again. Use the standalone rows only to price a missing piece or a separate booth. For different display formats, consult the event booth display options guide.
Which starting kit would we choose?
Spotlight is a practical starting point when a 10x10 vendor booth needs a branded shelter, table front and readable background.
Compare the other tent package options if distance visibility or additional wall coverage is essential. Bring your own table, products, payment equipment and event-approved anchoring equipment.
When should you order the printed booth pieces?
Allow 3 to 4 business days of production for a V6-frame package after artwork approval, then about 3 business days of ground transit.
Approve artwork on a weekday before 12 PM Central and production starts the next business day. Upgraded frames take about 2 weeks. Avoid treating the production duration as an in-hand deadline.
Canopy and package orders include artwork design and waive the AI image fee. You may send existing files or ChatGPT and other AI images. The free digital proof arrives after ordering, and nothing prints until approval. Separate non-canopy items have no production setup fee; an existing file goes through AI image to print for $14.99 per item. Design it for me is +$29.99 with two revisions, free when that item is $499 or more.
A package ships as one kit for $10. Different standalone products each have a $10 ground shipping charge.
How should you take the booth down?
Reverse the setup sequence after the event closes, keeping the tent secured while loose products and display pieces are removed.
Pack payment equipment and merchandise, then signs, flags, the table cover and table. Remove wall graphics before collapsing the frame according to its instructions. Keep the anchoring system in place until the tent instructions call for its removal during controlled takedown.
Need vendor booth displays or other custom printing? Inline Graphics helps businesses, churches, schools, and event organizers across the country design and print cards, banners, signs, decals, displays, and marketing materials that get noticed. Contact us today for a quote.
Frequently Asked Questions
Confirm the assigned space, then erect and secure the tent following its instructions and the event's anchoring rules. Add walls, table, flags and signs before placing products or opening checkout. This is a general setup sequence, not a replacement for the tent's installation instructions.
One 10x10 Spotlight package is $1,412.39 with the V6 frame, full-custom 6 oz polyester tent, one full printed back wall and one 6ft open-back fitted cover. Design is included, and the kit has one flat $10 shipping charge. A folding table and ballast are not included in the base package.
The 6ft fitted cover fits a 72 x 30 x 30 in table. The 8ft fitted cover fits a 96 x 30 x 30 in table. Measure length, depth and height before ordering.
An open entry is useful when visitors should step inside to browse. Put the table toward the rear or along a side while preserving a clear path. A front counter may fit a quick transaction booth, but it creates a different visitor flow.
The base Spotlight package contains the tent, back wall and 6ft open-back fitted cover, without flags. Buy compatible flag equipment separately or select a package that includes it. Frame-mounted flags need their matching holders.
The V6-frame package takes 3 to 4 business days in production after artwork approval. Upgraded frames take about 2 weeks. Ground transit is about 3 business days after production; those durations are not an arrival guarantee.
Related Articles
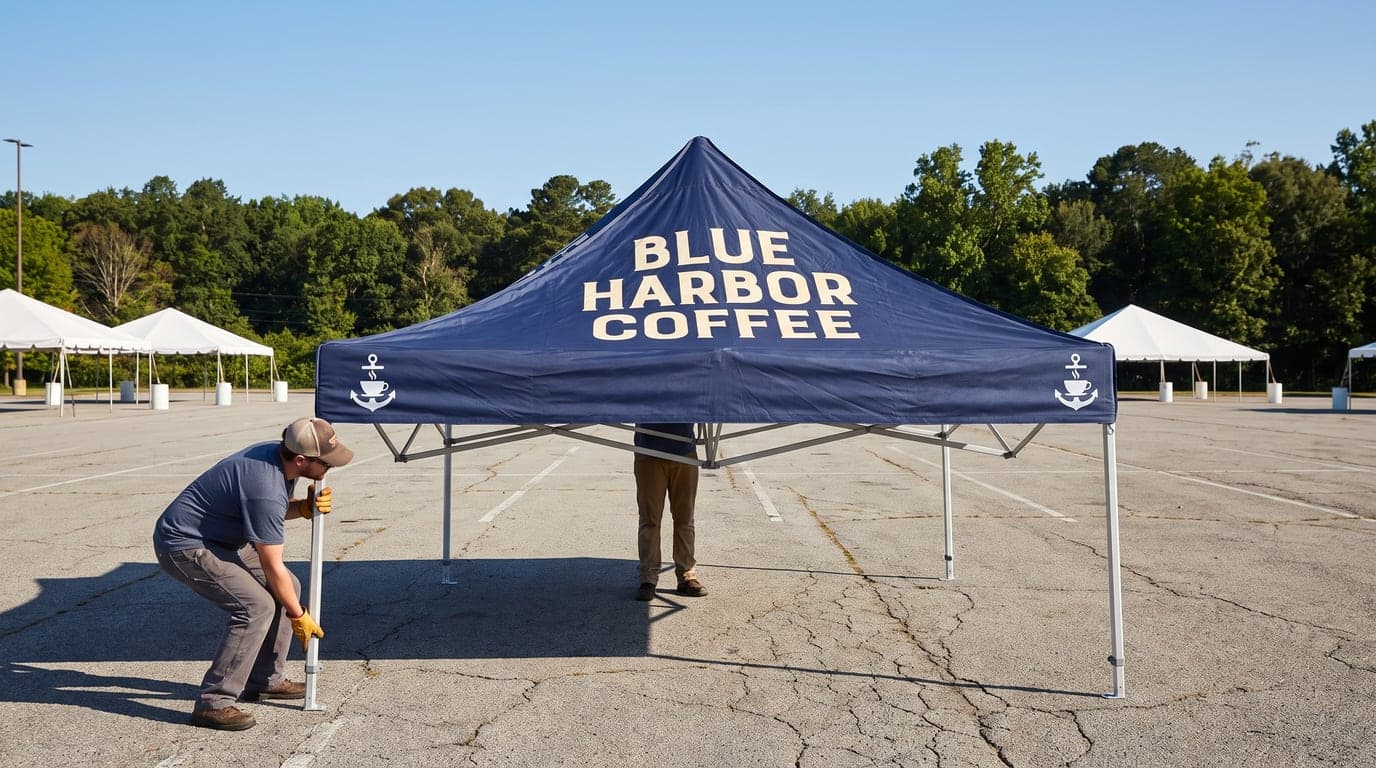
How to Install a 10x10 Canopy Tent: The Setup Order
A 10 x 10 canopy sets up in 5 steps: top on, frame open, legs out, then stakes or weight on all [...]
Read More: How to Install a 10x10 Canopy Tent: The Setup Order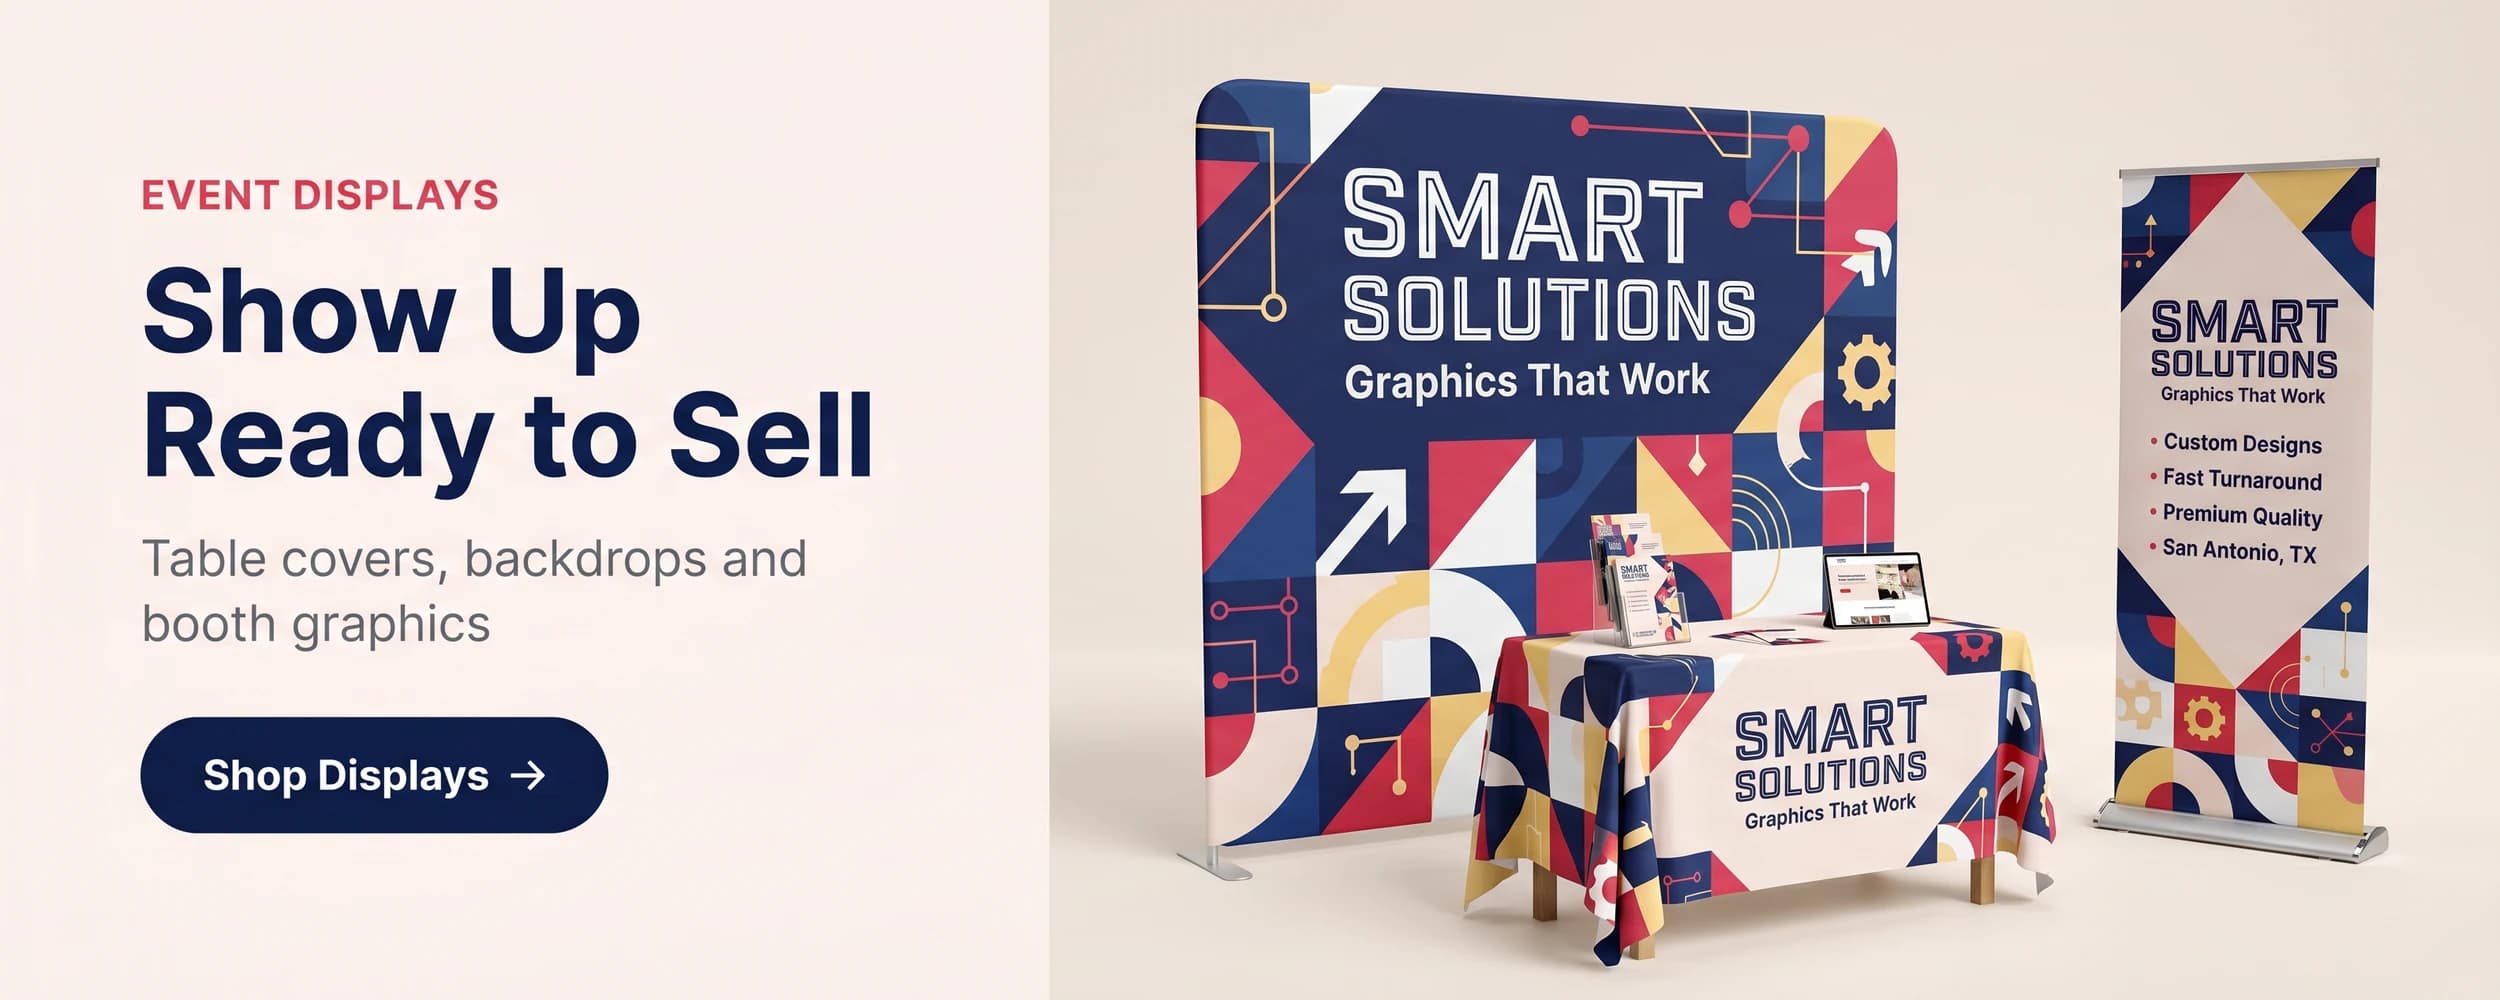
Event Booth Display Options: How to Choose for Your Setup
Compare 6 event booth displays, from a $203.29 feather flag to a $973.69 custom canopy, with [...]
Read More: Event Booth Display Options: How to Choose for Your Setup
Table Cover Size Chart: 4, 6 and 8 ft Tables, Every Style
A 6ft open-back table throw measures 126 x 62.25 inches and costs $213.99. Compare 4ft, 8ft, [...]
Read More: Table Cover Size Chart: 4, 6 and 8 ft Tables, Every Style
10x10 Trade Show Booth Ideas: Make a Small Booth Look Bigger
A 10 ft SEG backwall is $974.99 with frame and bag and spans 118 x 89 in of a 10x10 booth. [...]
Read More: 10x10 Trade Show Booth Ideas: Make a Small Booth Look Bigger