How to Install a 10x10 Canopy Tent: The Setup Order
 Tomas Amaya
February 26, 2026Updated October 16, 20269 min read
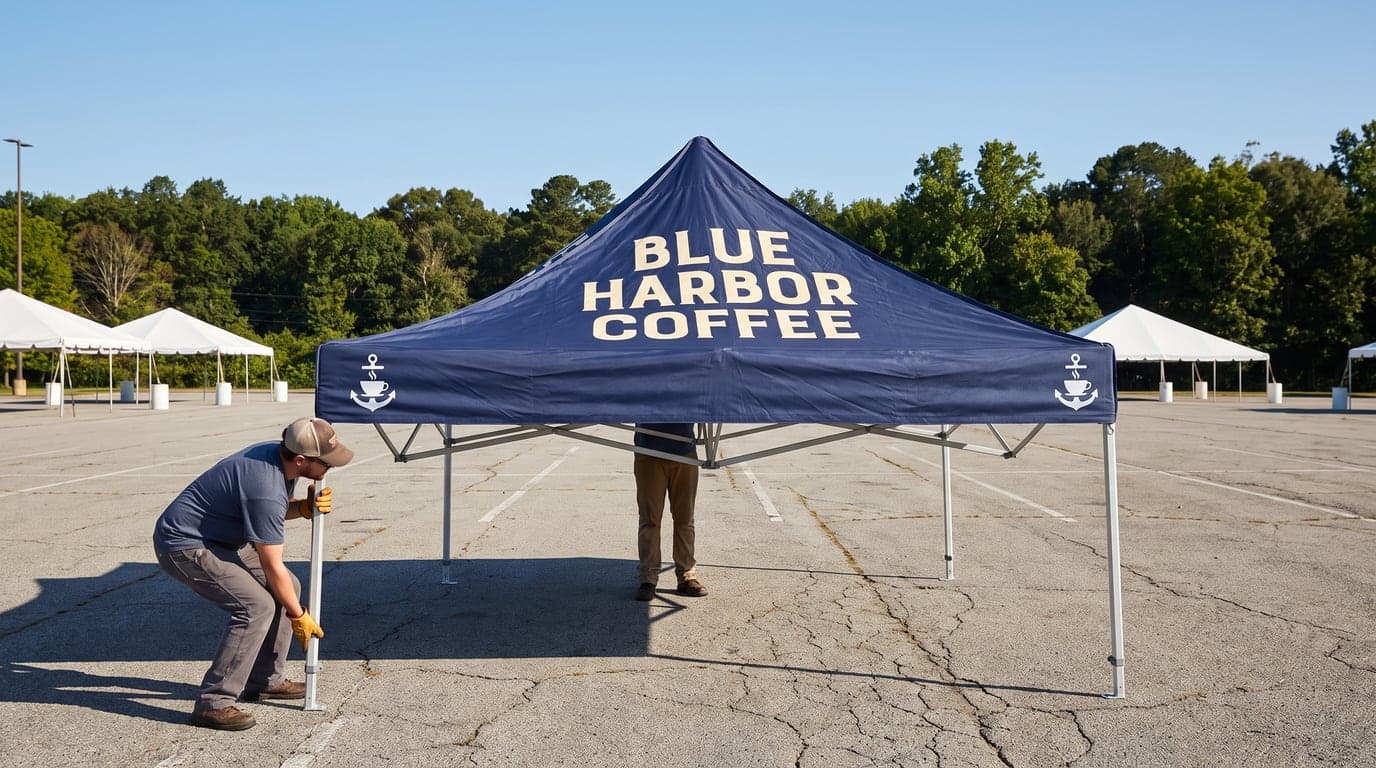

How Do You Set Up a 10x10 Canopy Tent?
Set up a 10 x 10 canopy in 5 steps: open the frame partway, attach the top, open the frame, extend the legs, and secure all 4 legs. A full-custom V6 kit is $973.69, printed in the USA in 3 to 4 business days after artwork approval, with flat $10 nationwide shipping.
A 10 x 10 pop-up canopy sets up in 5 steps: open the frame partway, attach the canopy while you can reach each corner, open the frame fully, extend the legs evenly, and secure all 4 legs. The frame uses no tools. Two people make the process easier, but one person can follow the same order.
The tent ships to the address on the order for customer setup. A full-custom 10 x 10 with the included V6 frame is $973.69. That kit includes the printed canopy, frame, ropes, stakes, and a standard carry bag.
Do the arrival check before any of this if the tent is new. Look at the legs, the truss bars and the joints the day the box arrives, before the first setup. Report shipping damage or a defect found on arrival within 5 business days of delivery, with the order number and photos. That arrival window applies to every frame, including the V6, which has no warranty after it. A defect that shows up later is handled under the purchased term of that tier. The V6 has no term after the arrival window.
| Step | What you do |
|---|---|
| 1 | Open the frame only partway |
| 2 | Put the canopy on while the frame is only partly open |
| 3 | Open the frame fully |
| 4 | Extend the telescoping legs one at a time, from 124.5 to 137 inches |
| 5 | Secure every leg: stakes on grass, weight on pavement |
Where Should the Tent Stand?
Pick a spot where all four feet can sit down, and look up before you unfold anything. The telescoping legs adjust from 124.5 to 137 inches. Check everything overhead in that space: power lines, tree limbs, a balcony, a building overhang. The leg figure is the adjustment range of the legs. It is the range you have to clear.
Do not leave a tent standing unattended in wind. No frame in this lineup is rated for that, and we do not publish wind ratings we cannot stand behind. If the wind is already the story of the day, leave the tent in the bag. Ballast it every time you do put it up. Stakes work on grass, and on pavement you need weight.
Store it indoors and off a concrete floor between dates. Long stretches in a hot vehicle are hard on the canopy print and on the leg locks. The frame page is where those care lines, and the warranty terms, are written out.
How Does the Canopy Go On?
The canopy goes on while the frame is only partly open. Spread the top across the frame and fasten it before you open the frame the rest of the way. Two people make that easier. One person can hold the cloth while the other works a corner.
The print is dye-sublimated on 6 oz weatherproof polyester, seam to seam, on every full-custom tier. The logo-only kit, at $759.69, is the same pop-up with a solid canopy color (white, black, green, red or blue) and the logo in black or white. The setup order does not change with the artwork.
A replacement canopy top is a different box. Canopy graphic only is $631.29, and it ships without the frame, the ropes, the stakes or the bag. If this is your first tent, order the complete kit, the one that includes the frame.
How Do You Set the Leg Height?
After the frame is fully open, extend the legs. The telescoping legs adjust from 124.5 to 137 inches. Extend and collapse the legs one at a time, evenly, rather than forcing a corner. Bent legs are the most common frame damage we see.
Check everything overhead again once the legs are out. A limb that cleared the packed frame can sit inside the 124.5 to 137 inch range. Set each leg in that range and stop when the feet are down. The frame you bought does not change the range. Every 10 x 10 tier uses the same telescoping legs.
The V6 in the $973.69 tent weighs 51 lb. The V5 weighs 48 lb, at $1,294.69. The V4, the heavier-duty steel frame for a booth out most weekends, weighs 52 lb at $1,423.09. The V4 Lite weighs 32 lb at $1,519.39. It is the same customer as the V4, minus the crew: lighter to carry, not tougher, on the same 45 mm legs and the same 2 year term. The V3 weighs 50 lb at $2,086.49, for weekly use, years of it. Weight changes the carry. It does not change the five steps.
How Do You Anchor Each Leg?
Ballast it every time. Stakes work on grass, and on pavement you need weight. Ropes and stakes ship with the tent. On grass or dirt, tie the rope and use the stakes that come in the box, one at each leg.
On concrete, asphalt, pavers or an indoor floor, stakes will not hold. Order 4 sandbags. The set adds $133.00 and is one bag for each leg. The bags are a paid option. They are not in the $973.69, and they are not in the $759.69 logo-only kit either. Ropes and stakes still come in the box when you add the bags, for the dates that are actually on grass.
A full wall is a printed wall. One full wall adds $364.00. One single-sided half wall adds $259.00. Order a wall when the booth needs a printed side. The wall is a separate line from the frame, and it is not part of the frame warranty. The wheeled carry bag adds $164.00. It is the bag for a long walk from the vehicle. It is not a substitute for stakes or for the sandbag set.
What We See on the First Setup
Bent legs are the most common frame damage we see. They come from forcing a corner instead of extending the legs one at a time. Collapse them the same way at the end of the day: one at a time, evenly, rather than forcing a corner to get the frame into the bag.
A damp canopy packed away causes mildew, and mildew is not a frame problem the warranty can help with. Dry the canopy before it goes back in the bag. That is true on a V6 with no warranty and on a V3 with a lifetime term. The printed canopy is a separate item from the frame either way.
The arrival check is the other thing that gets skipped. Shipping damage, or a defect you can see when you open the box, has to be reported within 5 business days of delivery and before the first setup. A defect that shows up later is handled under the purchased term of that tier. Wind damage is excluded on every tier, so a tent that was left standing unattended in wind is not that claim.
Worked Example: A Festival Crew on Grass
In this example, Lark and Field Events is a sample festival crew that orders a 10 x 10 full-custom tent on the V6 for a handful of outdoor dates in one season. The price is $973.69, which includes the canopy, the frame, ropes, stakes and the standard bag. The V6 card is a season of markets, with no warranty after the arrival check. They do not add a frame upgrade for that calendar, and they do not add sandbags, because every site they have booked is grass that will take a stake.
Two people make the setup easier. They open the frame partway, put the canopy on, open it fully, extend the legs one at a time inside the 124.5 to 137 inch range, and stake every leg. At the end of the night they collapse the legs one at a time and dry the canopy before it goes back in the bag.
The V6 is produced in 3 to 4 business days after artwork approval. Shipping is a flat $10, and the tent is printed in the USA. They open the box the day it arrives, before the first setup, because the report window for shipping damage is 5 business days and before anyone puts the frame up. An upgraded frame, if they add one later, takes about 2 weeks after artwork approval. The V4 would be $1,423.09 if the calendar moved to most weekends. The setup steps would stay the same.
What Should You Leave Out of the Order?
Do not plan on someone from the shop meeting you at the site. The order ships to you, and you set it up. You bring whoever is helping. Two people make it easier. They are not a line on the invoice.
Do not order canopy graphic only, at $631.29, unless you already own a frame. That price is the top. It does not include ropes, stakes or a bag.
Do not treat the logo-only kit as a different product to assemble. At $759.69 it is the same V6 pop-up. Frame upgrades, from the V5 at $321.00 more through the V3 at $1,112.80 more, are chosen on the full-custom canopy. They set up in the same order.
Do not buy the wheeled bag, at $164.00, in place of ballast. Ballast it every time. Stakes on grass. The $133.00 sandbag set on pavement.
How Do You Order the Tent?
Order the complete canopy and frame. Add the $133.00 sandbag set if any date is on hard ground. Add a printed wall only if the booth needs a closed side. Add the wheeled bag only if the walk from the vehicle is the problem.
Configure the 10 x 10 canopy tent. Approve the proof, then count production from that approval: 3 to 4 business days on the V6, about 2 weeks on an upgraded frame. Shipping is a flat $10 to any US address. When the box arrives, inspect the frame before the first setup, then open it partway and put the canopy on.
Frequently Asked Questions
No. The order ships to you, and you set it up. It is a tool-free pop-up. Two people make it easier.
1 complete tent kit includes the canopy graphic, the frame you chose, ropes, stakes, and a standard carry bag. Sandbags, walls, and a wheeled bag are paid options. A $631.29 replacement canopy top ships without the frame, ropes, stakes, or bag.
The telescoping legs adjust from 124.5 to 137 inches. Check everything overhead in that space. Extend and collapse the legs one at a time, evenly, rather than forcing a corner.
1 person can follow the same setup order, but 2 people make it easier. The 32 lb V4 Lite is the frame choice when carrying weight is the main concern.
4 sandbags add $133.00 and give you one bag for each leg. Skip the stakes on concrete. Stakes work on grass, while concrete and pavement require weight.
The reporting window for shipping damage or a defect found on arrival is 5 business days after delivery, and you must report it before the first setup. Include the order number and photos. Later defects follow the purchased frame term; V6 has no term after the arrival window.
Related Articles
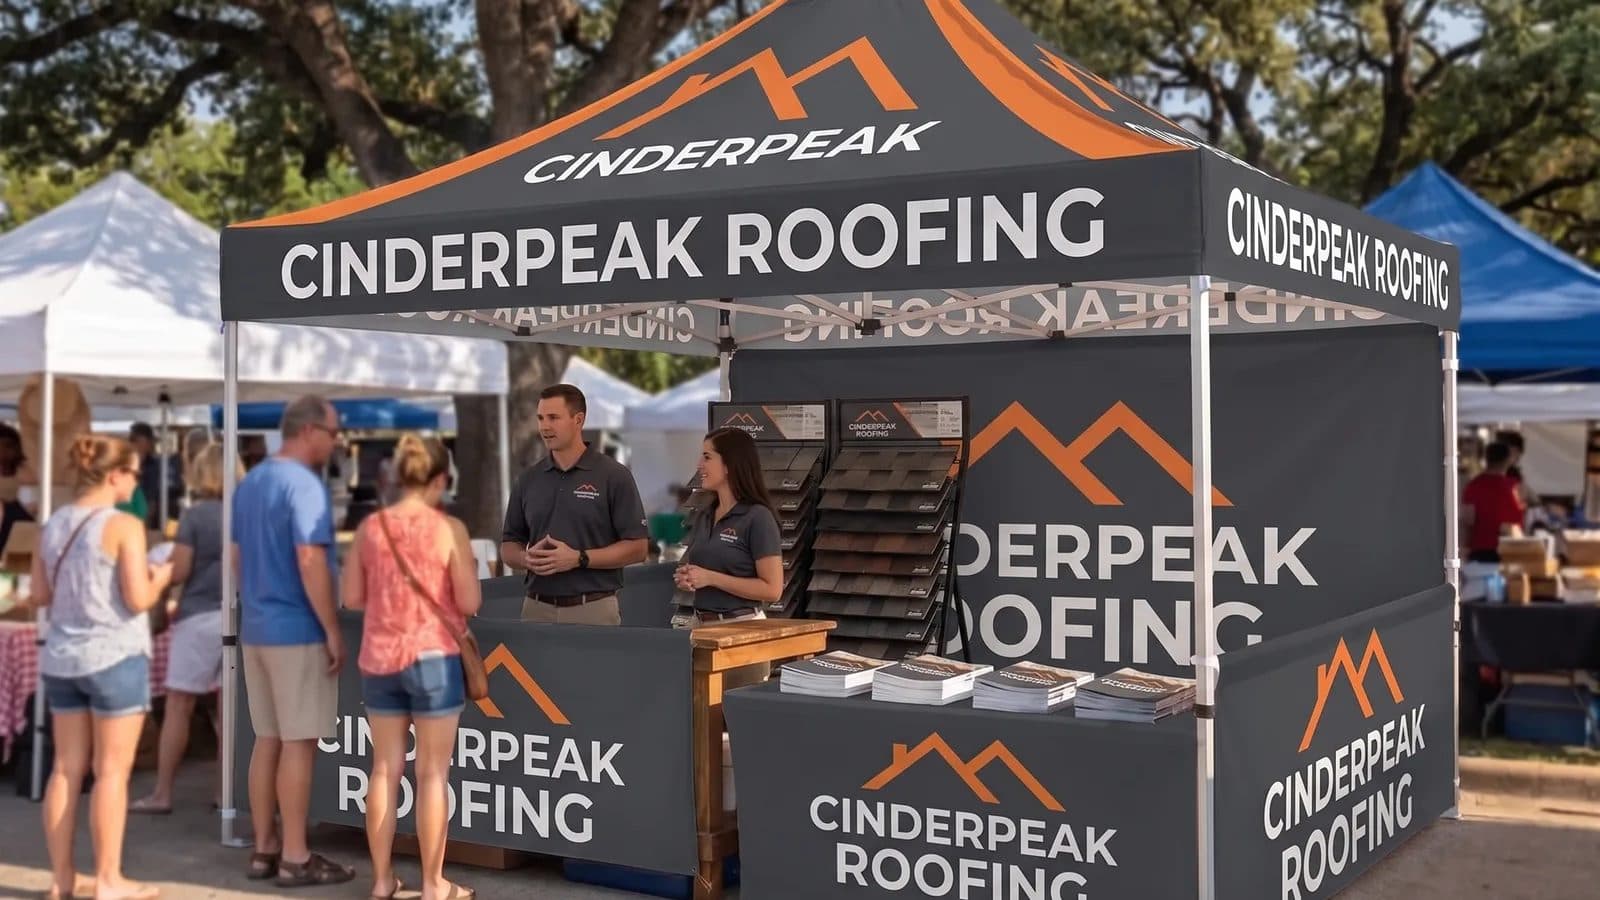
Heavy Duty Canopy Tent Wind: Frames, Bags and Stakes
No canopy frame publishes a wind-speed rating, and wind damage is excluded on all 5 tiers. What [...]
Read More: Heavy Duty Canopy Tent Wind: Frames, Bags and Stakes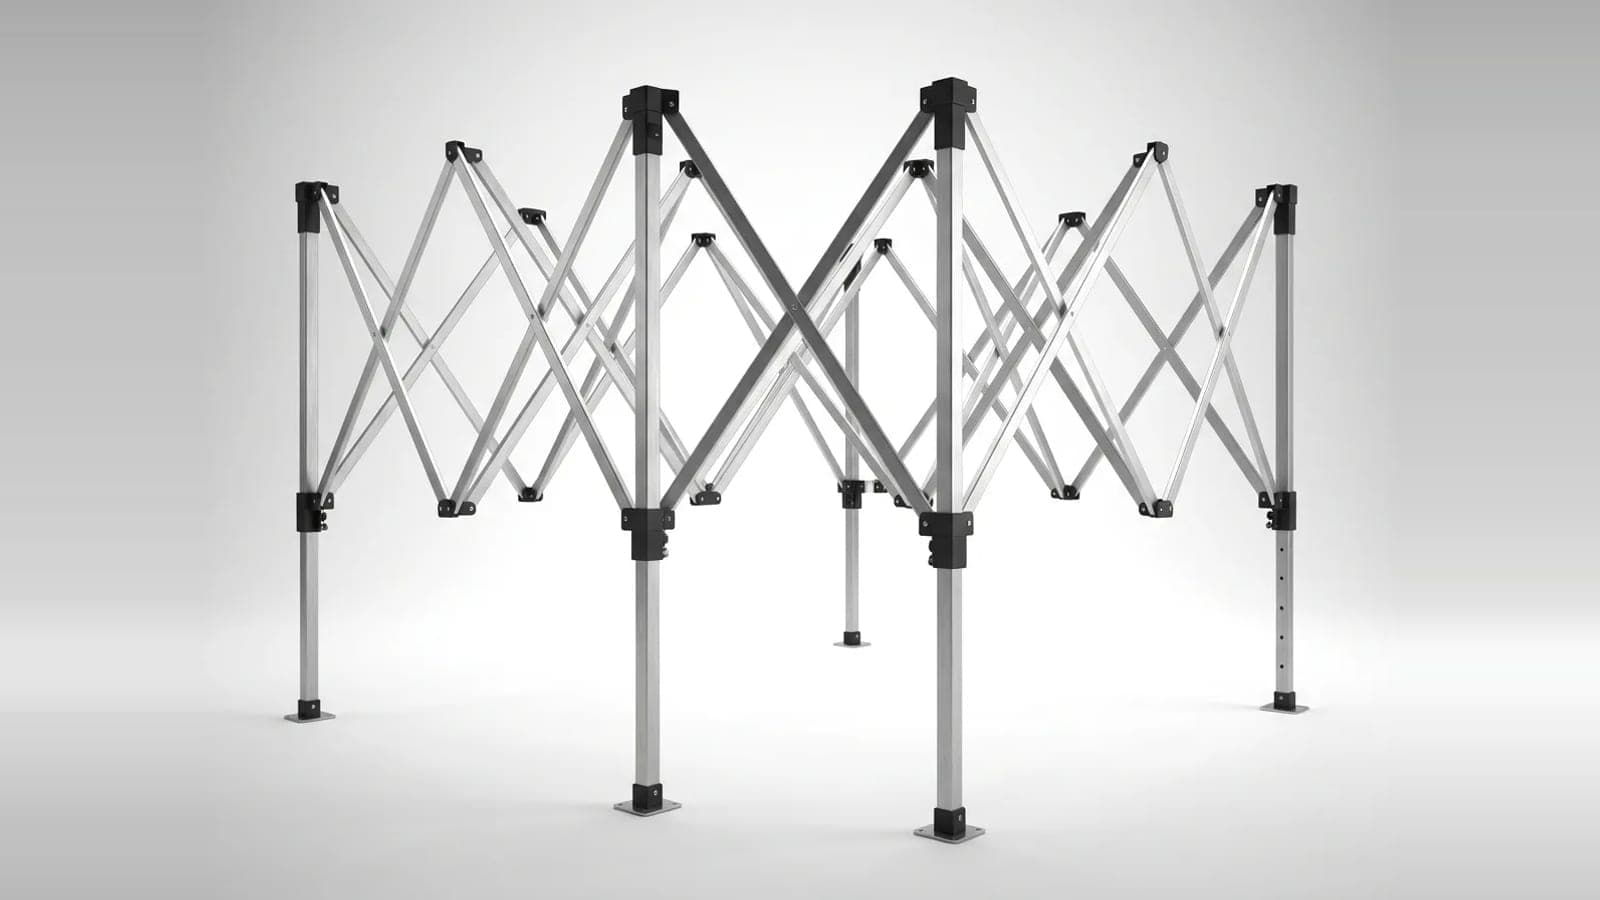
Steel vs Aluminum Canopy Tent Frame: Weight and Warranty
Two of the 5 canopy frames are powder-coated steel and 3 are aluminum. Wall thickness, leg [...]
Read More: Steel vs Aluminum Canopy Tent Frame: Weight and Warranty
Lifetime Warranty Canopy Tent: When the V3 Pays Off
Only the V3 carries a lifetime term, covering defects in materials and workmanship. The other 4 [...]
Read More: Lifetime Warranty Canopy Tent: When the V3 Pays Off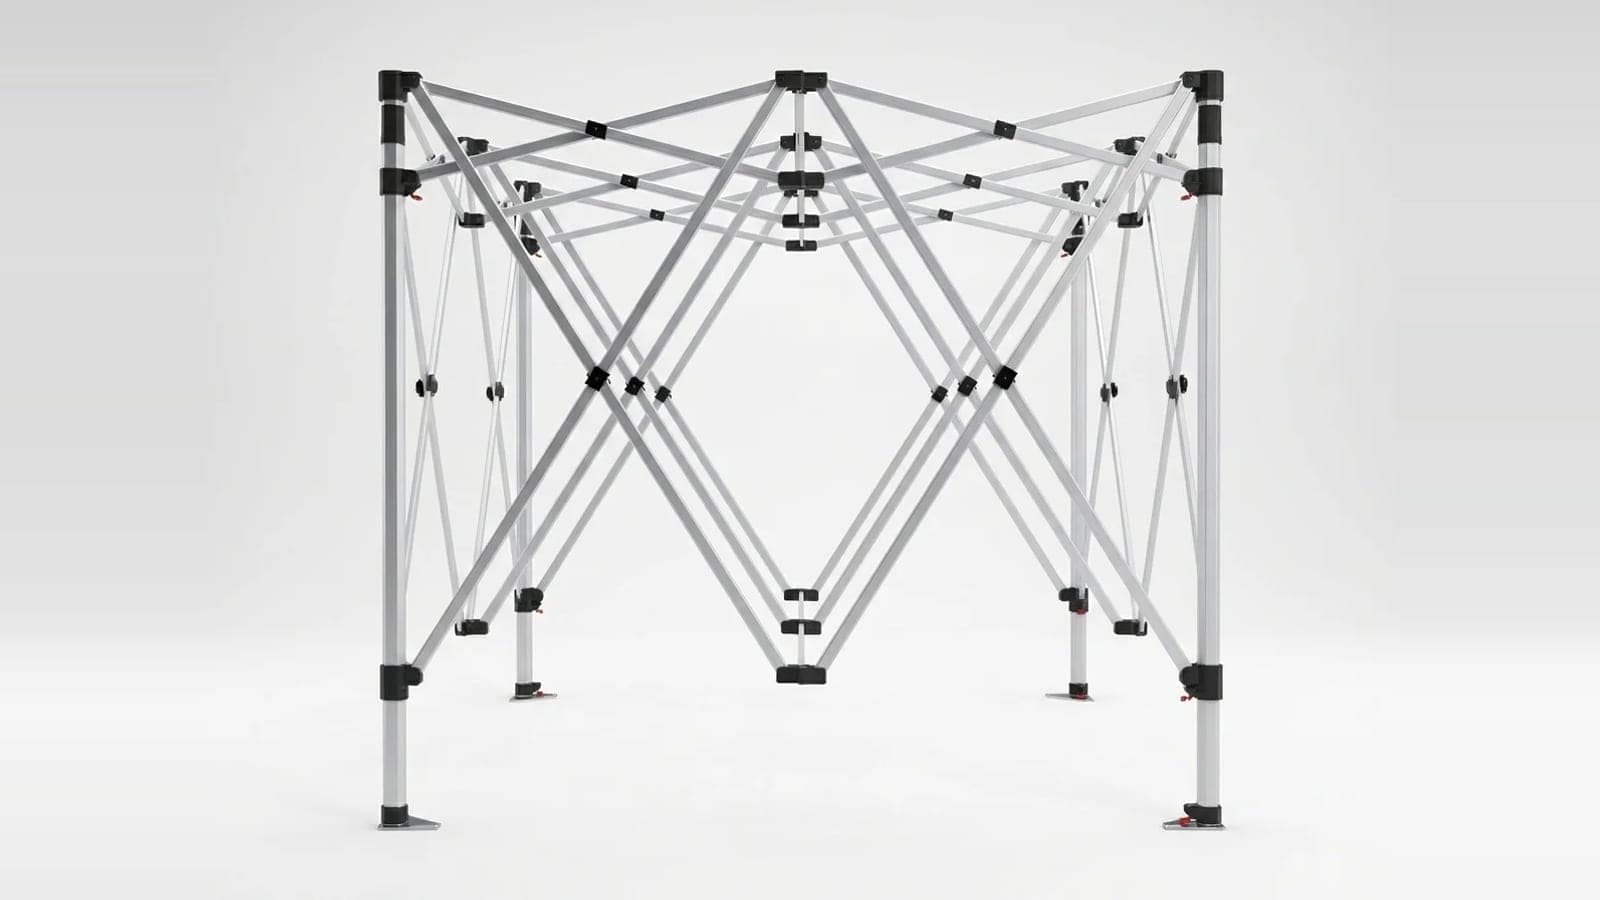
Canopy Tent Frame Warranty: What It Covers, Who Needs It
Canopy frame warranties cover defects in frame materials and workmanship, with parts and labor [...]
Read More: Canopy Tent Frame Warranty: What It Covers, Who Needs It