How to Press DTF Transfers: Temperature, Time and Peel
 Daniel
November 14, 2026Updated November 14, 20268 min read
What Temperature, Time and Pressure Should I Use for DTF Transfers?
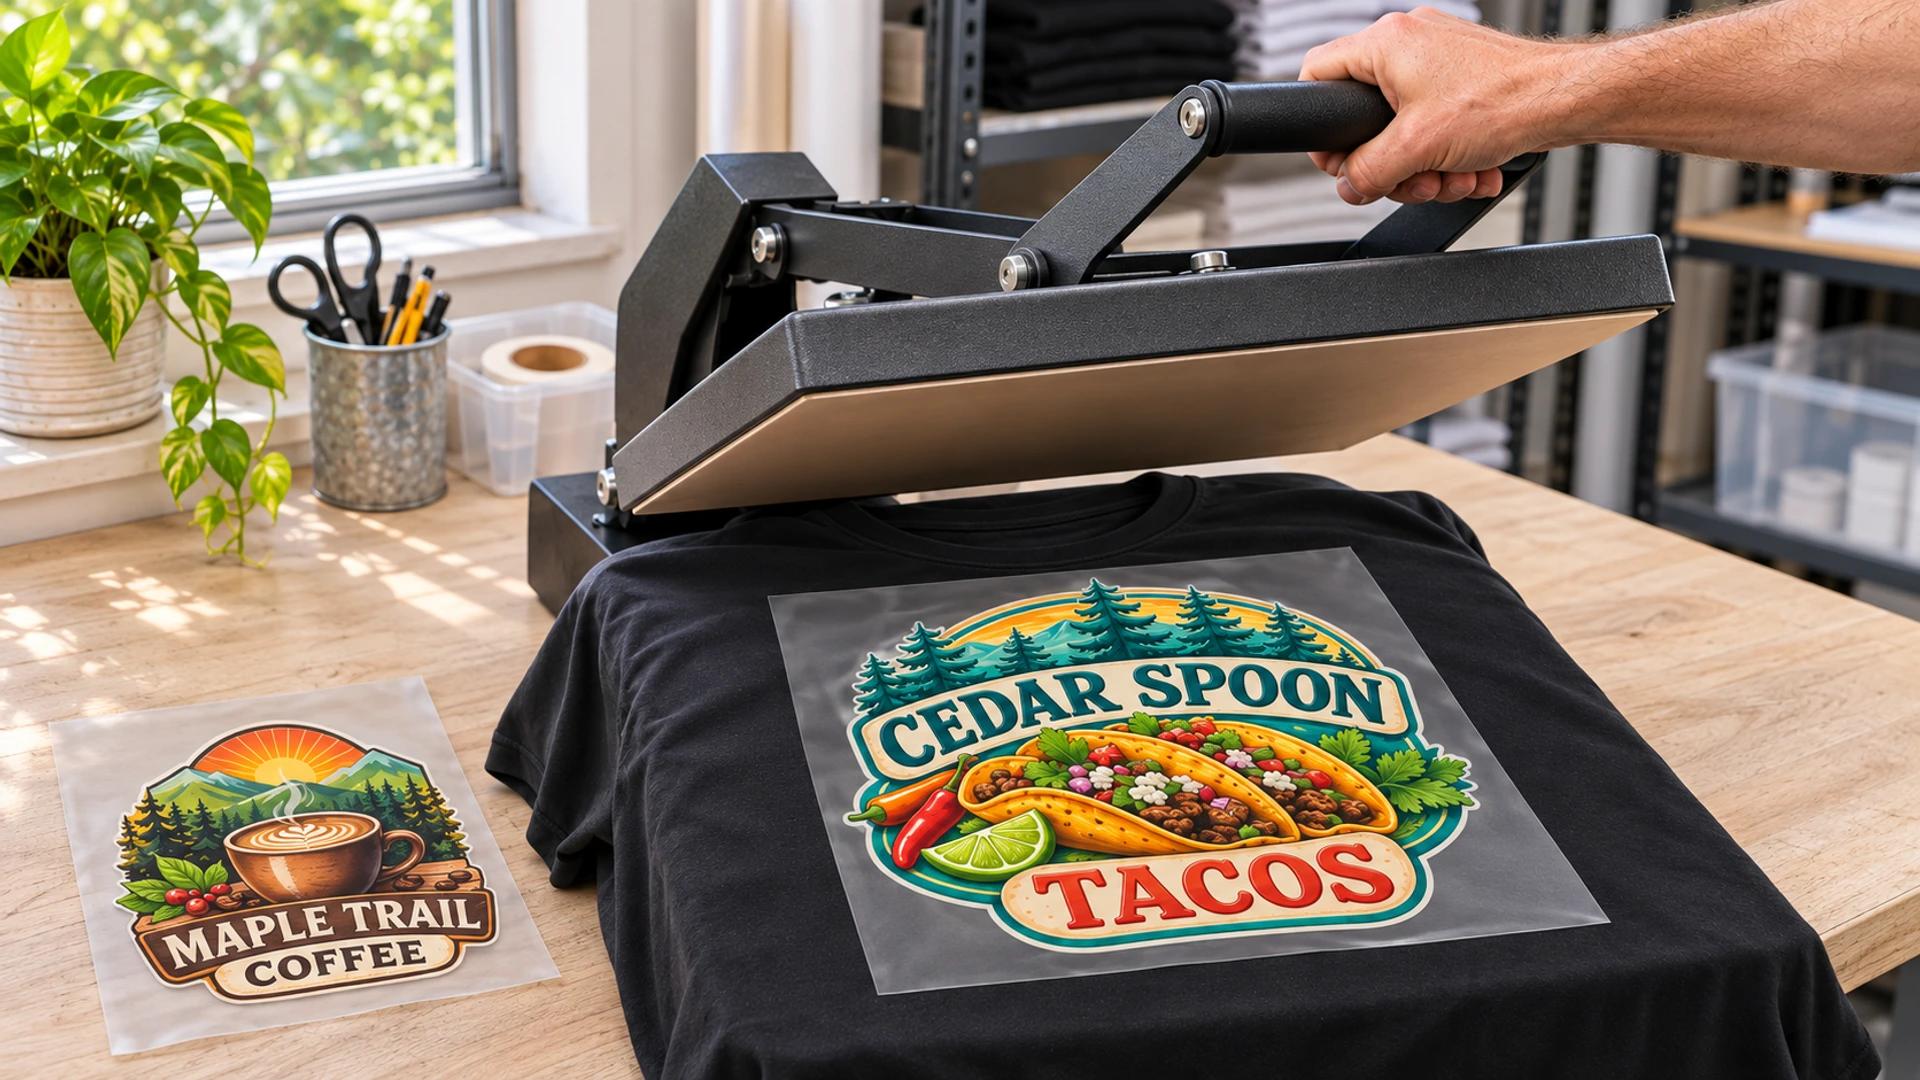
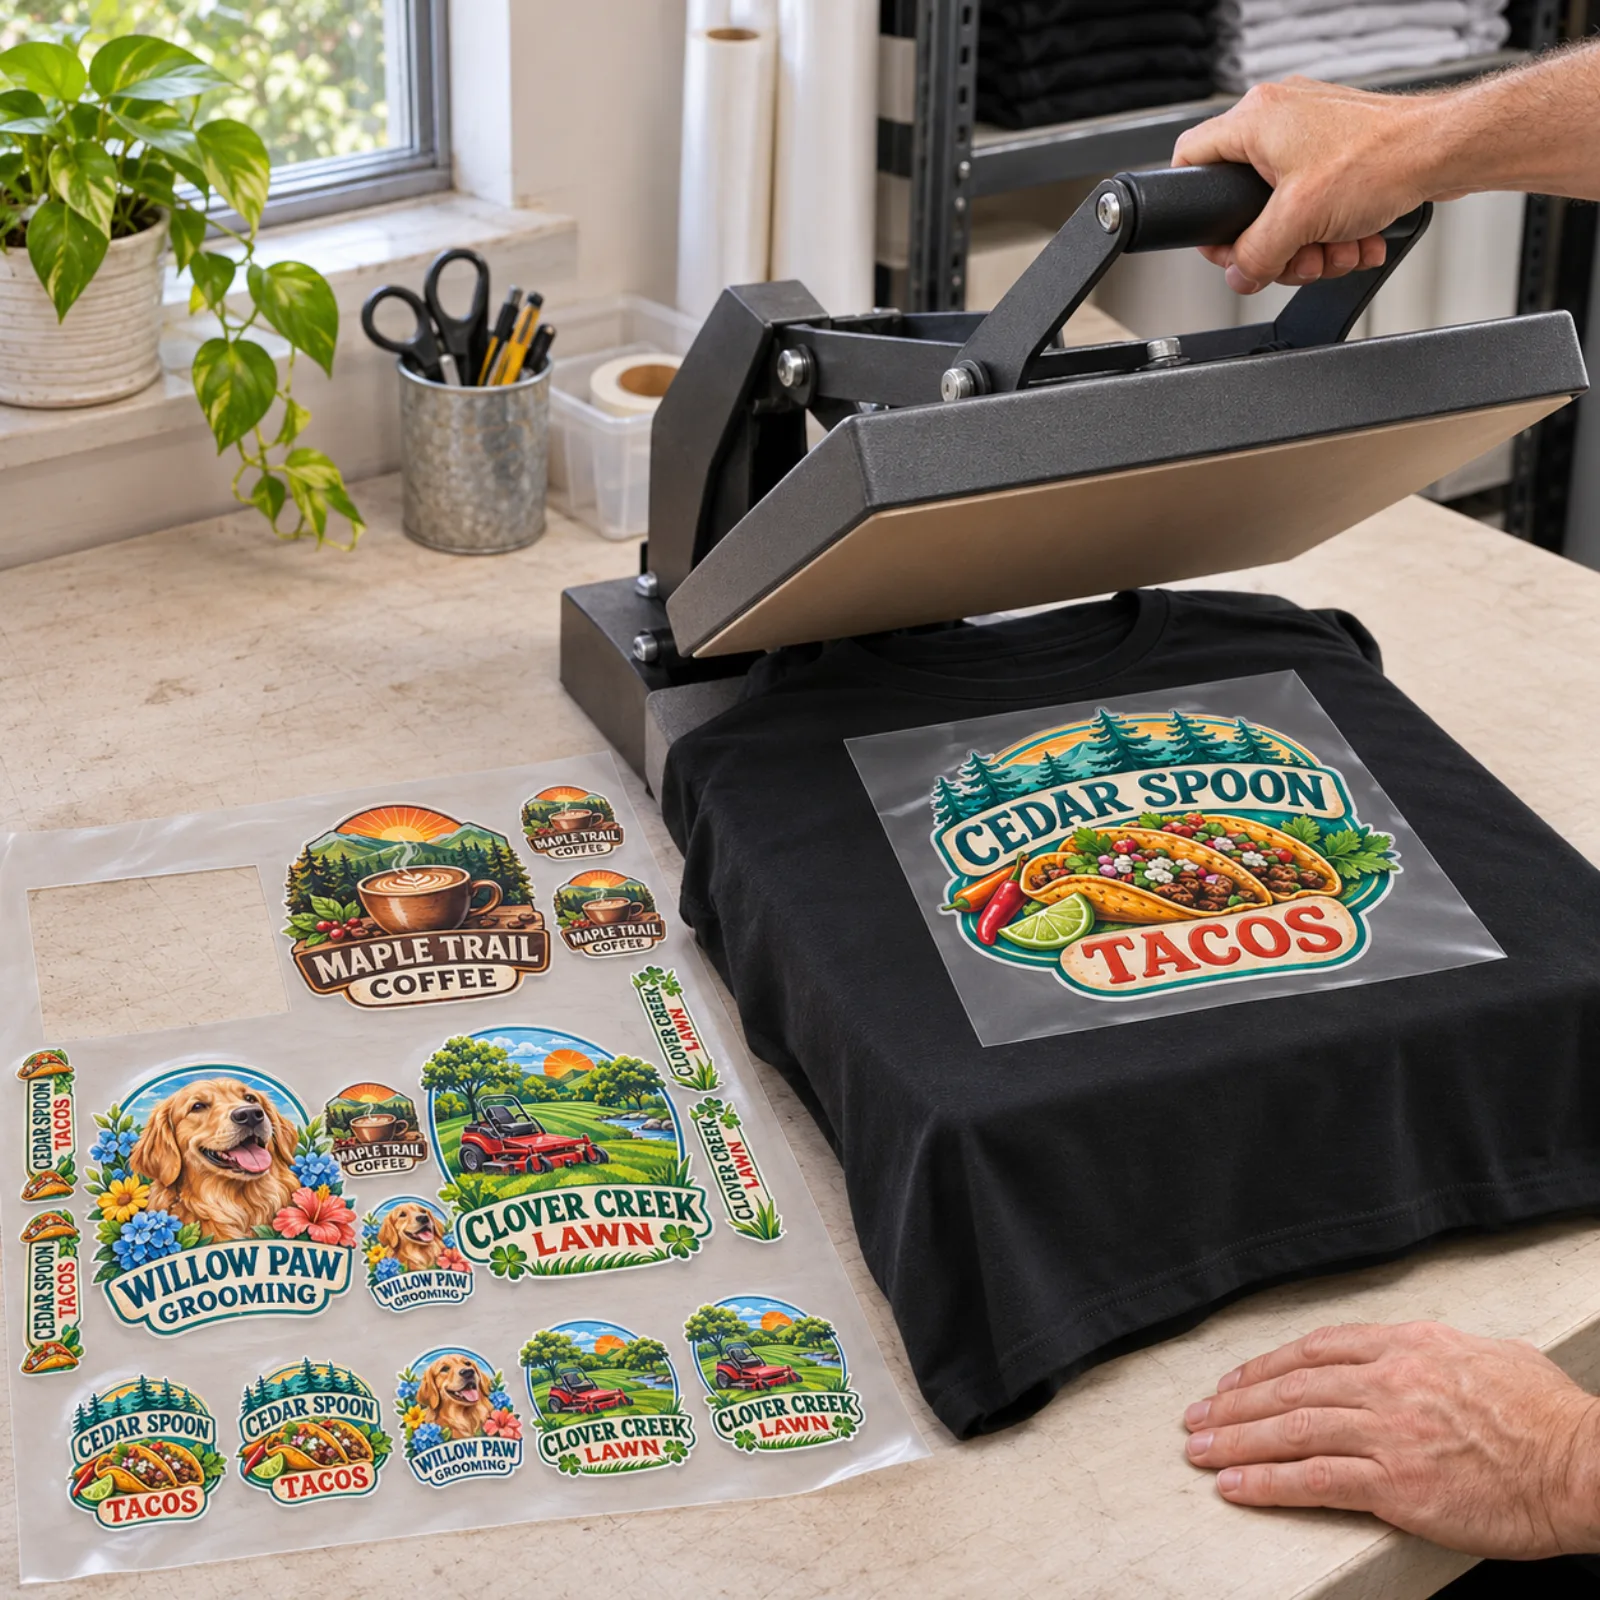
Press DTF transfers at 290 to 320 F for 10 to 20 seconds at firm pressure (35 to 50 PSI), then let them cool and peel cold. Pre-press for 5 to 7 seconds and post-press through parchment or a cover sheet for 5 to 7 seconds. Settings vary by press and garment.
Press DTF transfers at 290 to 320 F for 10 to 20 seconds at firm pressure (35 to 50 PSI), then let them cool and peel cold. Pre-press for 5 to 7 seconds and post-press through parchment or a cover sheet for 5 to 7 seconds.
These are general settings. The result varies by heat press and garment, so begin within the stated range and follow the guidance for the specific equipment and fabric.
A 22" x 24" (2 ft) DTF gang sheet is $29.99. No minimum, order just one sheet. Upload a logo, photo or ChatGPT image and we make it print ready for $14.99 per item, with a free proof before printing. Printed in the USA in 3 to 4 business days and shipped nationwide, flat $10 shipping to any US address.
How Do I Press a DTF Transfer Step by Step?
7 steps take a DTF transfer from a clean garment to the finished post-press. Keep the design flat, use even pressure and wait for a full cold peel.
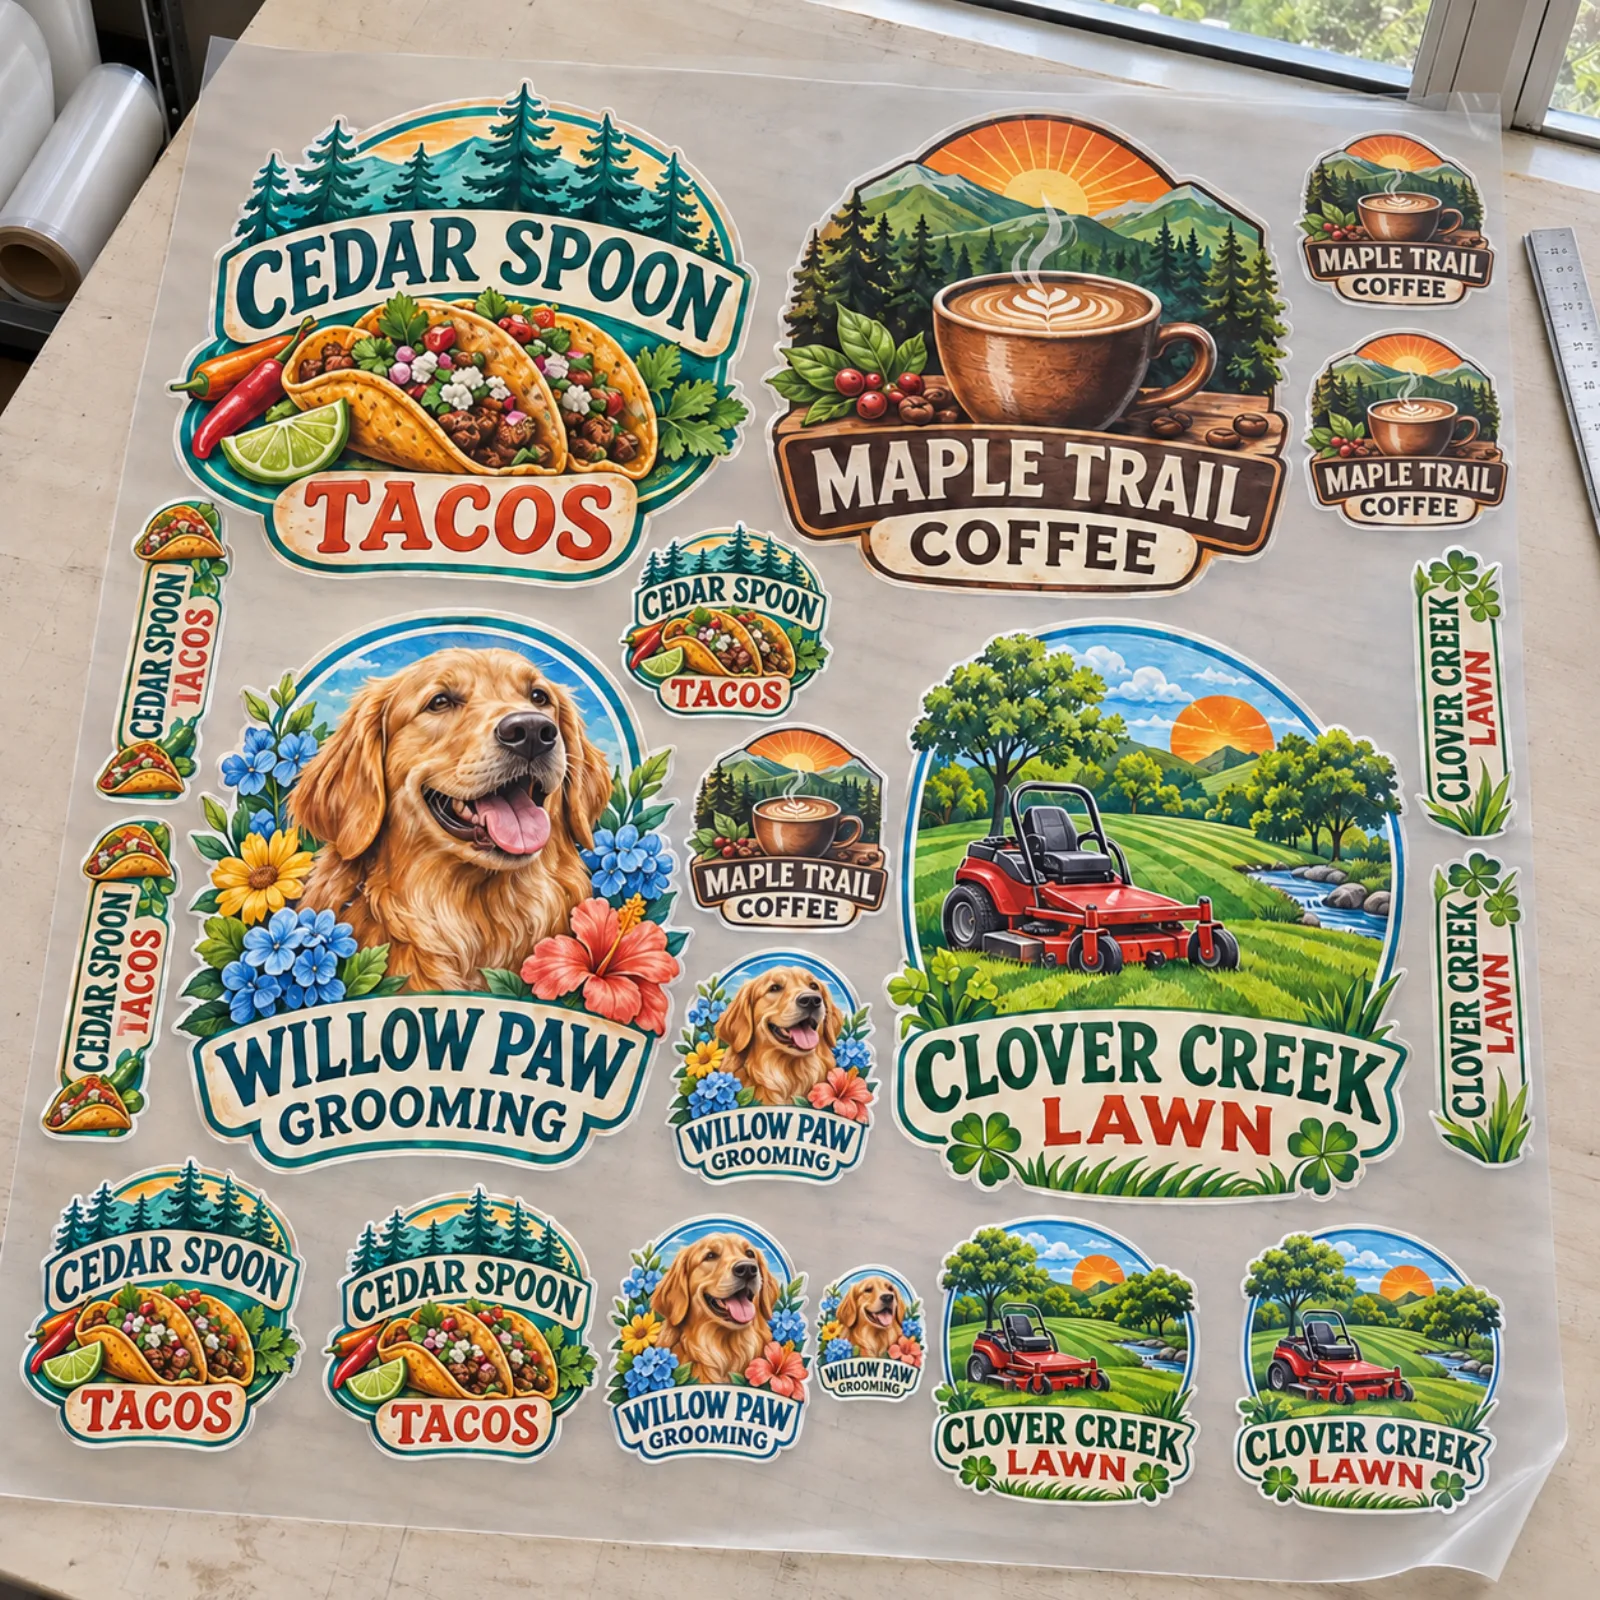
- Pre-press the garment for 5 to 7 seconds to remove moisture.
- Place the DTF transfer with the adhesive side against the fabric.
- Set firm, even pressure in the 35 to 50 PSI range.
- Press at 290 to 320 F for 10 to 20 seconds.
- Let the transfer and garment cool completely.
- Peel the film cold after the complete printed area has cooled.
- Cover the design with parchment or a cover sheet and post-press for 5 to 7 seconds.
Use the numbers in the same order every time. Pre-press first, complete the main press within the stated ranges, wait for the full cold peel, and finish with the covered post-press.
The main press should cover the complete design while it stays flat. Do not lift the film during the cooling stage. The carrier is removed only after the transfer and fabric have cooled completely.
Why Does the Garment Need a Pre-Press?
5 to 7 seconds of pre-press time removes moisture before the transfer is applied.
After the pre-press, place the transfer at its intended final position. Keep the complete design flat, then use firm, even pressure for the 10 to 20 second main press.
Why Must This DTF Film Peel Cold?
After the 10 to 20 second press, let the complete transfer cool before removing this cold-peel film. Peeling while the transfer is still hot skips the stated cold-peel sequence.
Let the entire printed area cool, not only one corner. Once the transfer has cooled completely, remove the carrier and move to the covered post-press.
Why Does DTF Need a Post-Press?
5 to 7 seconds under parchment or a cover sheet completes the stated press sequence after the carrier film is removed.
Keep the complete design flat during this step. Cover the exposed print with parchment or a cover sheet, then press for the full 5 to 7 seconds.
Which Fabrics Can I Press With DTF Transfers?
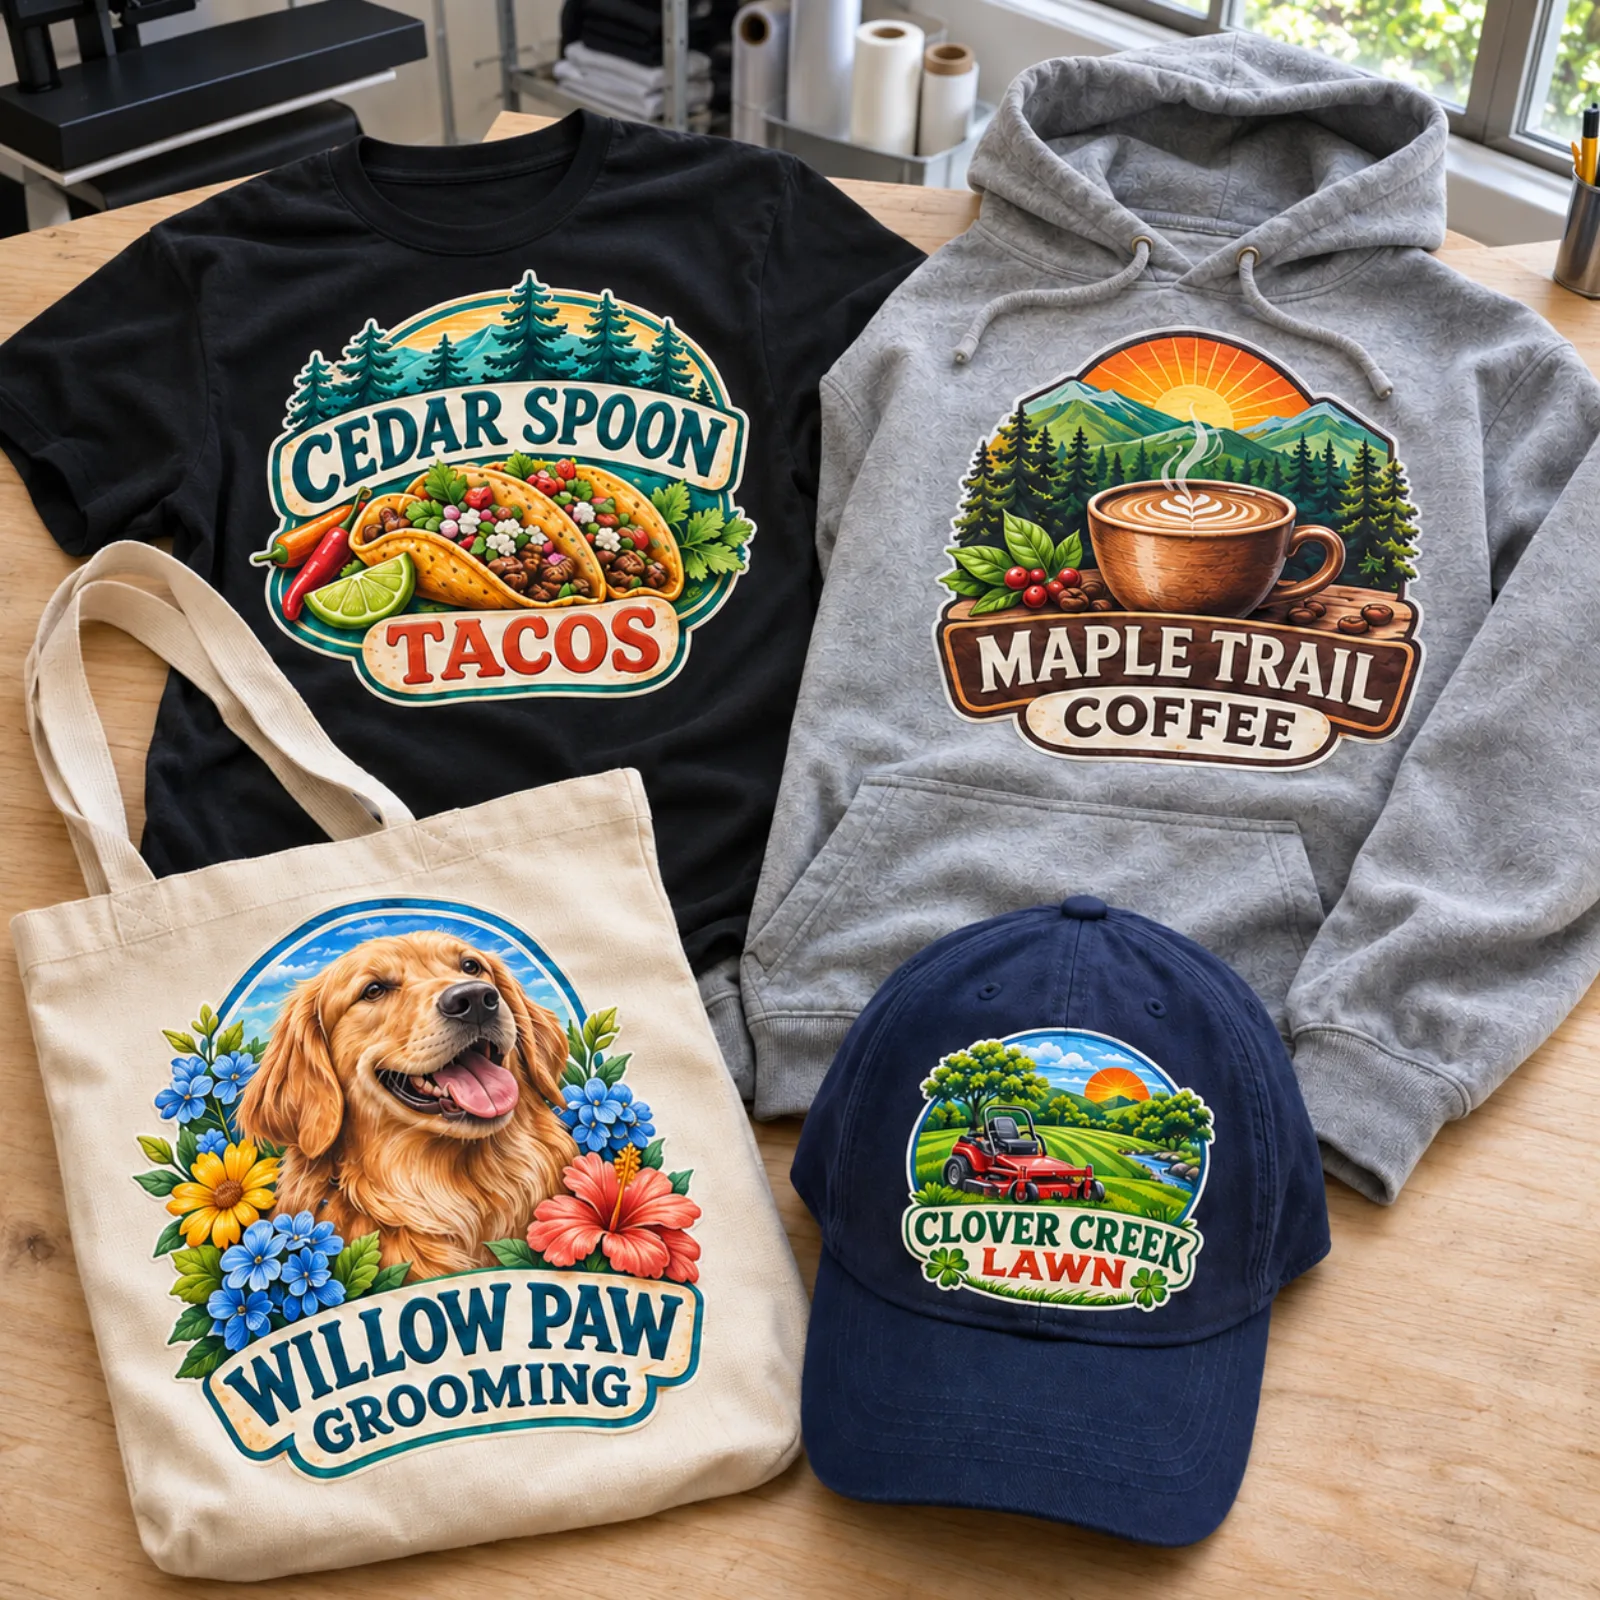
DTF transfers work with 4 fabric groups: cotton, polyester, blends and canvas. Shirts, fabric hats and tote bags can receive full-color CMYK artwork with a white base for light or dark material.
The DTF film includes hot melt adhesive for the fabric application. Keep the complete design flat under firm, even pressure and follow the 290 to 320 F, 10 to 20 second and cold-peel sequence.
DTF is the fabric choice. UV DTF transfers apply to hard surfaces without heat and are not for fabric. If you want a completed garment instead of pressing transfers, use the custom t-shirt page.
What Pressing Mistakes Should I Check First?
Check 6 stated steps before another press: pre-press time, temperature, main-press time, pressure, peel timing and post-press time.
| Check | What to verify |
|---|---|
| Pre-press | The fabric received a 5 to 7 second pre-press to remove moisture |
| Temperature | The press was within 290 to 320 F |
| Main press | The transfer received 10 to 20 seconds |
| Pressure | The complete design received firm, even pressure |
| Peel | The garment and transfer cooled before the cold peel |
| Finish | The design received a 5 to 7 second post-press under parchment or a cover sheet |
Keep the design flat, stay within every listed range, cool completely before the cold peel and finish with the covered post-press.
How Many Designs Fit on a 2 Foot DTF Sheet?
4 designs at 10 x 10 inches, 42 designs at 3 x 3 inches or 20 designs at 5 x 4 inches fit the 22 x 24 inch example sheet. Each layout keeps 1/8 inch clear at every sheet edge and uses 1/4 inch between designs.
The edge clearance leaves 21.75 inches of usable width and 23.75 inches of usable height. The arithmetic for each direction is number × design size + (number - 1) × 0.25 inch, and the result must remain within those usable dimensions.
For 10 x 10 inch designs, 2 columns use 2 × 10 + 1 × 0.25 = 20.25 inches, and 2 rows also use 20.25 inches. That gives 2 × 2 = 4 designs. For 3 x 3 inch designs, 6 columns use 6 × 3 + 5 × 0.25 = 19.25 inches, while 7 rows use 7 × 3 + 6 × 0.25 = 22.5 inches. That gives 6 × 7 = 42 designs.
For 5 x 4 inch designs, 4 columns use 4 × 5 + 3 × 0.25 = 20.75 inches. Five rows use 5 × 4 + 4 × 0.25 = 21 inches, giving 4 × 5 = 20 designs. These are arithmetic examples, not standard dimensions for a shirt, hat or tote bag.
How Many Designs Fit on a 4 Foot DTF Sheet?
8 designs at 10 x 10 inches, 84 designs at 3 x 3 inches or 44 designs at 5 x 4 inches fit the 22 x 48 inch example sheet. The 1/8 inch clear edges leave 21.75 by 47.75 inches for the layout.
Two 10 inch columns use 20.25 inches, while 4 rows use 4 × 10 + 3 × 0.25 = 40.75 inches. That gives 2 × 4 = 8 designs. Six 3 inch columns use 19.25 inches, while 14 rows use 14 × 3 + 13 × 0.25 = 45.25 inches. That gives 6 × 14 = 84 designs.
Four 5 inch columns use 20.75 inches. Eleven 4 inch rows use 11 × 4 + 10 × 0.25 = 46.5 inches, giving 4 × 11 = 44 designs. Each example uses 1/4 inch between designs.
How Do I Order and Save Transfers for Later?
Choose from 10 gang sheet lengths, then cut the transfers apart, store them and press them later. Upload one transparent PNG, with 300 dpi recommended, keep 1/8 inch clear at every sheet edge and make no feature thinner than 0.02 inch (0.5 mm).
A 22 x 24 inch (2 foot) DTF gang sheet is $29.99. Shipping is a flat $10 per design to any US address.
Choose and order the sheet in 7 steps:
- Set every design to its final physical width and height.
- List the number of copies needed for every design.
- Arrange the designs inside a 22 inch wide canvas.
- Keep 1/8 inch clear at every edge and measure the full layout height.
- Compare that height with the 1 to 10 foot table in the DTF gang sheet size and price guide.
- Place the order with the ready PNG, or send a logo, photo or ChatGPT image for print-ready preparation at $14.99 per item.
- Review the digital proof sent after the order and approve it before printing.
Several DTF lengths share a price, so check the table and fill the longest sheet at your price.
At 300 dpi, a 22 x 24 inch canvas is 6,600 x 7,200 pixels. Use transparency where no ink should print and remove unused transparent padding around each design. If you already have a ready PNG, upload the arranged sheet. You may also send a logo, photo or ChatGPT image, and we can make that item print-ready for $14.99 per item.
For cups and other hard surfaces, read the UV DTF vs DTF comparison before ordering.
What Do We Check on Every Sheet Before It Prints?
We make 5 file checks before every sheet prints: sheet width, PNG transparency, recommended resolution, clear edges and minimum feature size. We check that the sheet is 22 inches wide, the PNG is transparent, 300 dpi is recommended, every design stays 1/8 inch clear of every edge, and every feature is at least 0.02 inch (0.5 mm).
The digital proof comes only after the order and before printing. Review the number of designs, final sizes, spelling and orientation there. Nothing prints until you approve it.
The proof review is separate from pressing. Approval confirms the prepared sheet layout for printing. After the printed transfer arrives, follow the same 7-step pressing sequence in this guide.
Frequently Asked Questions
290 to 320 F is the general DTF temperature range. Settings vary by press and garment. Keep the complete design flat under firm, even pressure during the 10 to 20 second main press.
10 to 20 seconds is the general main-press range after a 5 to 7 second pre-press. Finish with a 5 to 7 second post-press through parchment or a cover sheet.
Let the transfer and garment cool completely because these DTF transfers are cold peel. Lift the film only after the complete printed area has cooled.
35 to 50 PSI is the firm-pressure range. Keep the complete design flat under even pressure.
DTF works with cotton, polyester, blends and canvas, including shirts, fabric hats and tote bags.
A printed gang sheet can be cut into individual designs, stored and pressed later. Cut the transfer you need when preparing the next garment.
Related Articles
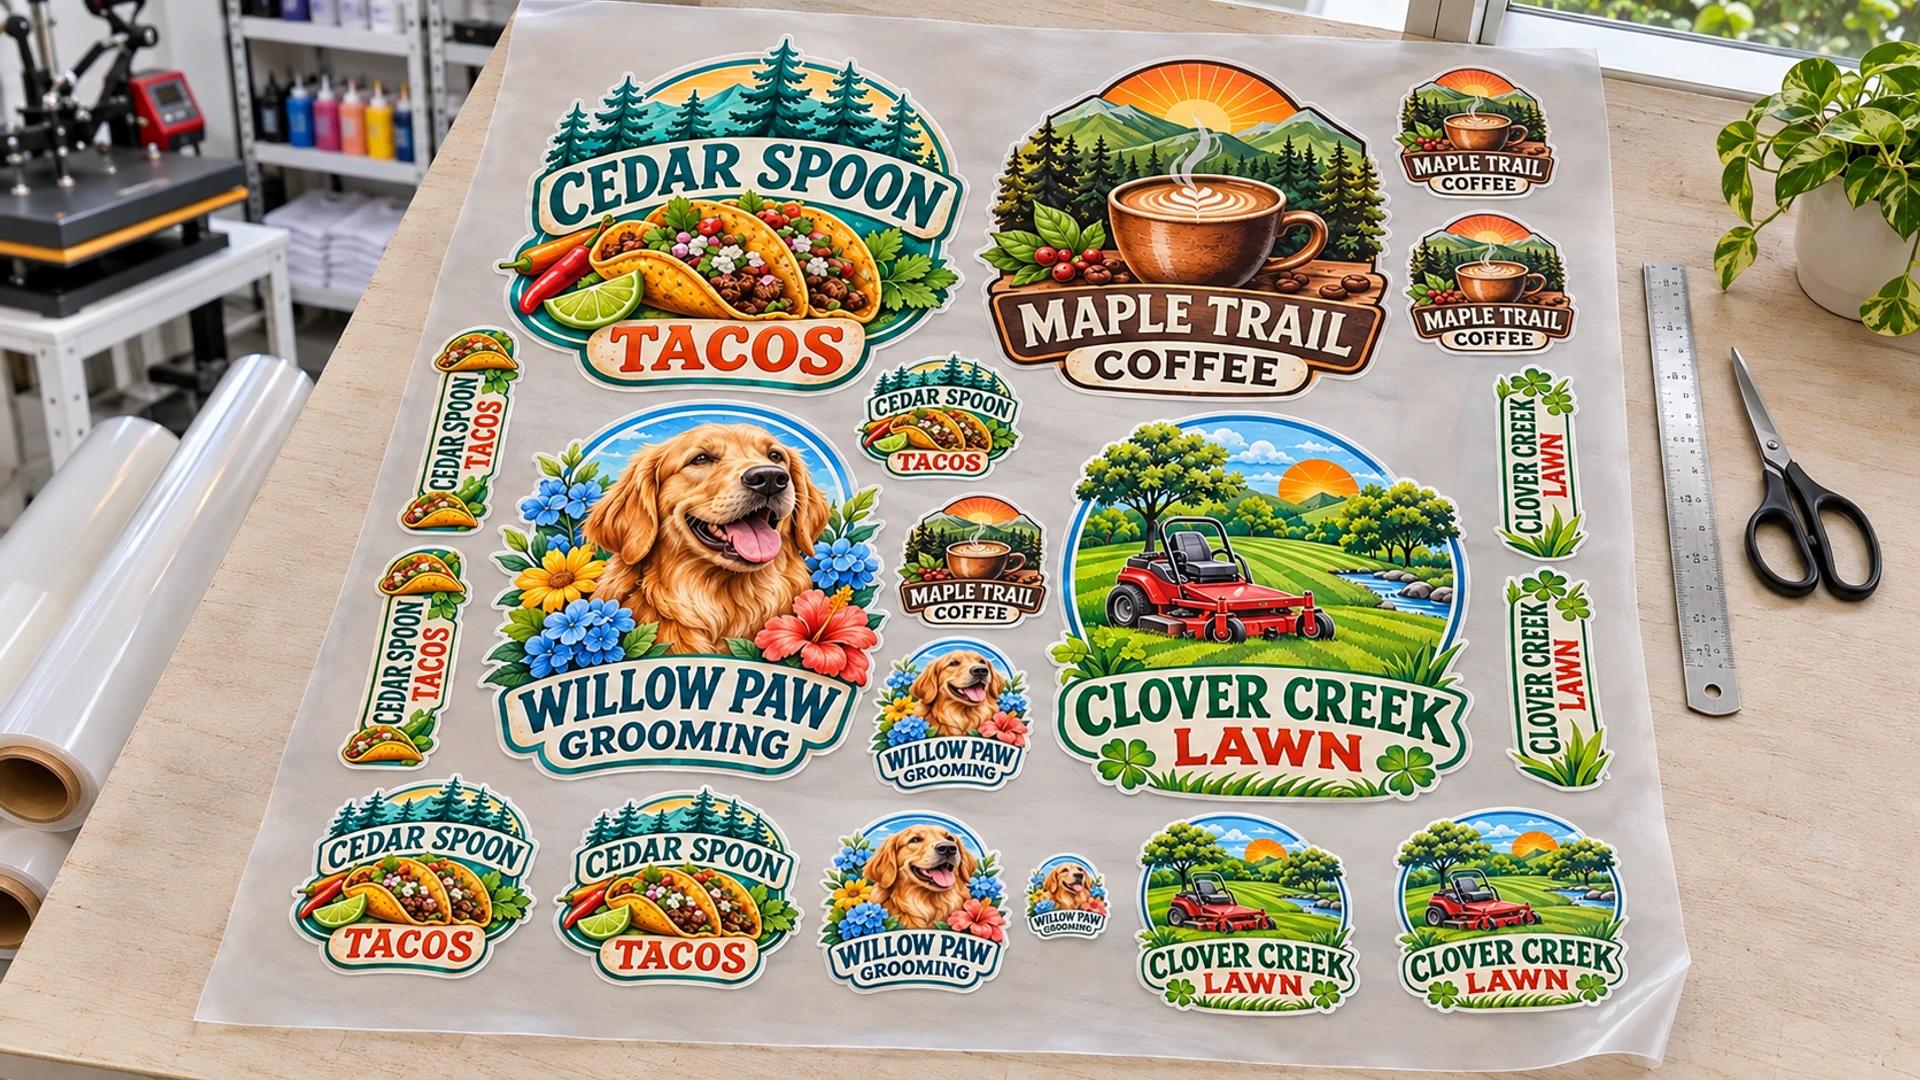
DTF Gang Sheet Sizes and Prices: All 10 Sheet Lengths
10 DTF gang sheet lengths run from 22 x 12 inches to 22 x 120 inches. Compare live prices, [...]
Read More: DTF Gang Sheet Sizes and Prices: All 10 Sheet Lengths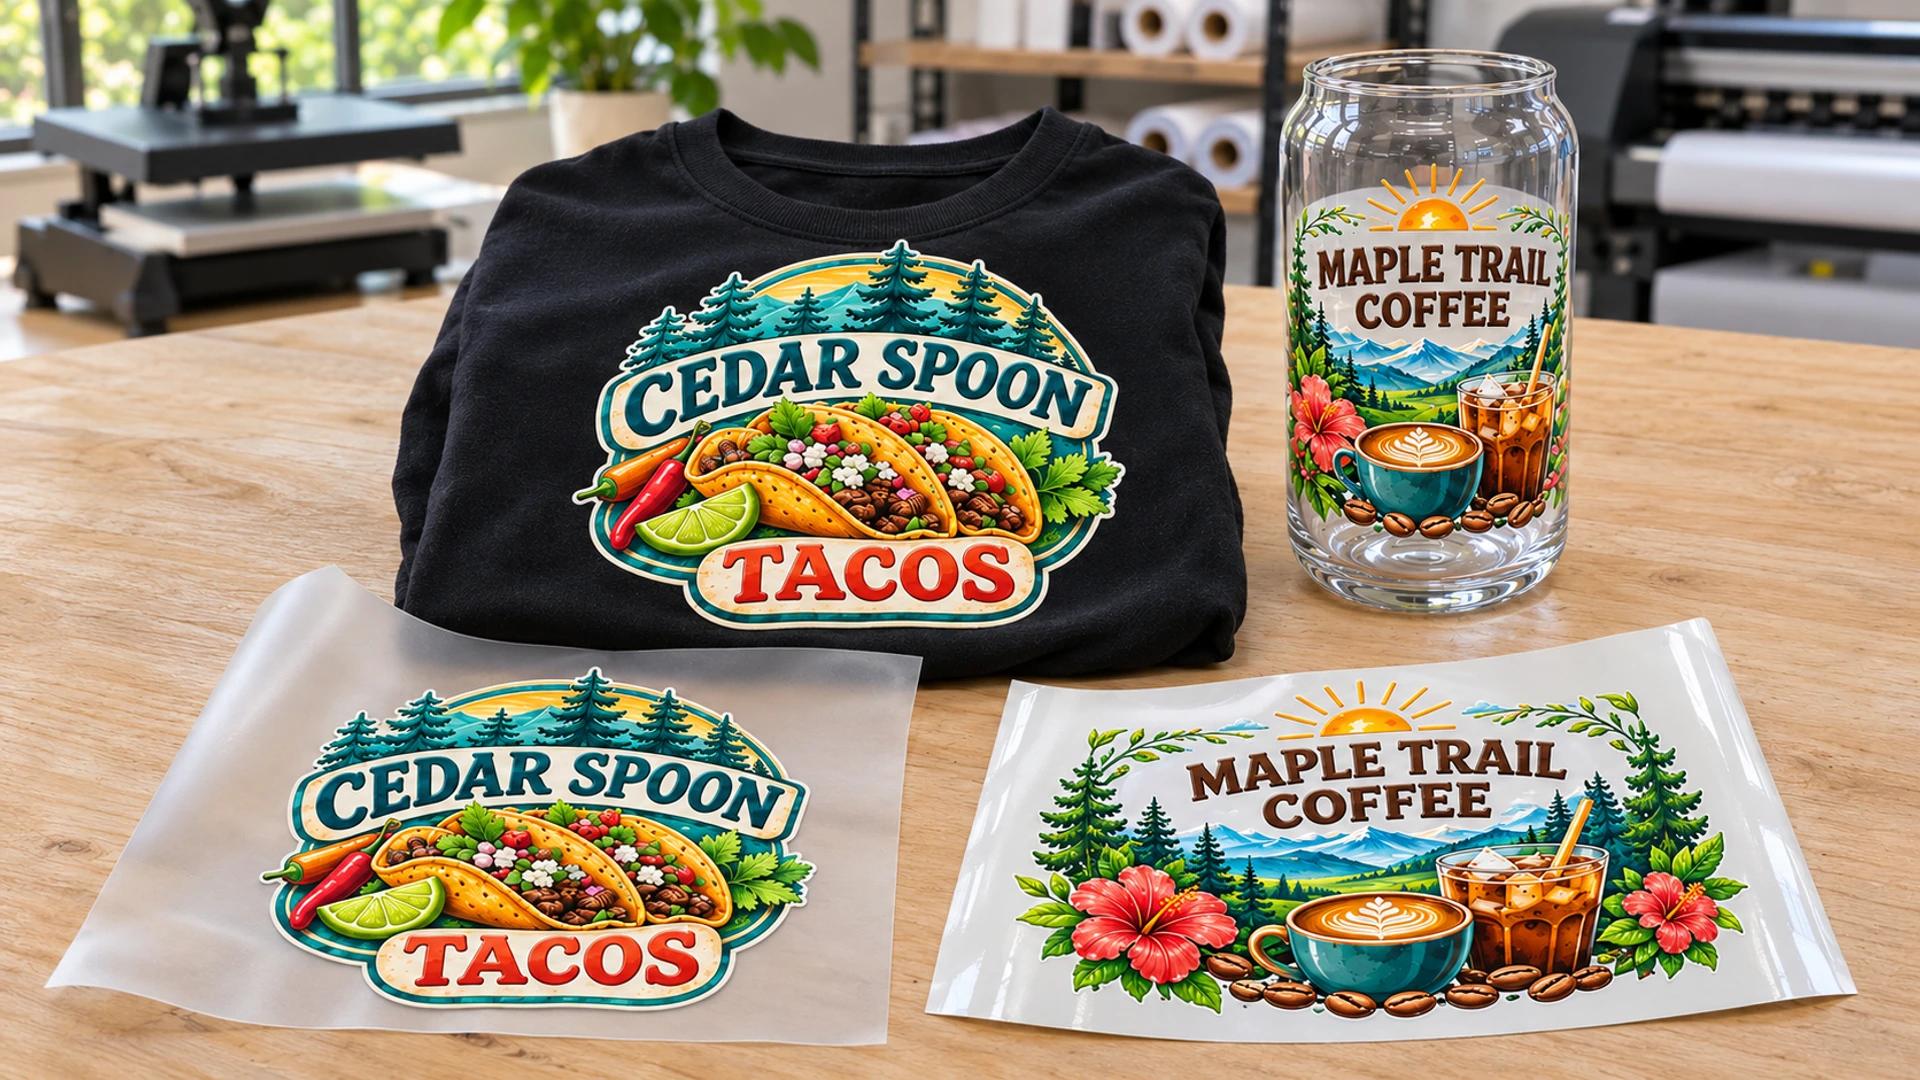
UV DTF vs DTF Transfers: Which One Fits Your Project?
UV DTF vs DTF: DTF presses onto fabric at 290 to 320 F, while UV DTF sticks to hard surfaces [...]
Read More: UV DTF vs DTF Transfers: Which One Fits Your Project?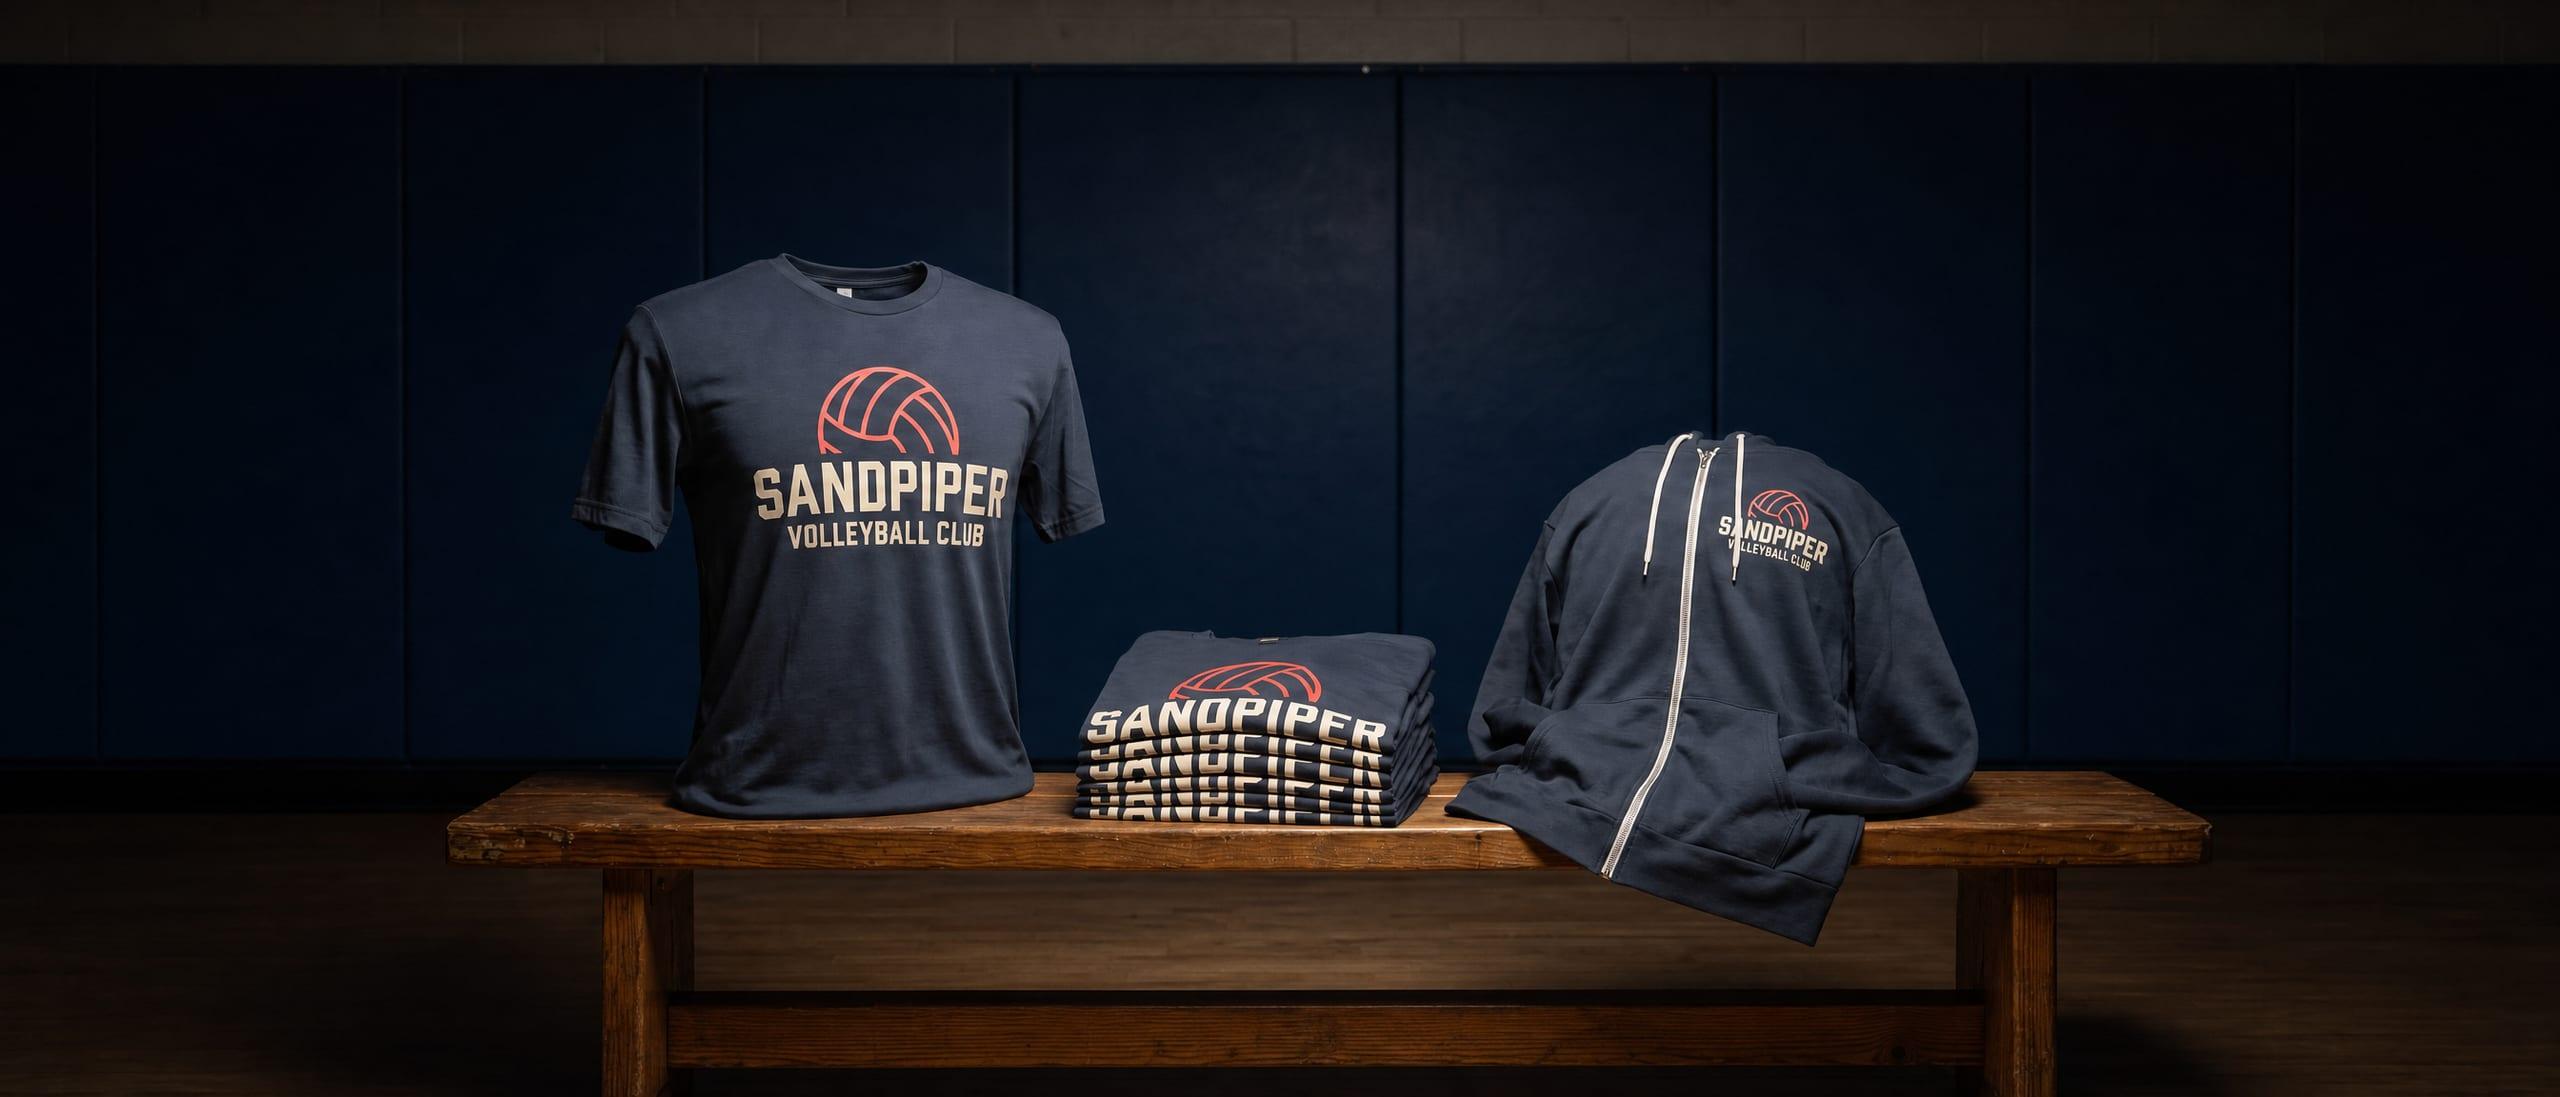
T-Shirt Print Size Guide: Front, Back and Left Chest
12.5 x 15.7 inches is our largest front print area. Compare common left-chest and back sizes, [...]
Read More: T-Shirt Print Size Guide: Front, Back and Left Chest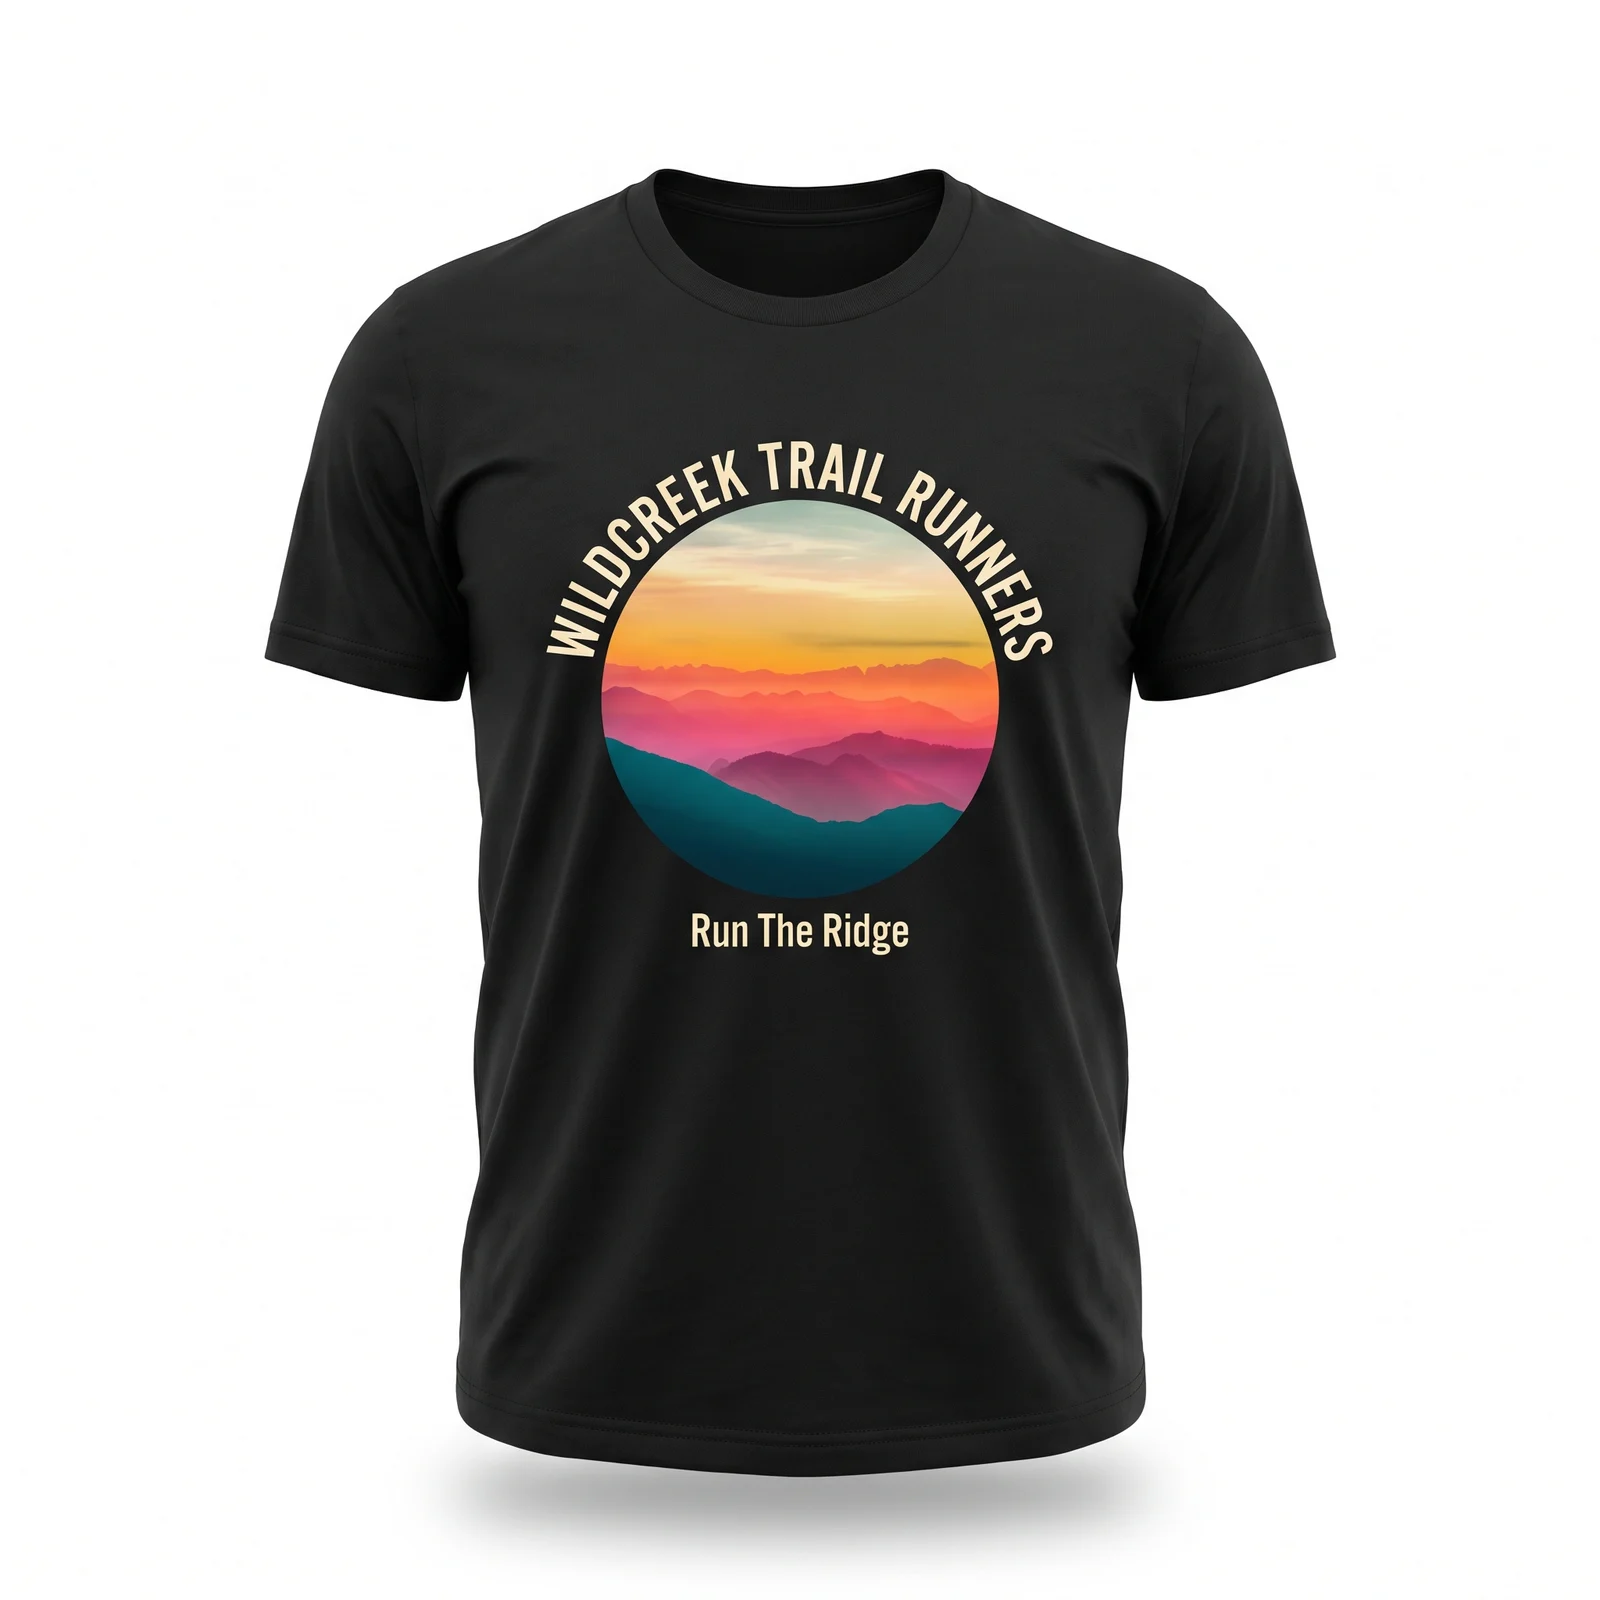
Custom T-Shirt Cost: Quantity, Size and Print Sides
Custom printed t-shirts run sizes S to 3XL in white or black, on one side or both. See the [...]
Read More: Custom T-Shirt Cost: Quantity, Size and Print Sides