Floor Decal Uses: 5 Ways Businesses Guide and Sell
 Daniel
January 3, 2026Updated October 16, 20268 min read
What Are the Five Best Uses for Floor Decals?
A 24 x 36 inch anti-slip indoor floor graphic is $64.19, printed in the USA in 48 hours after artwork approval, with flat $10 shipping to any US address. Five practical floor decal uses are wayfinding, queue and safety markers, sale promotions, trade show booth branding, and welcome graphics.
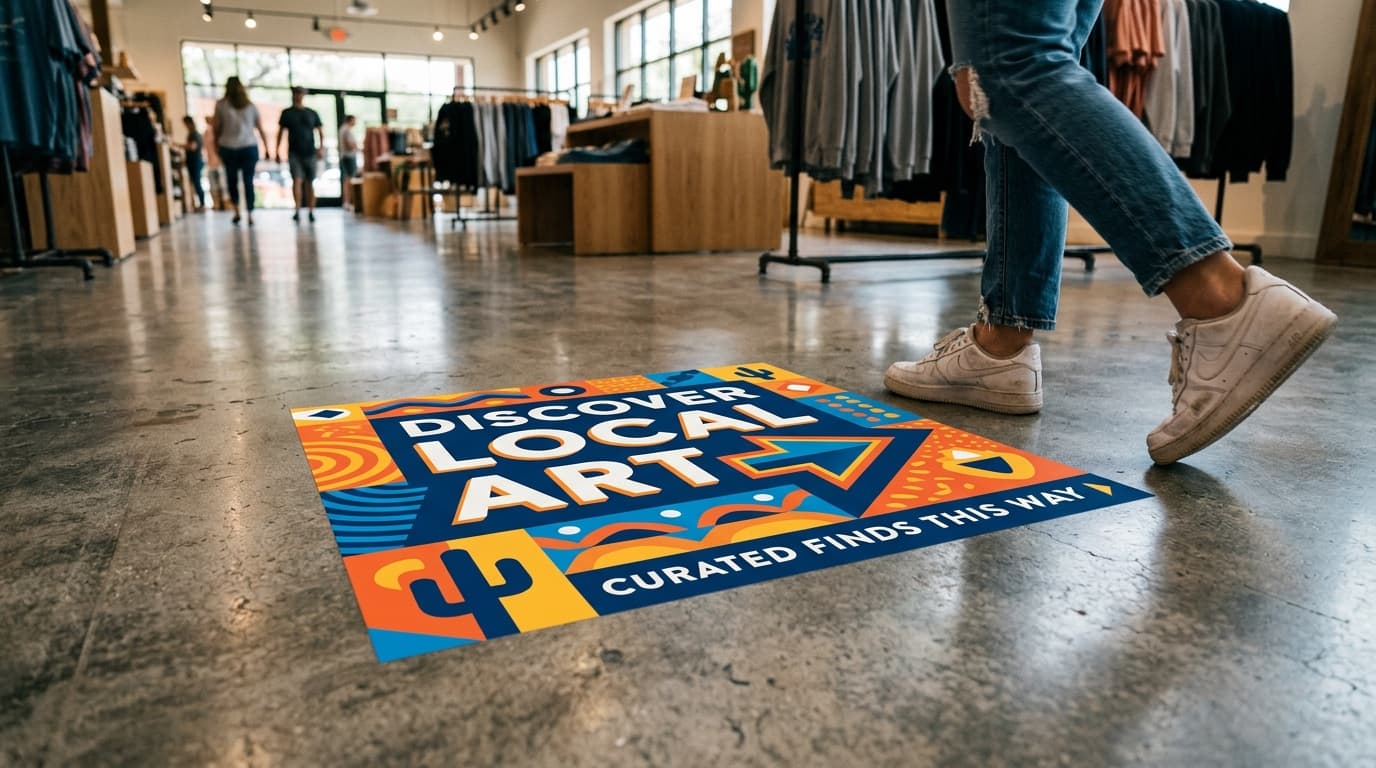
The strongest use is the one that solves a clear problem at the exact point where a visitor needs help. A floor arrow beside a doorway answers where to go. A queue marker shows where to wait. A sale graphic beside a display connects the offer to the product without asking shoppers to look across the room.
| Floor decal use | Best placement | Message to prioritize | Useful size approach |
|---|---|---|---|
| Wayfinding | Entries, intersections, long aisles | One destination and one direction | Small repeated arrows or one larger marker |
| Queue and safety markers | Checkout, reception, service lines | Where to stand or which path to follow | Repeat one consistent footprint |
| Sale promotions | Near the promoted display | Offer, product, or next action | Match the width of the display zone |
| Trade show branding | Inside a booth or at its entrance | Brand name, zone, or demonstration cue | Fit the graphic to the booth floor plan |
| Welcome and brand graphics | Lobby or entry | Short welcome, logo, or campaign message | Use one central graphic with open space around it |
These five uses can share the same product, but they should not share the same design. Directional graphics need immediate clarity. Promotional graphics can carry more color. Queue markers work as a repeated system, while an entry graphic usually works best as one clear focal point.
How Do Floor Decals Improve Wayfinding?
Floor decals improve wayfinding by placing the instruction in the path a visitor is already following. Directional arrows can connect an entrance to a clinic check-in desk, lead shoppers toward a department, or identify the next turn in a hallway without adding another freestanding sign.
Keep each marker focused on one decision. An arrow, a destination name, and a recognizable color are usually enough. If one decal tries to list every department, the visitor has to stop and read it like a directory. That defeats the point of a path marker.
Consistency matters across the route. Use the same arrow shape, colors, and wording at every decision point. Place the next marker where the previous instruction ends, especially at doors, aisle intersections, and changes in flooring.
How Can Floor Decals Organize Queues and Safety Messages?
Floor decals organize queues by making each standing point or travel direction visible before people reach the counter. A line of repeated markers can define a checkout queue, separate arrival and exit paths, or show where a visitor should pause at a reception desk.
The product supports safety and queue markers, but the graphic should communicate only the instruction the business can enforce. Use plain language such as "Wait Here," "Line Starts Here," or "Exit This Way." Avoid packing several policies into a single small circle.
Contrast is especially important in queue areas. The instruction needs to separate clearly from both the printed background and the floor beneath it. A marker that matches the tile color may look tidy in a file and disappear once installed.
How Do Sale Floor Decals Support Retail Promotions?
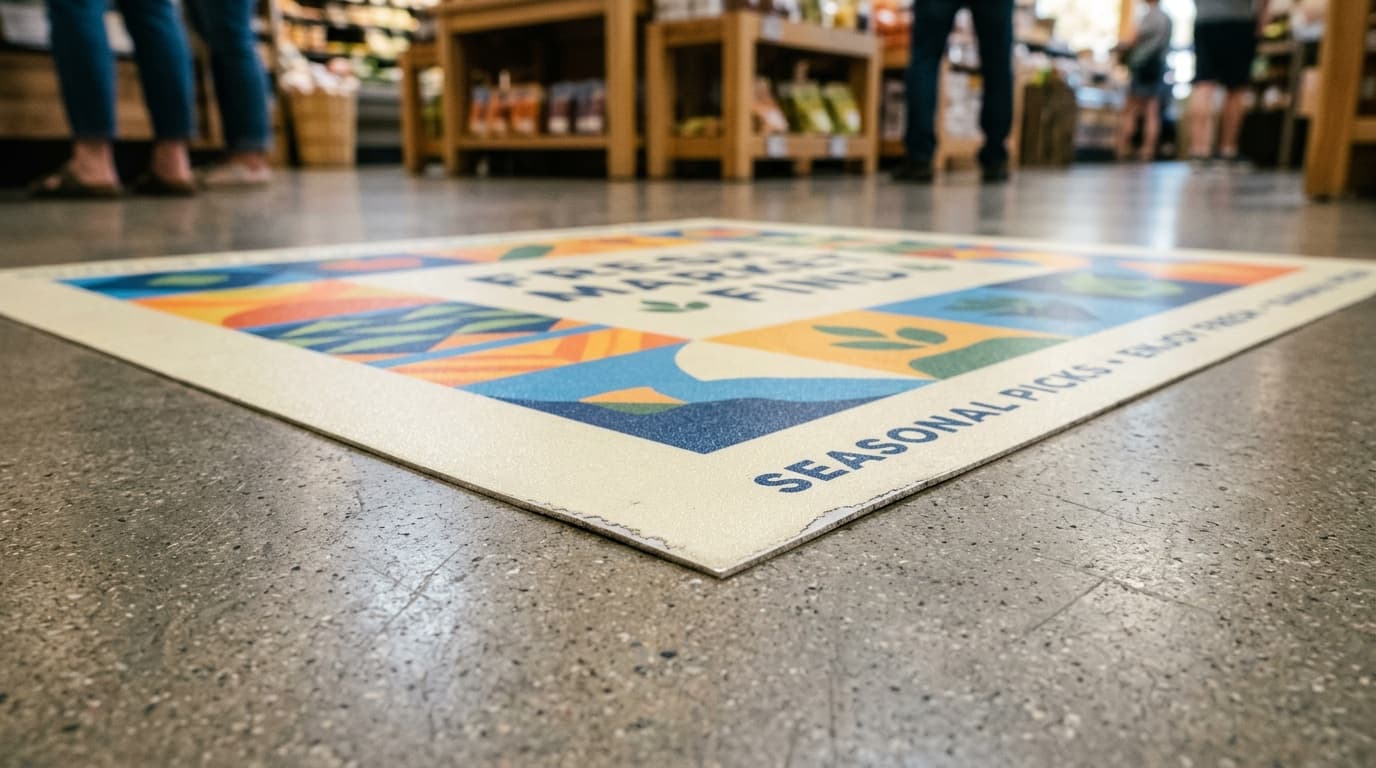
Sale floor decals support promotions by putting the message beside the product, aisle, or display it refers to. The placement can identify a seasonal section, call attention to a limited offer, or guide shoppers from the entrance toward a featured department.
Match the message to the location. A decal several aisles away should point toward the offer. A decal beside the display should name the offer or tell the shopper what to do next. One short message works better than a full advertisement placed underfoot.
Floor promotions can also help connect a campaign across the space. The same colors and wording can appear at the entrance, at one directional turn, and beside the display. The route then feels intentional instead of scattered.
How Do Floor Graphics Brand a Trade Show Booth?
Floor graphics brand a trade show booth by using the booth floor as part of the visual system. A graphic can mark a demonstration area, reinforce a logo inside the footprint, or direct attendees toward the point where the team wants conversations to begin.
Plan the placement from the booth diagram before choosing a size. Tables, display stands, and staff can cover a floor graphic that looked centered on an empty plan. A marker near the open aisle can introduce the brand, while a second zone inside the booth can identify a demonstration or conversation point.
Indoor floor graphics fit enclosed event venues and other clean, sealed indoor floors. Confirm the venue's rules before applying any adhesive graphic to a rented space.
Where Do Welcome and Brand Floor Graphics Work Best?
Welcome and brand floor graphics work best in an entry or lobby where the visitor has enough space to see the full design. A logo, short greeting, or campaign phrase can define the arrival point without filling the surrounding walls.
Give a larger graphic visual breathing room. If it sits under a mat, behind a door swing, or directly beneath furniture, much of the design disappears. Check the route people actually take through the entry and place the graphic beyond the first obstruction.
A welcome graphic can also begin a wayfinding system. The entry decal establishes the color and visual language, then smaller arrows repeat that system deeper in the space.
Which Surfaces Work for Indoor Floor Decals?
Suitable surfaces include clean, sealed polished concrete, tile, and vinyl flooring. The adhesive needs a consistent surface, so the placement area should be checked before artwork is sized around it.
The product is UL-certified anti-slip indoor vinyl. It is not presented as an outdoor concrete or sidewalk material. If the route crosses from an indoor lobby to an exterior walkway, treat those as different applications instead of assuming one material fits both.
Measure the available flat area, not the entire room. Door thresholds, grout changes, mats, floor vents, and permanent fixtures can reduce the usable footprint. A smaller graphic fully supported by the floor is more useful than a larger one forced across interruptions.
What Sizes and Prices Are Available?
Floor graphics are available in three sizes: 12 x 12 inches for $21.39, 24 x 36 inches for $64.19, and 36 x 48 inches for $106.99. These options cover small repeated markers, mid-size directional graphics, and larger promotional or welcome graphics.
A 12 x 12 graphic suits a compact queue marker or directional cue. The two larger rectangles give arrows, logos, and short promotional messages more room to stay readable.
Choose the dimensions after identifying the viewing direction. A decal read while approaching needs a layout that faces the visitor. A central logo seen from several directions should avoid text that works from only one side.
How Should You Measure a Floor Graphic Placement?
Measure the uninterrupted sealed area where the graphic will sit, then compare that footprint with the 12 x 12, 24 x 36, and 36 x 48 inch sizes. Do not include a mat, threshold, vent, grout change, or permanent fixture in the usable dimensions. The full graphic needs a clean indoor surface beneath it.
Mark the proposed corners with removable tape and walk the route from the direction visitors will approach. This quick check shows whether a 24 x 36 inch rectangle should run with the path or across it, and whether a door or display blocks part of the message.
For repeated queue markers, measure the first placement and use the same orientation for every marker. For one welcome or promotional graphic, leave open floor around the measured footprint so the design reads as one focal point rather than another piece of visual clutter.
What We See in Floor Decal Plans
What we see most often is a good graphic solving too many jobs at once. The design includes a logo, an arrow, several destinations, a promotion, and a long instruction. On the floor, each extra message competes with the action the visitor needs to take.
The fix is to build a sequence. Use one marker for the entrance, one at the decision point, and one at the destination. Repeating a simple system is clearer than turning every decal into a miniature poster.
We also see dimensions chosen before the placement is measured. Photograph the area, measure the usable sealed surface, and note the direction people approach from. Those three steps make the size and orientation much easier to choose.
How Do You Order the Right Floor Graphic?
Order the right floor graphic by choosing the use, measuring the sealed indoor placement, and selecting an available size. The 24 x 36 Anti-Slip Indoor graphic is $64.19, production is 48 hours after artwork approval, and shipping is a flat $10 to any US address.
Decals ship on the full vinyl sheet with the cut lines plotted. Remove the extra vinyl around your design before applying. Most applications need transfer tape, which is not included.
Start with the action the graphic must prompt. Then design for the approach direction and keep the wording short. When the file is approved, the floor graphic is printed in the USA and sent to the address on the order.
Frequently Asked Questions
A 24 x 36 Anti-Slip Indoor floor graphic is $64.19. It uses UL-certified anti-slip indoor vinyl, is printed in the USA in 48 hours after artwork approval, and ships for a flat $10 to any US address.
Indoor floor graphics come in 12 x 12 inches, 24 x 36 inches, and 36 x 48 inches. Choose the size after measuring the clean, sealed placement area and checking the direction from which people will approach.
A 12 x 12 floor graphic is $21.39, a 24 x 36 graphic is $64.19, and a 36 x 48 graphic is $106.99. Each size uses the same UL-certified anti-slip indoor vinyl.
Production takes 48 hours after artwork approval. Transit time comes after production, and shipping is a flat $10 to any US address, so approve the artwork with enough time left for both printing and delivery.
Polished concrete, sealed tile, and vinyl flooring are suitable examples. The surface should be clean, sealed, and indoors because this material is not intended for outdoor sidewalks.
Yes. The floor graphics use UL-certified anti-slip indoor vinyl for direction, queue communication, promotion, or booth branding on a suitable indoor surface.
Related Articles
Window Decals vs Window Clings: Which One Lasts Longer
Window decals use adhesive and stay put for years. Window clings use static and peel off clean. [...]
Read More: Window Decals vs Window Clings: Which One Lasts Longer
Trade Show Displays San Antonio: The 8 Booth Essentials
A trade show booth runs on 8 displays, starting with a 33 x 81 in retractable banner and an 8 [...]
Read More: Trade Show Displays San Antonio: The 8 Booth Essentials
Business Signs: Choosing the Right Type for Each Job
A 13 oz vinyl banner suits temporary promotions; choose decals for glass, A-frames for [...]
Read More: Business Signs: Choosing the Right Type for Each Job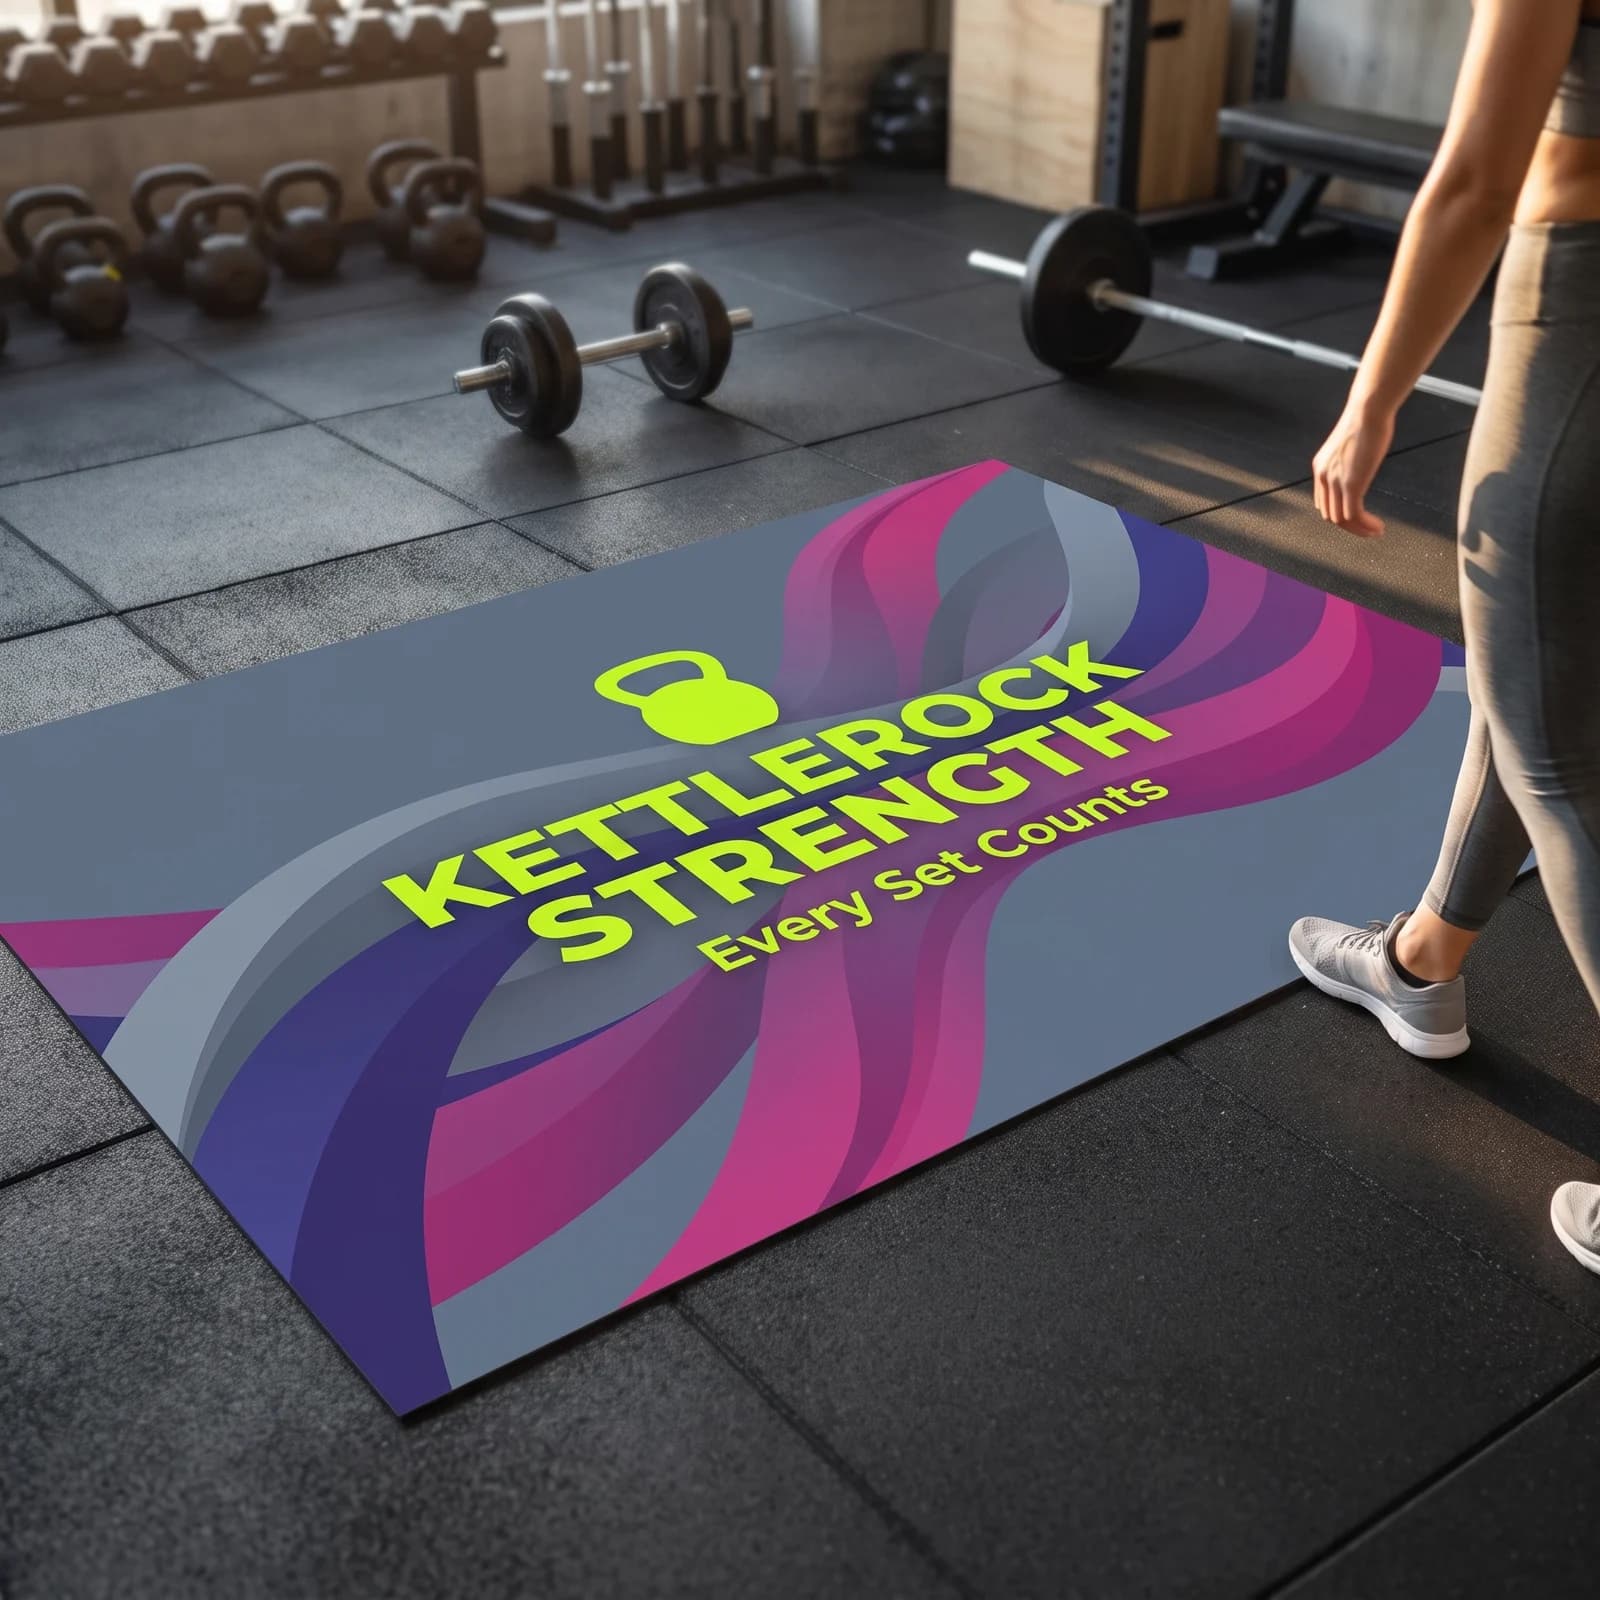
Floor Graphics Cost per Square Foot: What Pieces Cost
Floor graphics run from 12 x 12 in to 36 x 48 in, and the page opens at 24 x 36 in. Piece [...]
Read More: Floor Graphics Cost per Square Foot: What Pieces Cost