Step and Repeat Banner Setup, Takedown and Storage
 Daniel
May 5, 2026Updated October 19, 202611 min read

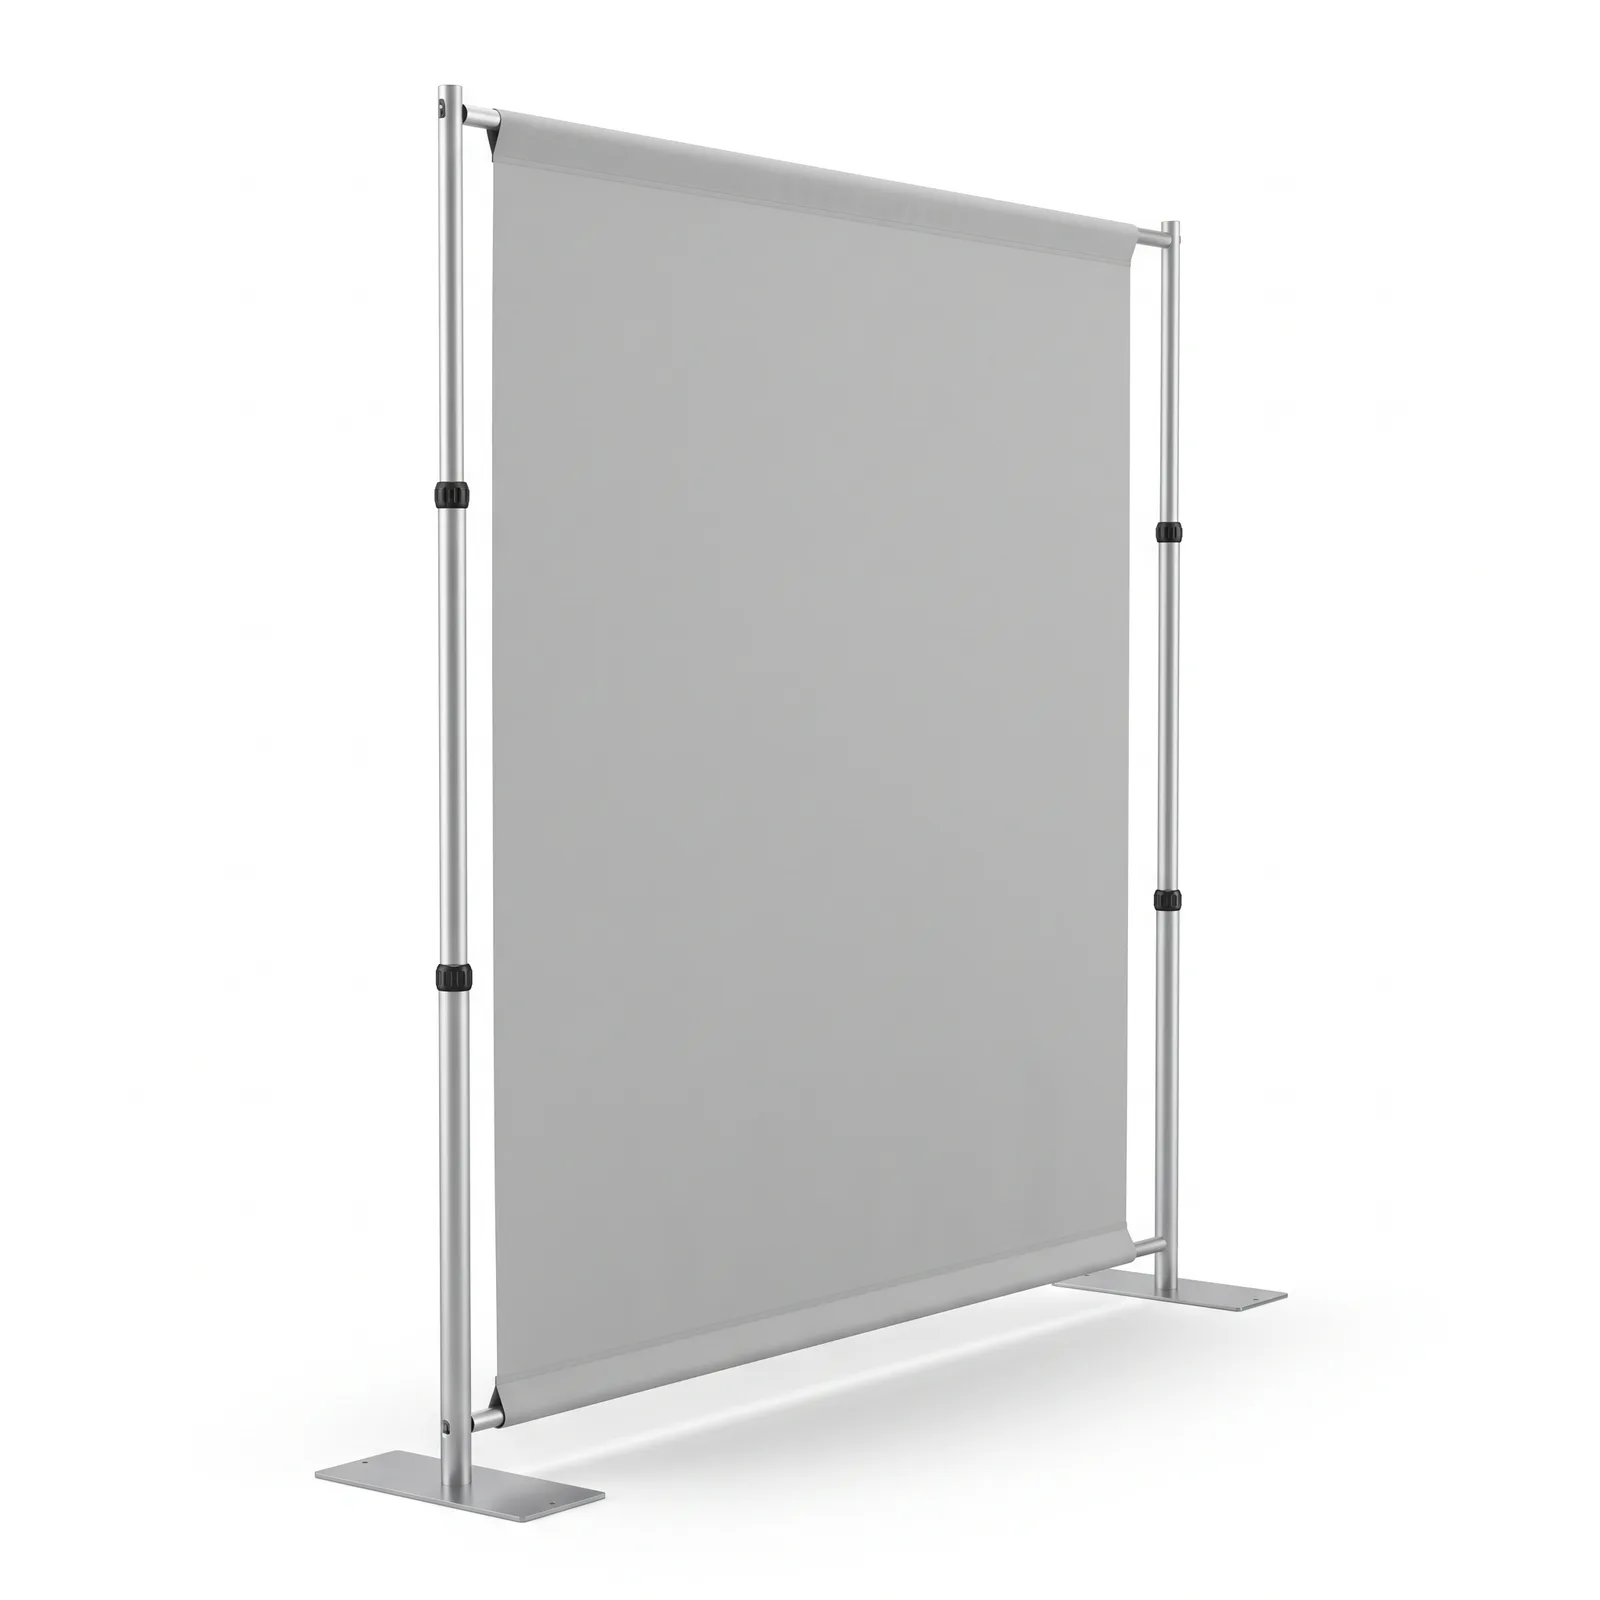
What hardware and prices come with a step and repeat backdrop?
Bolt the two uprights into their feet, run the top and bottom poles through the pole pockets, then fasten them to the uprights with the thumb screws. An 8 ft wide by 8 ft high Graphic + Frame kit from Inline Graphics is $492.19, made the next business day after proof approval, with flat $10 shipping to any US address.
The poles on the step and repeat backdrop are 1.625 in across. The graphic is 9 oz fabric, described as wrinkle-free and low-sheen, hemmed, with pole pockets, and single sided. A carrying bag comes with the Graphic + Frame kit. The product page says it assembles in minutes. The wider set of event displays is on the trade show displays hub.
Three widths, one height. Graphic + Frame is the complete kit.
| Width | Height | Graphic + Frame |
|---|---|---|
| 8 ft | 8 ft | $492.19 |
| 9 ft | 8 ft | $513.59 |
| 10 ft | 8 ft | $534.99 |
Graphic Only is the replacement fabric for a frame you already own. It ships without the poles and without the bag.
| Width | What ships | Graphic Only |
|---|---|---|
| 8 ft | Fabric only | $310.29 |
| 9 ft | Fabric only | $331.69 |
| 10 ft | Fabric only | $363.79 |
The poles adjust in height and width. The fabric does not. Each graphic is hemmed to the width you ordered. An 8 ft graphic stays an 8 ft graphic if the poles are extended farther. Order the width you will assemble, and build the file at that width.
Which width fits a photo line, a group, or a booth is already covered in the step and repeat planning guide. This page stays on the floor you need, the steps, the takedown, and the bag.
How much floor space do 8, 9, and 10 ft backdrops need?
Plan a clear floor at least as wide as the graphic, and 8 ft of clear height, because every size we sell is 8 ft tall. The 8 ft graphic needs 8 ft of width. The 9 ft graphic needs 9 ft. The 10 ft graphic needs 10 ft.
The feet hold the wall upright. The product page shows feet on the frame and does not publish how many extra inches those feet add past the hem. Leave a margin around the width you ordered, assemble the feet, and look at where they land before you decide the wall cannot move. A baseboard, a floor box, or a table leg inside that margin is a problem you can see only with the feet down.
Height is the same check. The graphic is 8 ft tall on the poles. A ceiling, a low bulkhead, or a hanging light inside that 8 ft means a different spot in the room. The poles telescope, and they still have to reach the height the fabric was hemmed for. Shortening the poles to duck a light leaves the fabric slack, because the cloth was cut for the full size.
Measure the empty floor in feet before you order, then pick the width that fits that measurement. The planning guide is where the photo itself is sized. The measurement is what makes the setup possible.
How many people does a step and repeat setup take?
Plan on two people. The product page says the kit assembles in minutes and does not list a crew size, but one step asks for two pairs of hands: lifting the top pole with 8 to 10 ft of fabric on it and fastening it to both uprights at 8 ft high.
Everything else is a one-person job: joining the pole sections, bolting the uprights into their feet, and feeding the poles through the pockets with the fabric laid on a clean surface. A second person matters again at takedown, holding the uprights steady while the top pole comes off.
If you are setting up alone, feed both poles through their pockets on the floor first, then ask someone nearby for the minute it takes to lift and fasten the top pole. Do not lean a loaded frame against a wall while you work.
How do you set up a step and repeat banner?
Join the poles, bolt the uprights into their feet, sleeve the fabric onto the top and bottom poles, then fasten those poles to the uprights with the thumb screws. Eight actions, in this order:
- Lay out the kit. Open the carrying bag on the clear floor you measured and sort the poles, feet and fabric.
- Join the horizontal poles. Connect the top pole sections end to end, then the bottom pole sections, and set their telescoping ends to the width of your graphic.
- Bolt the uprights into the feet. Seat the bottom end of each vertical pole in the socket on its foot, then thread the bolt in from under the foot and tighten it.
- Set the upright height. Extend each upright to the 8 ft height of the graphic and lock its collar.
- Sleeve the fabric. With the graphic laid face down on a clean surface, run the top pole through the top pole pocket and the bottom pole through the bottom pocket.
- Fasten the top pole. With one person at each end, lift the top pole and secure it to both uprights with the black-handled thumb screws.
- Fasten the bottom pole. Secure the bottom pole to the uprights the same way, so the fabric is held taut between the two poles.
- Check the wall. From the camera position, confirm the printed face points out, every thumb screw is tight, and the wall stands upright.
Step 2 stops at the size printed on that graphic. Extending a pole past the hem does not make an 8 ft cloth into a 10 ft wall, and a pole set too wide pulls the pockets. Step 3 is what keeps the wall standing: an upright that only rests in its foot without the bolt can lift out. Step 5 matters because the print is single sided. Lay it face down so the printed side stays clean, and feed each pole until it comes out the far end of its pocket.
Step 8 is a slow look from where the photos will be taken. A sag at one corner usually means a pole has slipped in its pocket or a thumb screw is loose. Fix it before anyone stands in front of the wall.
A narrower stand for a message beside the wall, rather than a photo backdrop, lives on the banner stands hub. The backdrop is the wide single-sided fabric on this frame.
How do you take a step and repeat down and store it?
Take the fabric off while the frame is still standing and supported, then take the frame apart. Seven actions:
- Open the carrying bag beside the wall.
- Hold the uprights. With one person at each end, keep the uprights steady before anything is loosened.
- Release the top pole. Loosen the thumb screws and lower the top pole with the fabric still on it.
- Release the bottom pole. Loosen its thumb screws and lift it away from the uprights.
- Slide each pole out of its pocket while someone supports the fabric off the floor.
- Unbolt and collapse the frame. Remove the bolts from under the feet, take the uprights out, and collapse every telescoping pole to its short length.
- Roll and pack. Roll the fabric loosely, keeping a hard crease off any logo, and pack it with the poles and feet in the carrying bag.
Support the cloth on step 5 so the print does not drag across the floor on the way off the poles. Dust on a dye-sub face shows up in the next photo. Roll on step 7 means a loose cylinder, logo toward the inside or the outside as long as you are not folding a sharp line across a sponsor mark. The product page calls this fabric wrinkle-free. It does not publish a wash temperature, an iron setting, or a steamer step. The care that is actually described is the cloth, the poles, and the feet going back in the carrying bag.
Store the bag where it can stay dry and where nothing heavy sits on the roll. The page does not list a hanger, a tube size, or a humidity range. If the poles from this order are the ones you will use next time, Graphic Only is the reorder: the new fabric at the same width, without another frame. Match the width. An 8 ft replacement graphic does not fit a plan that needs the 10 ft wall.
What mistakes should you avoid on setup day?
A common mistake to avoid is building the file at a different width from the fabric you ordered. The three widths are the only widths. A 10 ft layout printed on an 8 ft graphic crowds the repeat, and the poles cannot stretch the cloth to match the file.
A second mistake is dragging the fabric while the poles come out. Hold the cloth up, slide the pole, then roll. A third is facing the back of a single-sided graphic toward the camera. Walk around to the printed face before you call the wall done.
A fourth is assuming the wrinkle-free description includes a home-care recipe. It describes the cloth. It does not give you a machine cycle. If a crease is already in the roll when you unpack it, hang the graphic on the poles and let it sit square. Do not invent a hot iron the page never lists.
Leaving the feet inside the measured width, on top of a cable or a table leg, is the floor mistake. The extra inches past the hem are not published, so the only reliable check is the assembled feet in the actual room.
How do the proof, the design fee, and the production day work?
There is no production setup fee, and a file or image you already have goes through AI image to print for $14.99 per item, once per item. Design it for me is +$29.99 with two revisions, and it is free when the item is $499 or more.
On Graphic + Frame, the 9 ft kit at $513.59 and the 10 ft kit at $534.99 are over $499, so the design add-on is free on those two. The 8 ft Graphic + Frame kit at $492.19 is under $499, so the design add-on is $29.99 if you want the layout built. Every Graphic Only price is under $499, so the same $29.99 add-on applies on a fabric-only order.
The free digital proof is sent after you order, before printing. Production is the next business day after you approve the proof. Shipping is a flat $10 to any US address and starts after that production day. Add transit when you plan the arrival. The site does not publish a transit day count.
On the proof, check the width, the single printed face, and that the repeat stays out of the pole pockets. Then the eight setup steps are what you do when the bag arrives.
Need a step and repeat backdrop or other custom printing? Inline Graphics helps businesses, churches, schools, and event organizers across the country design and print cards, banners, signs, decals, displays, and marketing materials that get noticed. Contact us today for a quote.
Frequently Asked Questions
Set the feet, extend the telescoping 1.625 in poles to the fabric's width and 8 ft height, slide the poles through the hemmed pole pockets, lock the poles, stand the frame on the feet, and turn the printed face toward the camera.
Graphic + Frame is $492.19 at 8 ft wide, $513.59 at 9 ft wide, and $534.99 at 10 ft wide, all 8 ft high. Graphic Only, the fabric without the frame, is $310.29, $331.69, and $363.79 at those same widths.
The product page says the kit assembles in minutes and does not list a crew size. Sliding the top pole pocket on while the fabric is held off the floor is the step that is easier with a second person.
Plan a clear width of 8, 9, or 10 ft, matching the graphic you ordered, and 8 ft of height. The page does not publish how far the feet extend past the fabric, so check the feet in the room before you commit the spot.
Roll the 9 oz dye-sub graphic loosely and pack it in the carrying bag with the collapsed poles and the feet. The page calls the fabric wrinkle-free and does not publish a wash or iron method.
Design it for me is +$29.99, and it is free when the item is $499 or more. The 9 ft and 10 ft Graphic + Frame kits qualify. The 8 ft Graphic + Frame kit is $492.19, so the design add-on is $29.99 on that kit. A file you already have is $14.99 per item through AI image to print.
Related Articles
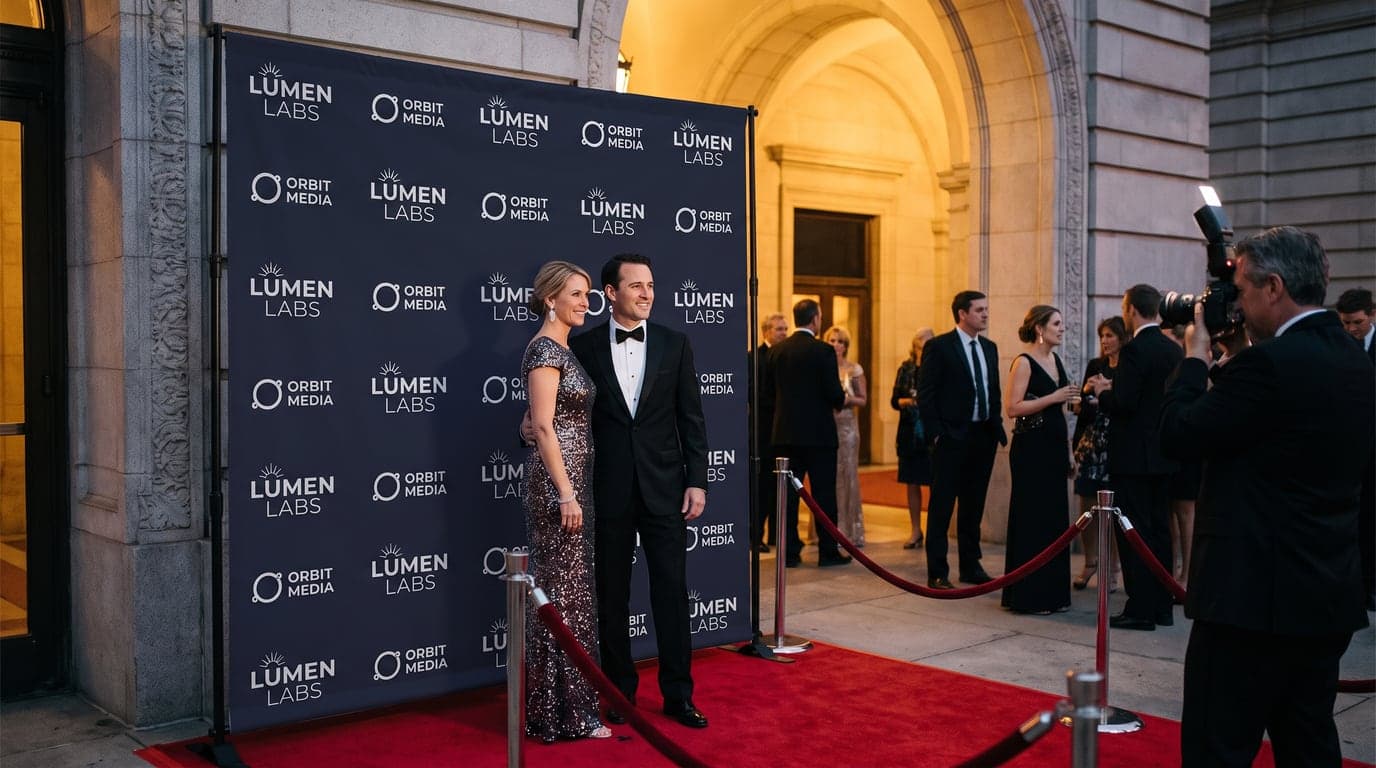
Step and Repeat Backdrop: 8, 9 and 10 ft Sizes and Prices
A step and repeat backdrop is a repeating logo wall, 8 ft tall and 8, 9 or 10 ft wide. What the [...]
Read More: Step and Repeat Backdrop: 8, 9 and 10 ft Sizes and Prices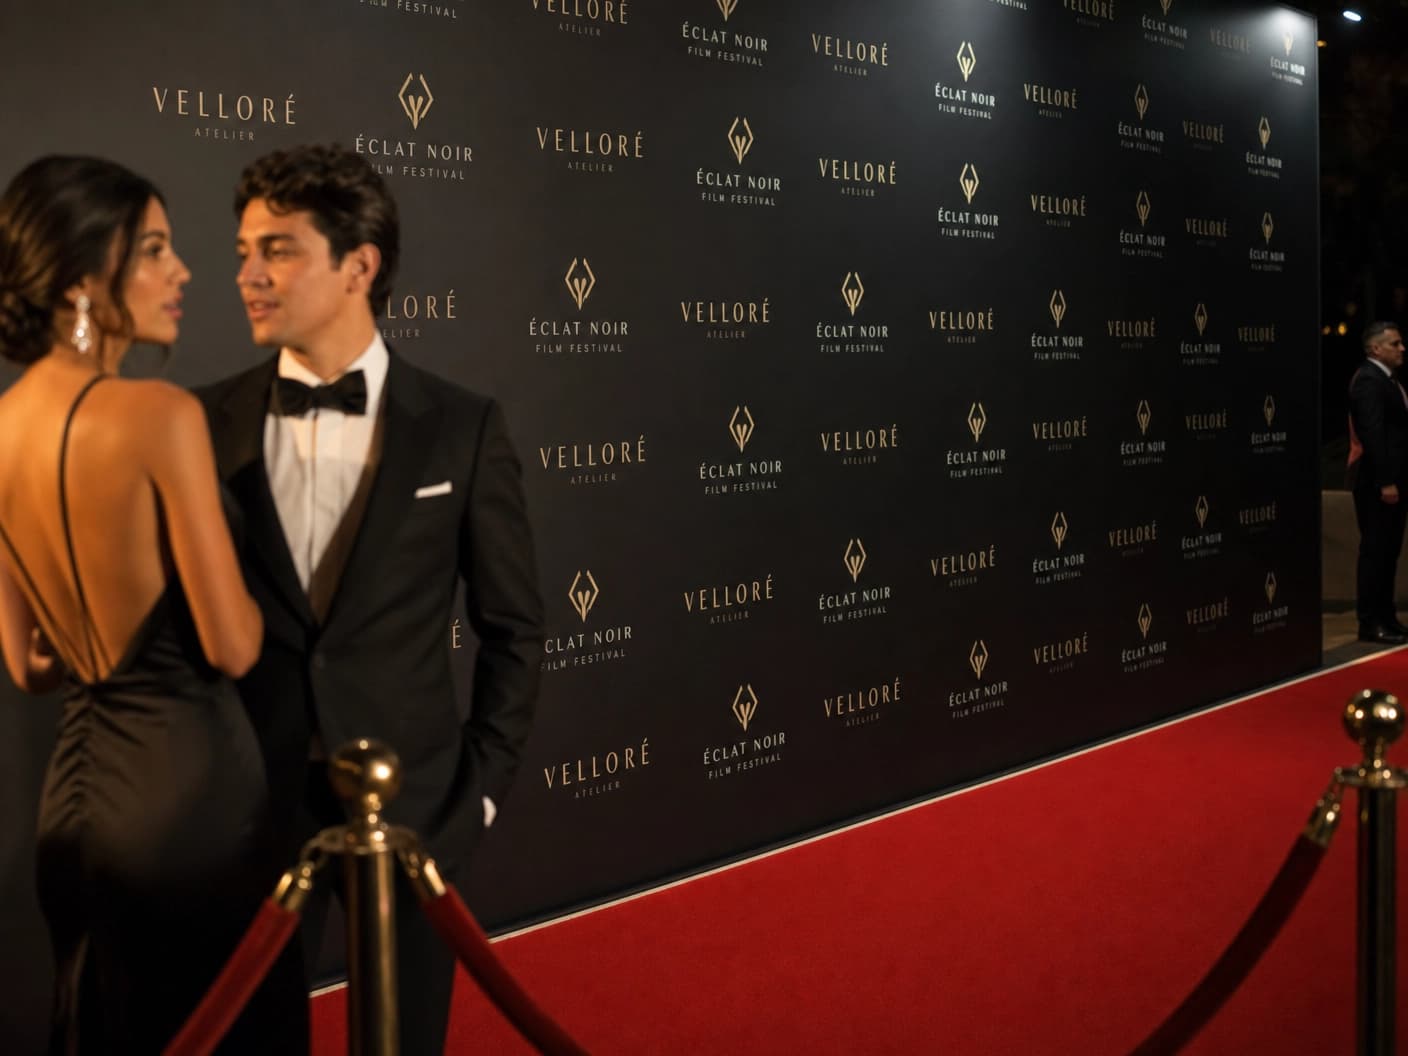
Step and Repeat vs Backdrop: Event Photo Design Guide
An 8' W x 8' H Graphic + Frame backdrop costs $492.19. Compare repeating logo grids with scenic [...]
Read More: Step and Repeat vs Backdrop: Event Photo Design Guide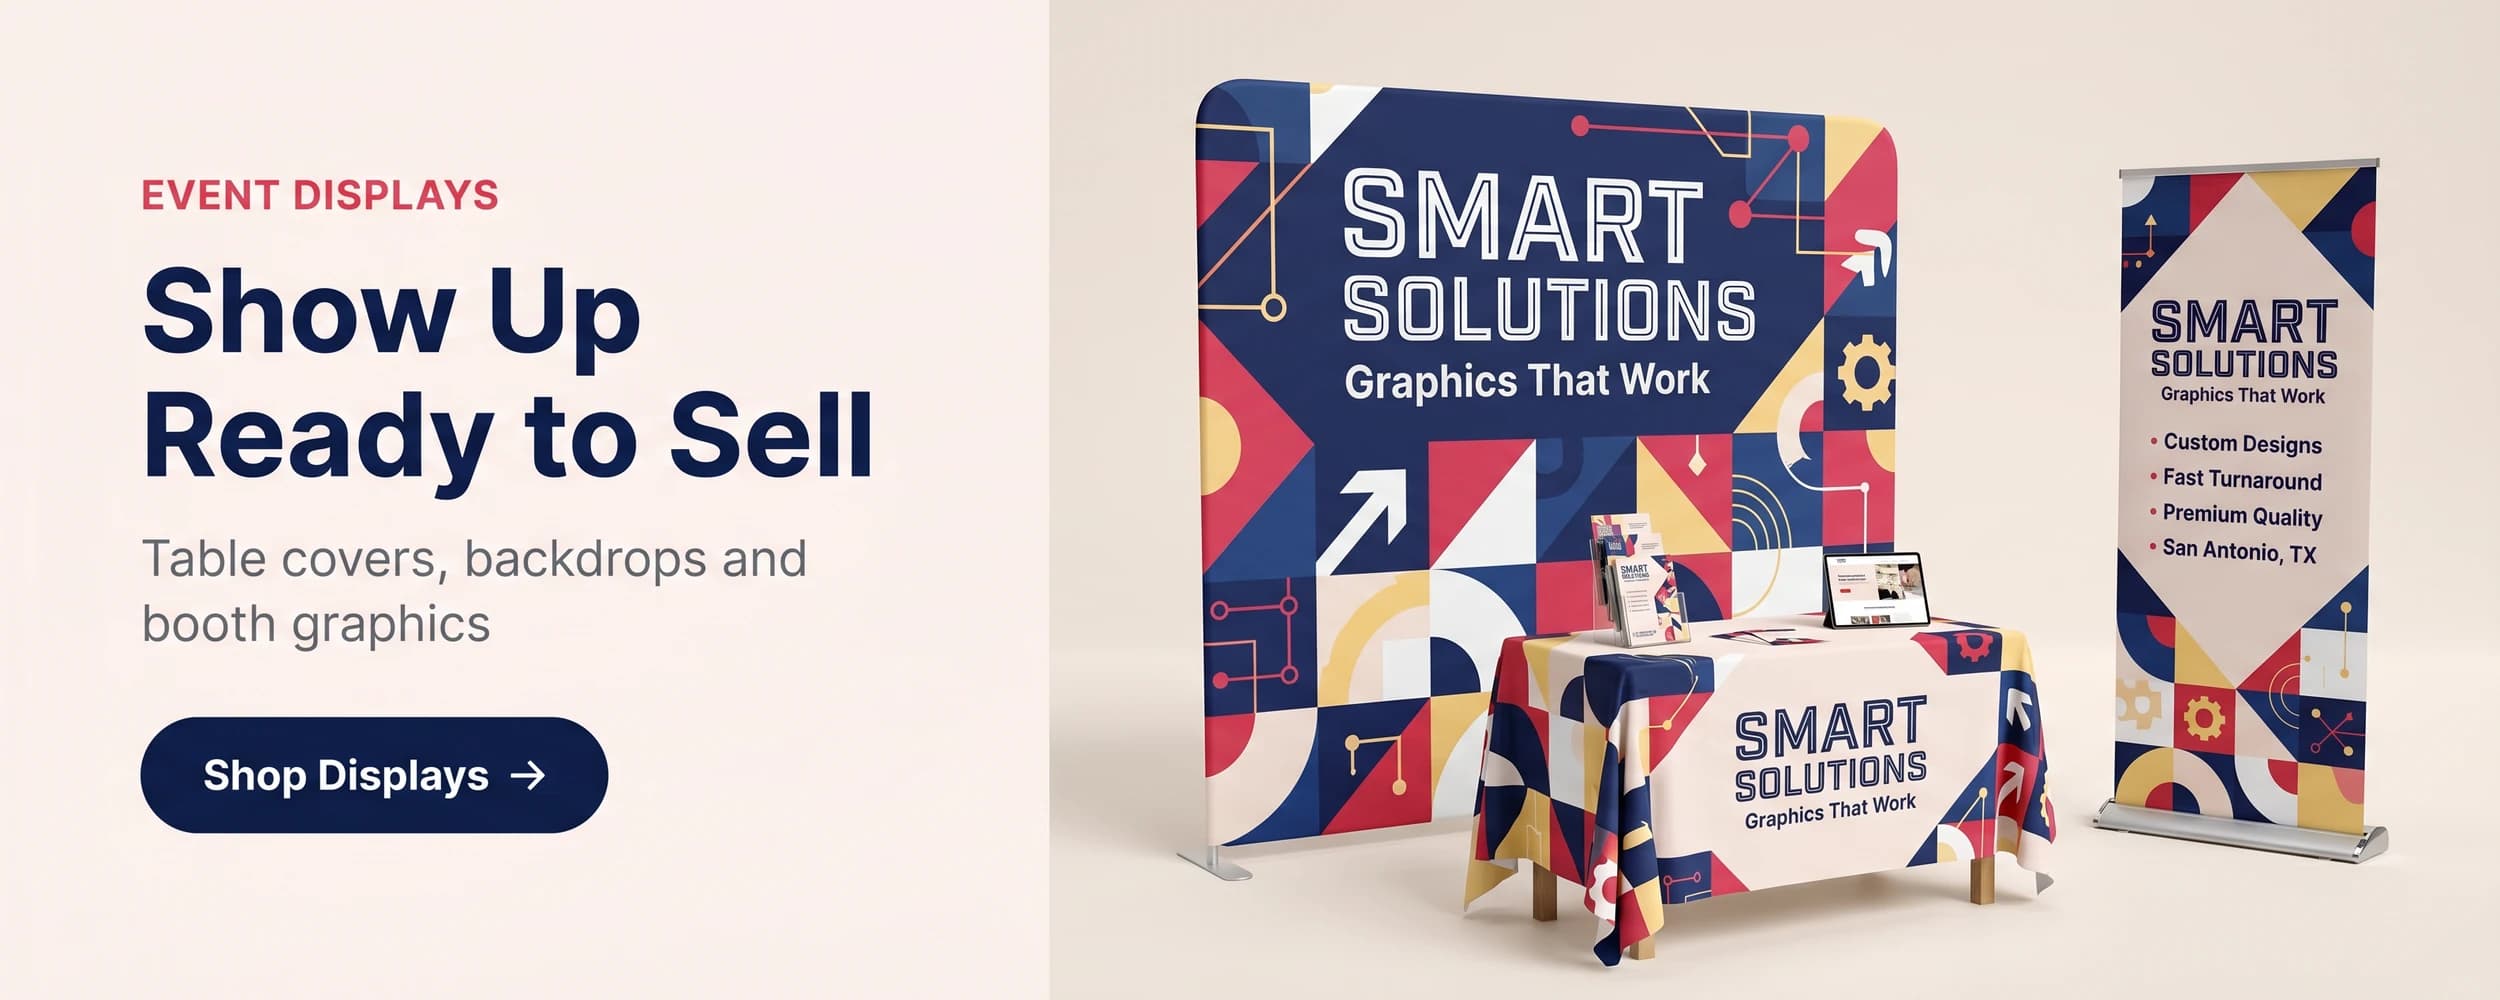
Event Booth Display Options: How to Choose for Your Setup
Compare 6 event booth displays, from a $203.29 feather flag to a $973.69 custom canopy, with [...]
Read More: Event Booth Display Options: How to Choose for Your Setup
Inline Graphics vs Vistaprint Retractable Banners Guide
A 33x81 in retractable stand with UV printed fabric is $213.99. Compare cassette options, [...]
Read More: Inline Graphics vs Vistaprint Retractable Banners Guide