How to Put On a Stretch Table Cover: Setup and Care
 Tomas Amaya
February 9, 2026Updated October 19, 20268 min read
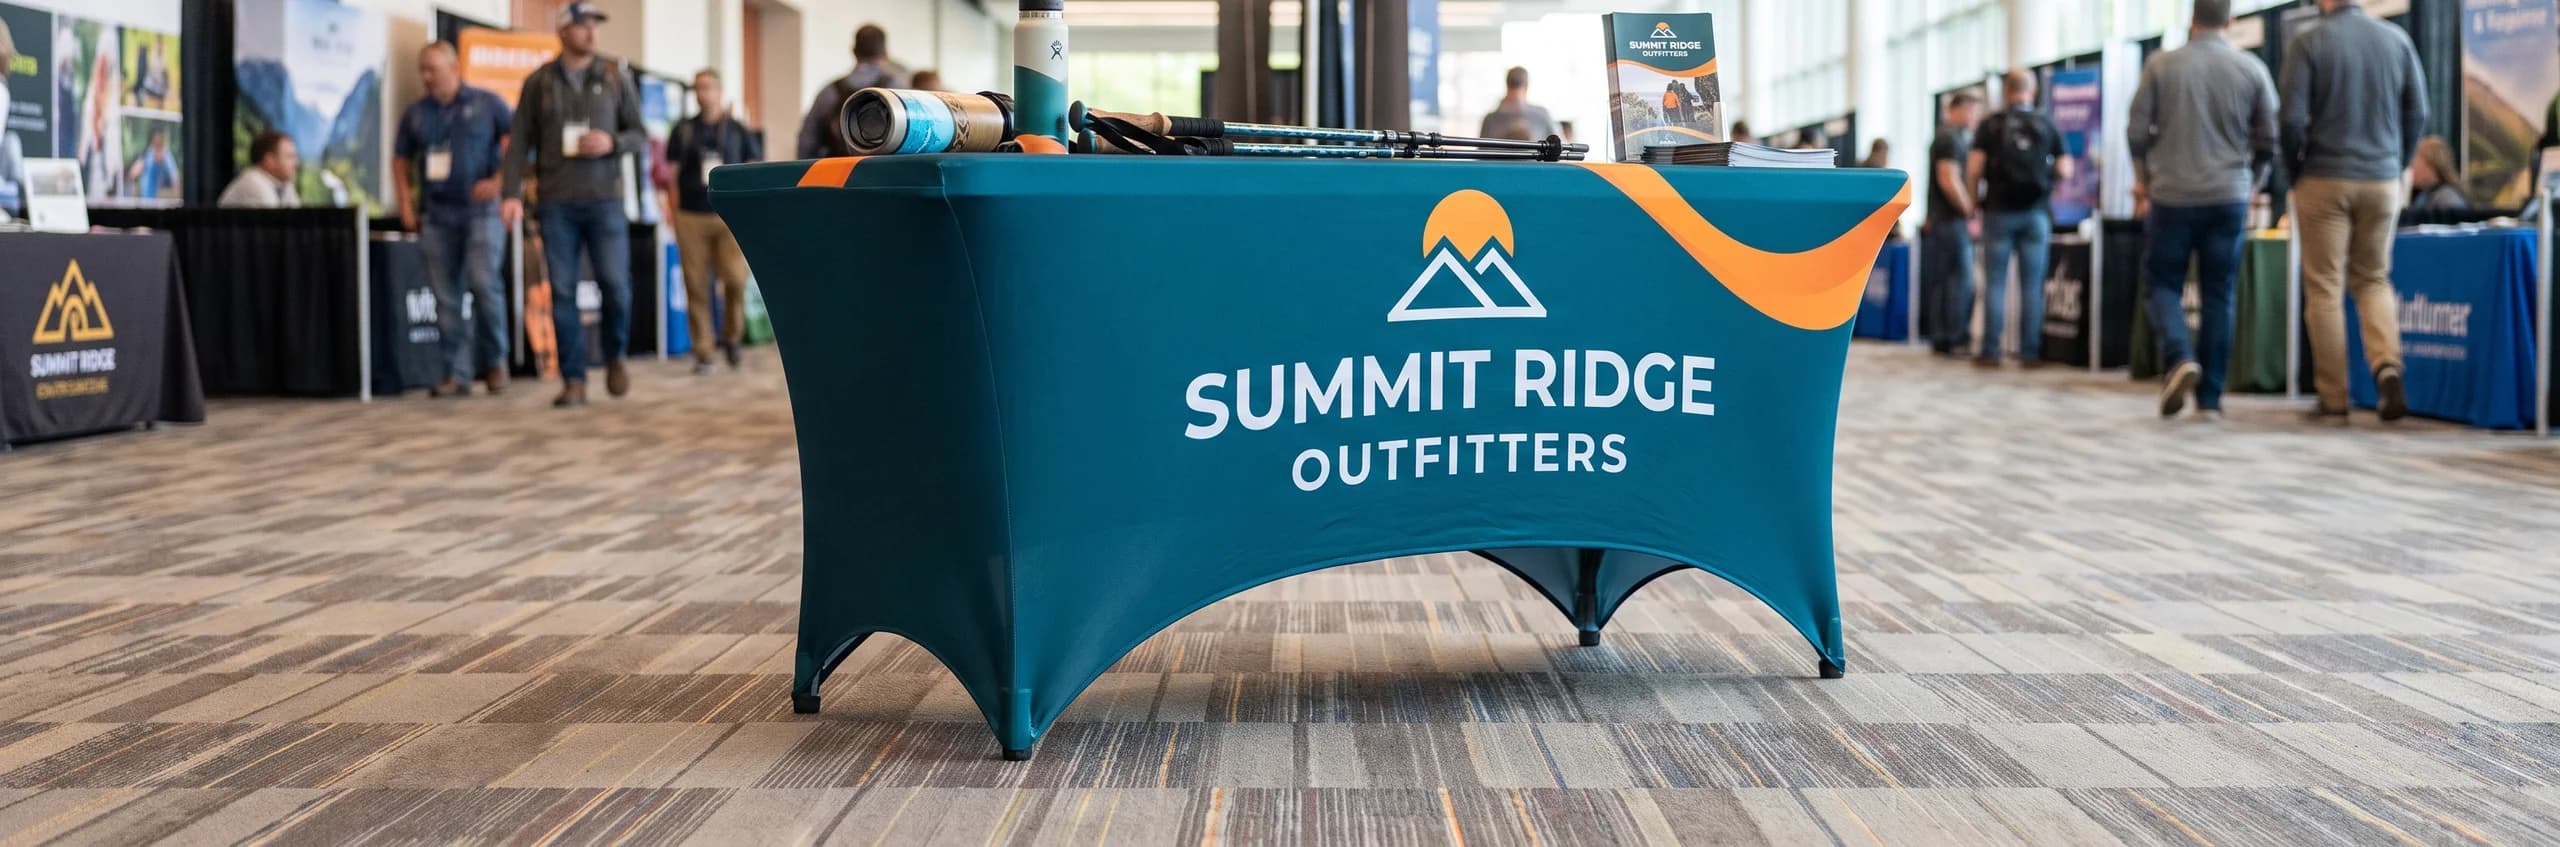
How Do You Put On a Stretch Table Cover?
Put a stretch table cover on by matching it to a standard 6ft or 8ft collapsible table, sliding it over the tabletop with the print facing the aisle, centering the logo, then securing the canvas leg loops and smoothing the fabric. Inline Graphics prices the 6ft Stretch Table Cover at $353.09, with flat $10 ground shipping to any US address.
The cleanest setup begins before the fabric touches the table. Read the cover label or order record, confirm that its size matches the collapsible table, and look at the printed artwork so you know which edge must face the aisle.
Inline Graphics offers a 6ft Stretch Table Cover for $353.09 and an 8ft Stretch Table Cover for $417.29. Both fit standard collapsible tables in the named length and use 8.8 oz machine-washable polyester. Production is the next business day after artwork approval, followed by shipping transit.
| Cover size and table it fits | Price |
|---|---|
| 6ft Stretch Cover, standard 6ft collapsible table | $353.09 |
| 8ft Stretch Cover, standard 8ft collapsible table | $417.29 |
Use the stretch table cover product page to choose the size that matches the table you will use. A fitted stretch cover depends on that match. Extra fabric cannot be draped like a separate throw, and an undersized cover should not be forced over a longer table.
What Should You Check Before Setup?
Before setup, check the table size, stability, surface, and artwork orientation. A standard 6ft table needs the 6ft cover, while a standard 8ft table needs the 8ft cover. Confirm the table is fully opened and stable before stretching fabric toward its legs.
Clear the tabletop and remove anything that could catch the polyester. Look at the logo and decide which side of the booth is the front. This is easier while the cover is loose, before the canvas leg loops are secured.
Keep drinks, boxes, and display hardware off the table until the cover is installed. Adding weight too early makes it harder to center the printed surface. It also encourages the installer to pull from one corner instead of distributing tension evenly.
What Are the Steps for Installing a Stretch Table Cover?
Install the cover in these 8 steps. Complete each action before moving to the next so the fabric stays oriented and the tension develops evenly.
- Match the cover to the table. Confirm that a 6ft cover is paired with a standard 6ft collapsible table or an 8ft cover with a standard 8ft table.
- Stabilize the table. Lock the fully opened collapsible table in its usable position on a level surface.
- Identify the printed front. Locate the side that should face the aisle or audience.
- Slide the cover over the tabletop. Start at one end, work the opening over that end of the table, then stretch it over the other end with the printed front facing the intended direction.
- Pull the fabric downward. Draw the material toward the legs with even tension instead of yanking one corner into place.
- Center the logo. While the cover can still shift, adjust it until the main graphic sits squarely on the front face.
- Secure the canvas leg loops. Fasten the built-in loops to the table legs so the cover is locked in place.
- Smooth the surface. Run clean hands across the top and front to distribute small ripples toward the edges.
Steps 6 and 7 are the order that matters. The canvas leg loops lock the stretched fabric to the table legs, so center the logo first. If it still looks off after the loops are on, release one loop, shift the fabric, and reseat it.
Use the built-in leg loops to secure the cover. The product is designed around its fitted shape and those attachment points. Improvised pins or clips may catch the fabric or distort the printed surface.
How Do You Center the Logo Without Twisting the Cover?
Center the logo before the leg loops are secured, while the fabric can still move. Stand several feet back, compare the graphic with the table center, and correct the position across the whole front instead of rotating one corner.
Use the table ends and the center of the table as visual references. Check from the normal approach direction, because a logo can look centered from behind the table while appearing shifted from the aisle.
Place the first display item only after the main graphic is centered. A monitor, product sample, or literature stand can hide the reference points and make later correction harder. When the artwork is aligned, add tabletop items without dragging them across the printed fabric.
For artwork planning, a file or image is made print ready through AI image to print for $14.99 per item. "Design it for me" is +$29.99 with two revisions. It is free only when the item is $499 or more, so it stays $29.99 on both the $353.09 and $417.29 covers. There is no production setup fee, and the free digital proof arrives after the order is placed.
How Do You Smooth a Stretch Table Cover?
Smooth a stretch table cover by distributing the fitted fabric evenly after the leg loops lock it to the table legs. Start with clean hands at the center of the top and front, then guide small ripples outward without pulling the logo away from center.
The stretch fit supplies the tension. If one area remains noticeably loose while another feels overextended, recheck the cover size and the seating of the leg loops. Do not compensate for a mismatched table by forcing the fabric harder.
The 8.8 oz polyester is machine washable. The product information does not specify a water temperature, dryer setting, ironing setting, or steaming instruction. Confirm care instructions before choosing settings or applying heat.
How Is This Setup Different From a Fitted Table Cover?
A stretch cover locks to the table legs with canvas leg loops, while a separate fitted cover uses tailored panels and boxed corners. The stretch setup therefore pulls toward the legs and finishes by securing the loops. The fitted-style product settles around the tabletop and hangs in straight sides.
This difference matters during installation. Do not look for hanging side panels on a stretch cover or treat it like a loose throw. The snug surface is created by matching the correct size, orienting the artwork, pulling evenly, and seating the loops.
The fitted, stretch, and throw table cover guide compares the three shapes in detail. Use that comparison when choosing a style. Use this setup guide after you have selected the stretch product.
How Do You Remove and Store the Cover?
Remove the cover in these 4 steps. A deliberate takedown reduces dragging and keeps event supplies from becoming trapped inside the fabric.
- Clear the tabletop. Remove every display item before releasing tension from the cover.
- Release the leg loops. Detach the canvas loops from the table legs without pulling the table across the floor.
- Lift the cover upward. Raise the fabric from the tabletop instead of dragging the printed face along the ground.
- Store the cover cleanly. Place the clean cover in a dry storage area where event hardware cannot catch the polyester.
Before packing, check that the cover is clean and dry. Store it separately from poles, tools, and sharp display hardware.
Keep the table size with the storage record. Labeling the cover as 6ft or 8ft prevents a rushed crew from pairing it with the wrong folding table at the next event. Store the setup reference photo with the event plan as well.
How Should You Plan the Order Before an Event?
Plan the order around proof approval, next-business-day production, shipping transit, and a separate setup buffer. The production clock begins after the free digital proof is approved, not when the first file or image is sent.
Ground shipping is a flat $10 per order to any US address. No ground transit-day promise is published, so confirm transit for the destination and leave time to unpack and practice the setup before the event.
The stretch table cover cost and sizes guide covers the buying decision in more detail. The table cover size guide helps when the available table has not yet been confirmed. Once the correct stretch cover is in hand, the 8-step method above gives the crew one repeatable setup.
Need a stretch table cover or other custom printing? Inline Graphics helps businesses, churches, schools, and event organizers across the country design and print cards, banners, signs, decals, displays, and marketing materials that get noticed. Contact us today for a quote.
Frequently Asked Questions
Inline Graphics offers stretch covers for standard 6ft and 8ft collapsible tables. Match the cover size to the table length before setup so the printed front and canvas leg loops can sit in their intended positions.
A 6ft Stretch Table Cover costs $353.09, and an 8ft Stretch Table Cover costs $417.29. Both are made from 8.8 oz machine-washable polyester.
Center the printed front first, then secure the canvas leg loops to the table legs. The loops lock the cover so it will not slide or bunch when people bump the table.
Yes. The 8.8 oz polyester stretch table cover is machine washable. No washing temperature, dryer, iron, or steam setting is published on the product page, so skip high heat.
Production is the next business day after artwork approval. The free digital proof is sent after ordering, and shipping transit begins after production.
Ground shipping is a flat $10 per order to any US address. Add shipping transit to the next-business-day production window when planning for an event.
Related Articles
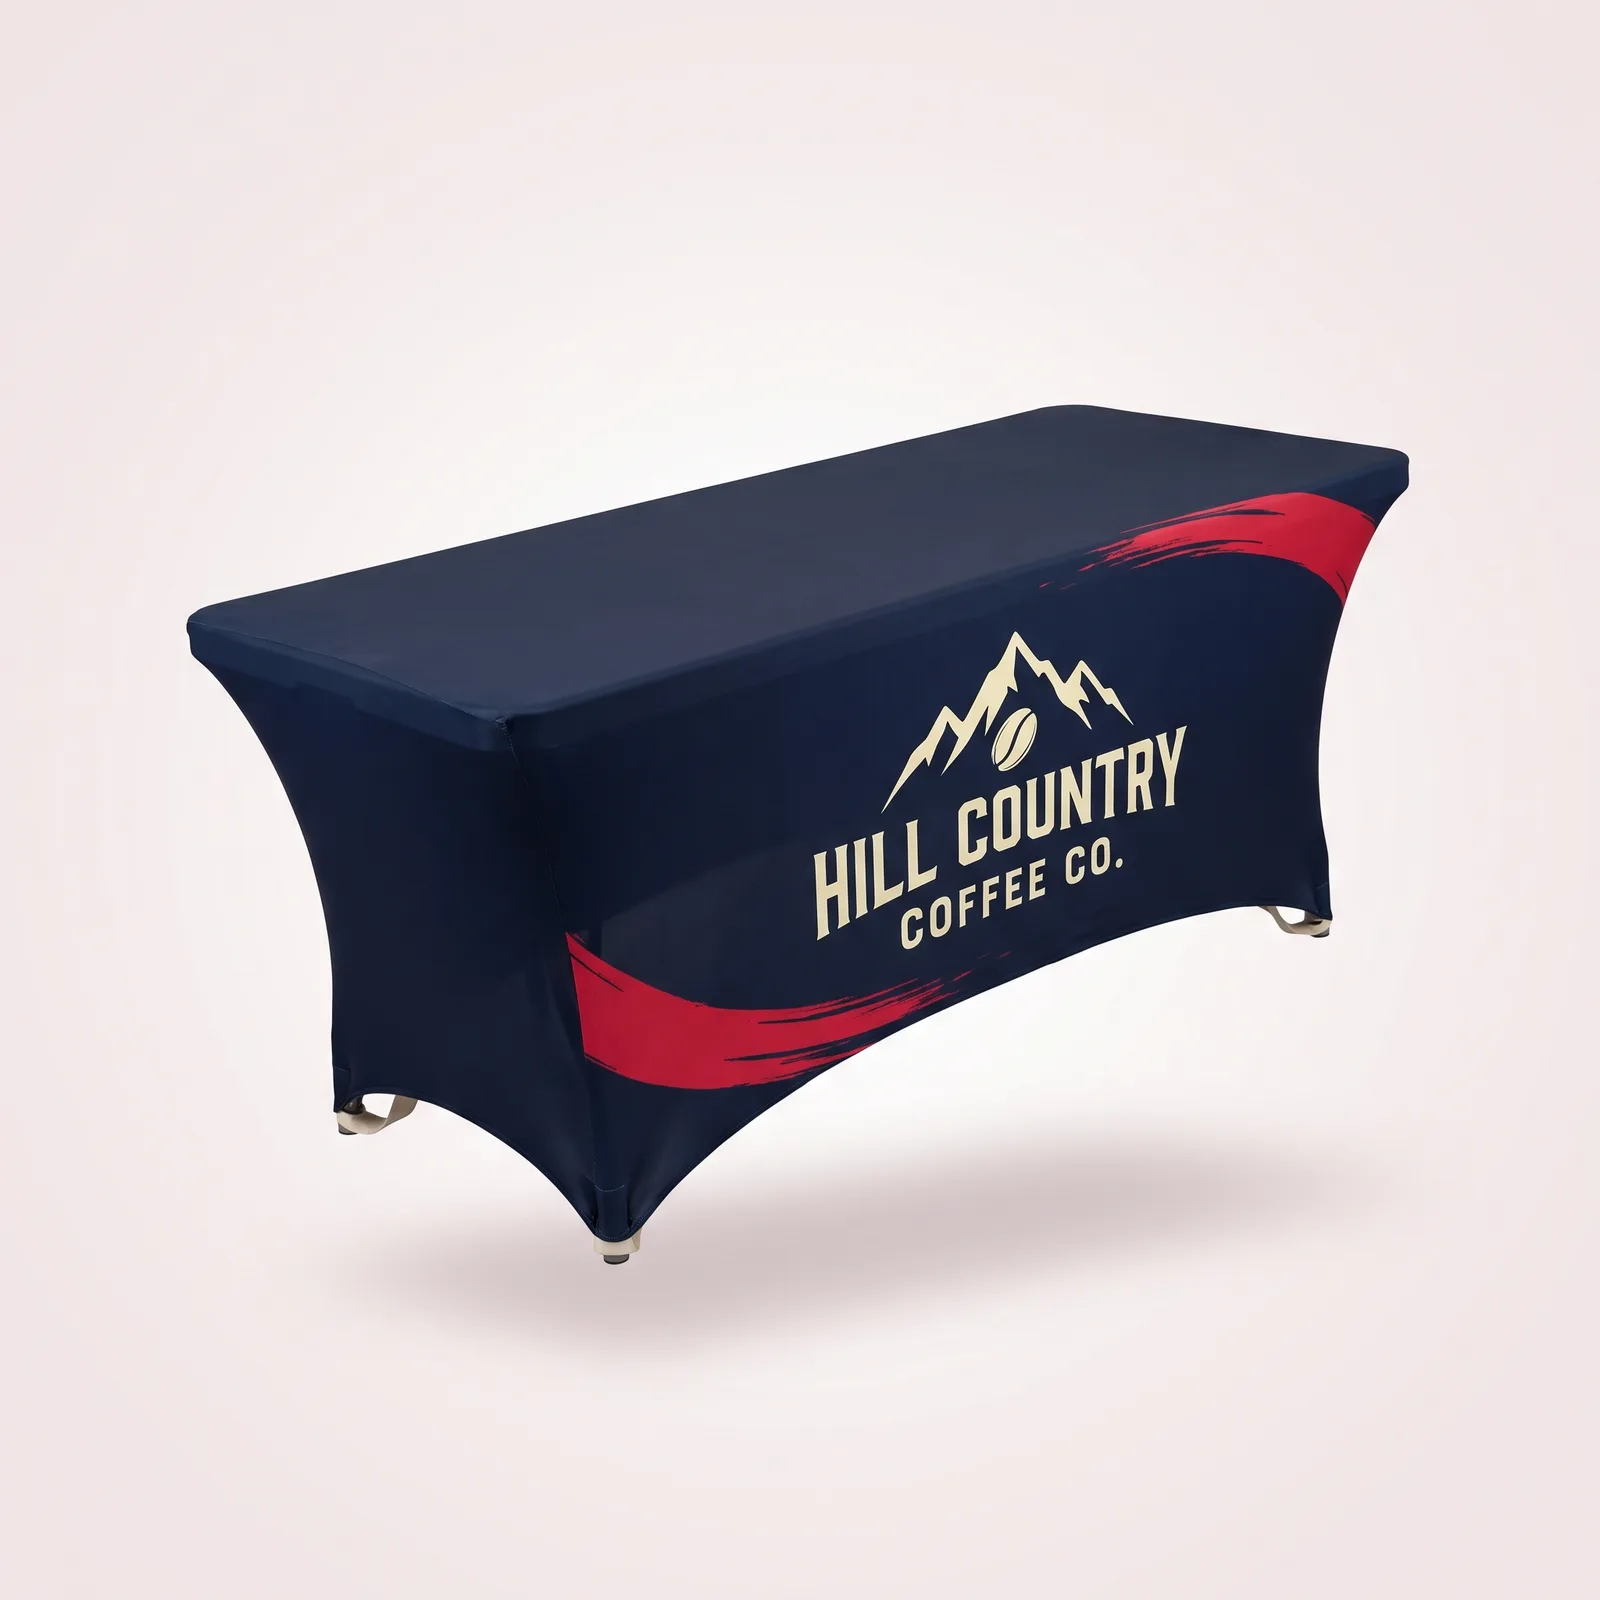
Stretch Table Cover Cost and Sizes: 6 ft vs 8 ft Guide
Stretch table covers fit standard 6 ft and 8 ft collapsible tables. Compare current prices, 8.8 [...]
Read More: Stretch Table Cover Cost and Sizes: 6 ft vs 8 ft Guide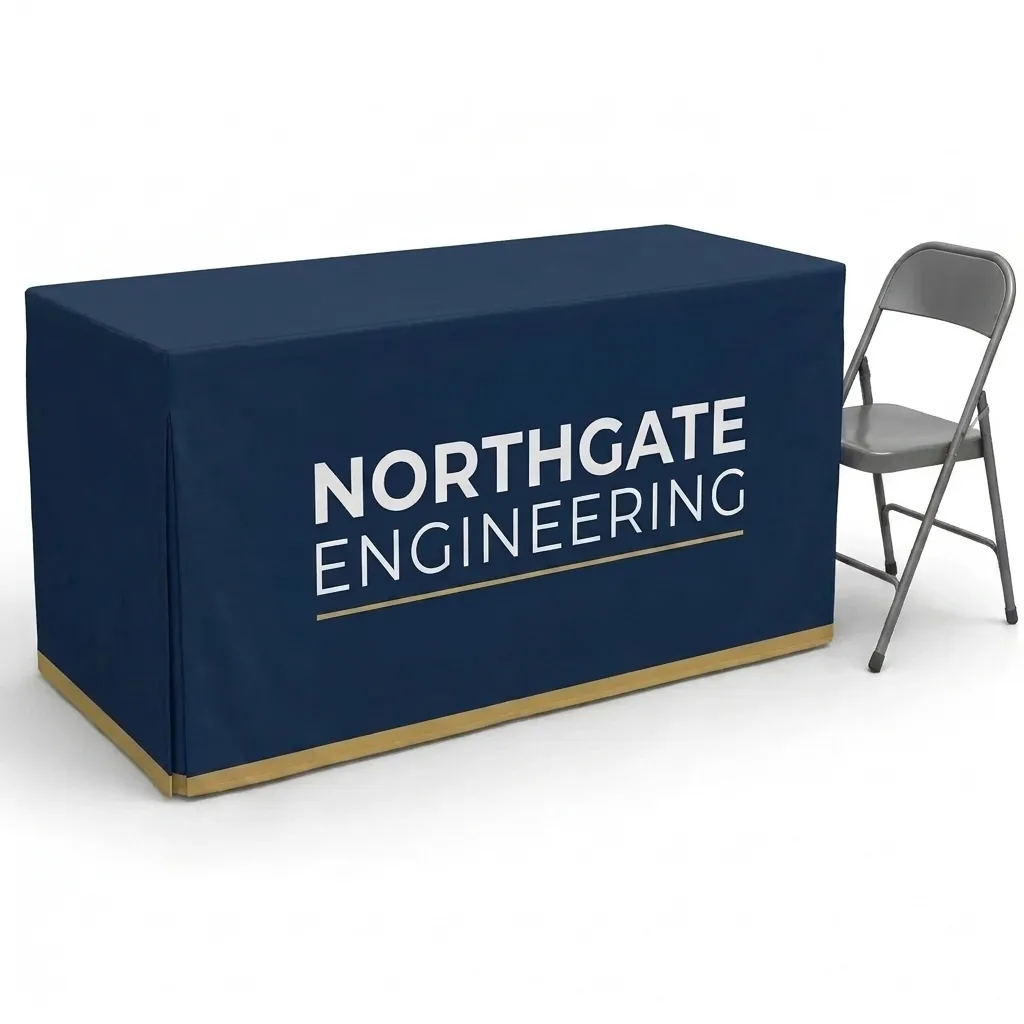
Fitted vs Stretch vs Throw Table Cover: Which to Buy
Fitted and stretch covers fit 6ft or 8ft tables, while throws drape over 72 x 30 x 30 or 96 x [...]
Read More: Fitted vs Stretch vs Throw Table Cover: Which to Buy
Table Cover Sizes: Which Fit 4, 6 and 8 Foot Tables?
A 6ft open-back table throw measures 126 x 62.25 inches and costs $213.99. Compare 4ft, 8ft, [...]
Read More: Table Cover Sizes: Which Fit 4, 6 and 8 Foot Tables?
Event Booth Display Options: How to Choose for Your Setup
Compare 6 event booth displays, from a $203.29 feather flag to a $973.69 custom canopy, with [...]
Read More: Event Booth Display Options: How to Choose for Your Setup