How to Set Up a Retractable Banner Stand, Step by Step
 Jean
October 8, 2026Updated October 19, 202610 min read

What sizes and inserts does the standard retractable come in?
Seat both feet, fit the fixed-height pole, and pull the graphic up slowly before you hook the top rail. A 33 x 81 in Stand + Insert with UV Printed Fabric from Inline Graphics is $213.99. It prints in the USA the next business day after proof approval, with flat $10 shipping to any US address.
Five sizes are on the standard retractable page, from 23 x 66 in to 47 x 81 in. Two of those sizes have a separate checkout price for each insert. The other three have one Stand + Insert price.
| Size and insert | Price |
|---|---|
| 23 x 66 in, UV Printed Fabric | $213.99 |
| 23 x 66 in, UV Printed Matte Banner | $224.69 |
| 24 x 81 in, fabric or matte (same price) | $224.69 |
| 33 x 81 in, UV Printed Fabric | $213.99 |
| 33 x 81 in, UV Printed Matte Banner | $235.39 |
| 33 x 81 in black hardware, fabric or matte (same price) | $267.49 |
| 47 x 81 in, fabric or matte (same price) | $331.69 |
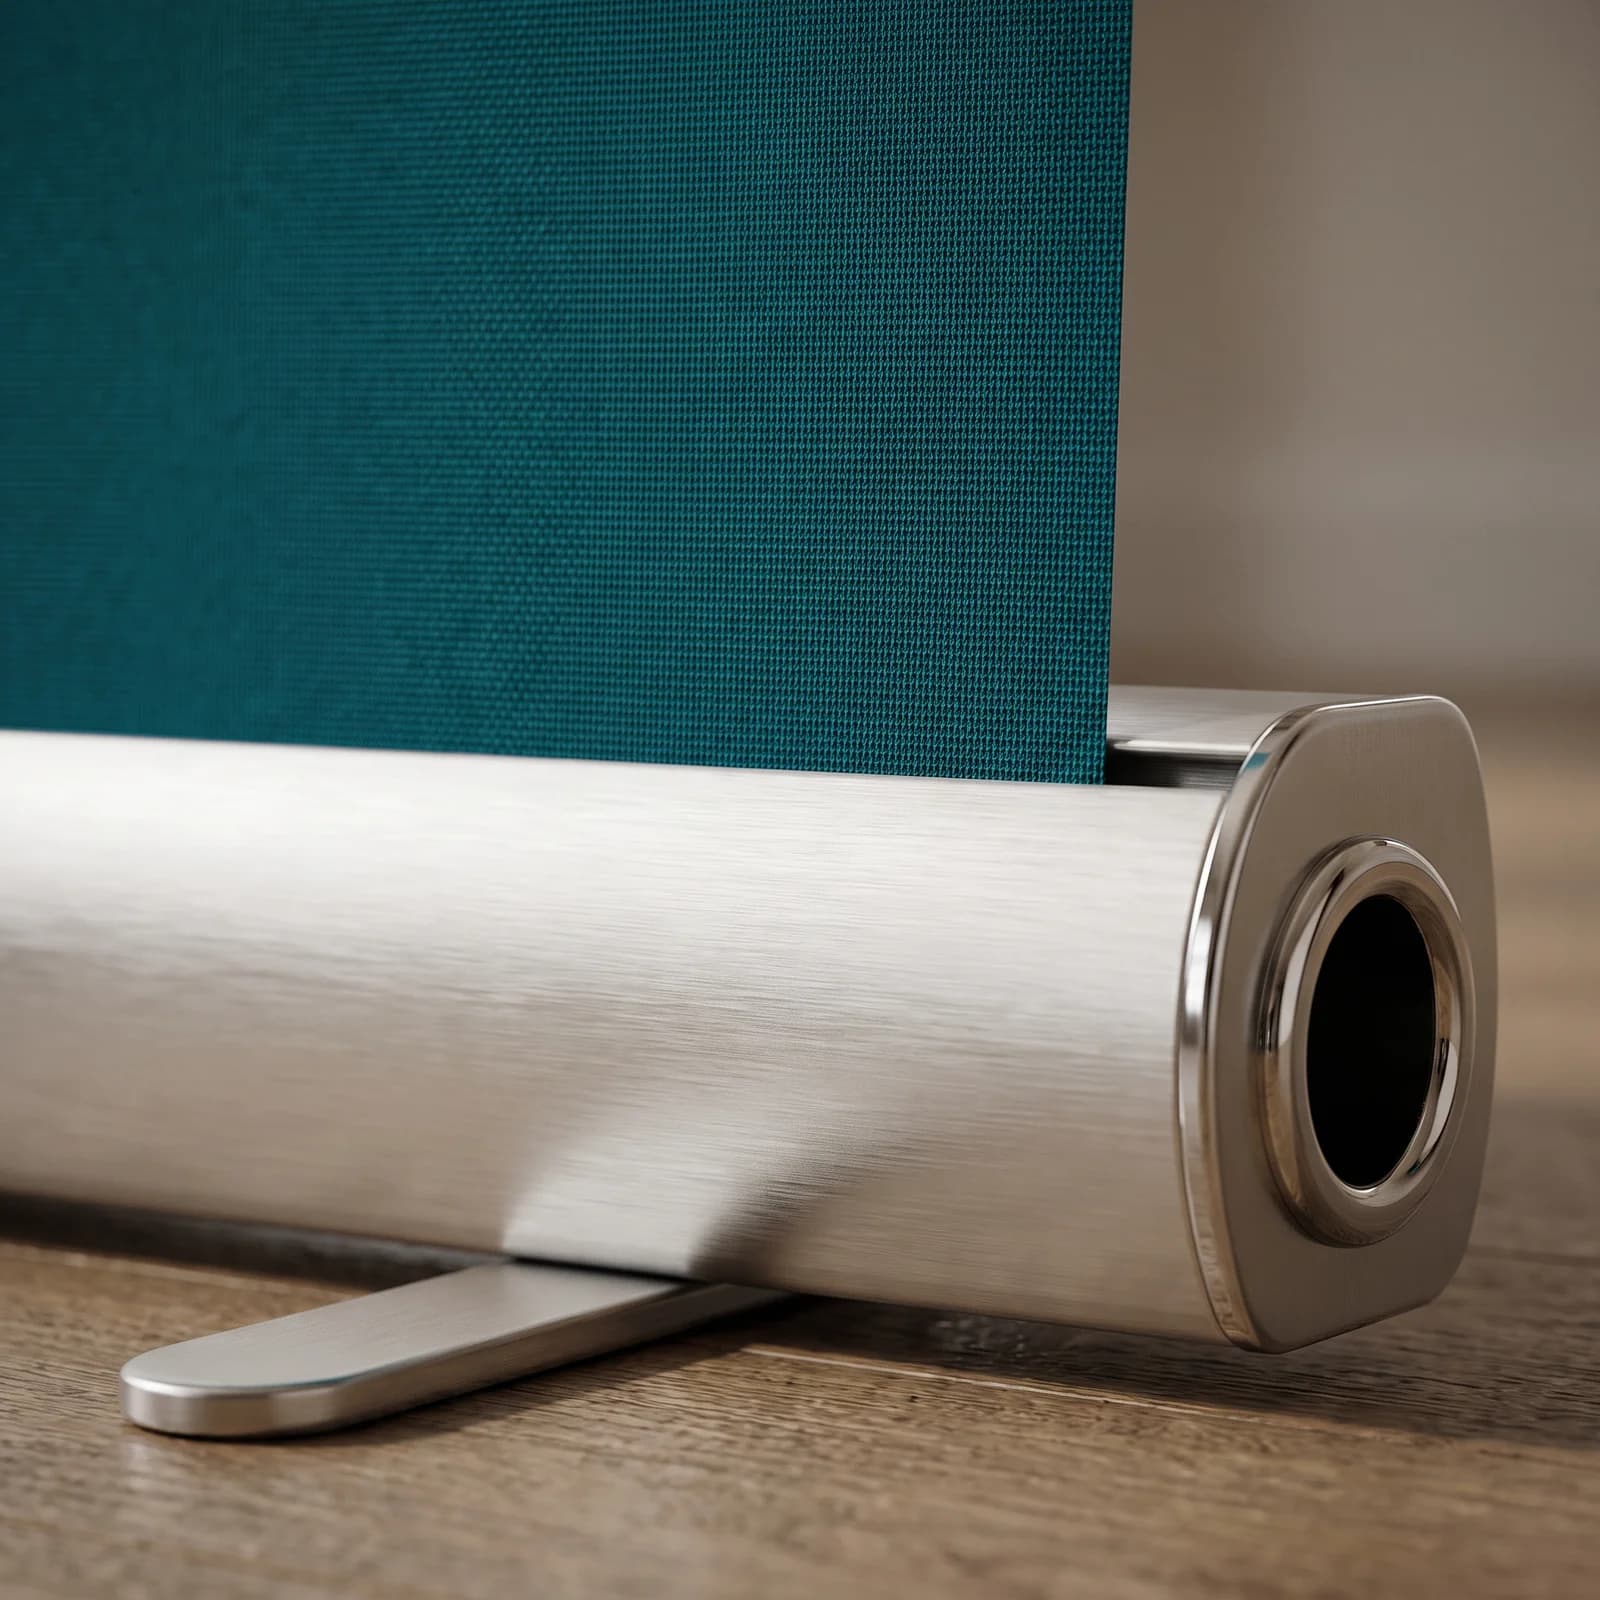
Every row is a complete Stand + Insert kit: compact aluminum hardware, two stabilizing feet, the printed insert, and a travel bag. The page describes the fabric insert as UV printed with curl-free edges. UV Printed Matte Banner is the other insert. It costs more than fabric at 23 x 66 in and 33 x 81 in; at 24 x 81 in, on the black 33 x 81 in hardware and at 47 x 81 in, fabric and matte cost the same.
The page opens on 33 x 81 in. An optional 1 LED Light is a separate choice on the same page. Leave it off if you want the table price. The dollar for the light is in the retractable banner stand cost guide. Insert Only is also on the page, as a replacement graphic for hardware you already own. This table prices the full kit, and the replacement graphic is a different line.
The same setup steps below fit every size in the table. The pole on this model is fixed height. A wider base and an adjustable pole are a different stand on the banner stands hub.
How do you set up a retractable banner stand?
Open both feet, seat the pole in the base, pull the graphic straight up slowly, hook the top rail onto the pole, then check that it is level. Six actions, in this order, and none of them need a tool. The product page describes the raise as a pull from the aluminum base onto the support pole, and the hardware has two stabilizing feet.
- Open the travel bag and set the aluminum base on the floor where the stand will stay.
- Open both stabilizing feet until each foot sits flat.
- Seat the fixed-height support pole in the base.
- Hold the top rail and pull the insert straight up, slowly.
- Hook the top rail onto the support pole.
- Step back and check that the top rail is level and the print hangs without a twist.
Do step 2 before step 4. Feet that are still folded let the base rock while the insert is in your hands. On step 3, push the pole in until it stays upright on its own. The product page does not list a pole-piece count. If the pole arrived as more than one piece, join those pieces until the pole is one straight length, then seat that length. Do not add sections that were not in the bag.
On step 4, keep the pull vertical. The insert rolls out of the aluminum base. A sideways tug rubs the print on the opening. A fast tug can let the graphic snap back down before the rail is hooked. Both hands on the rail, a straight path, and a slow raise are the whole trick.
On step 5, the hook is what holds the print open. If the rail is not seated on the pole, the graphic can still drop back into the base. On step 6, look from the front and from one side. If the rail tips, check the floor under both feet (a cord, a threshold or a carpet ridge), that both feet are fully open, that the pole is fully seated, and that the rail is hooked on the pole. Fix what you find until the rail looks horizontal.
The product page says the raise takes seconds once the feet and pole are in. Seconds still means you keep hold of the rail. A stand that is up and level can stay up for the day. Moving it while the graphic is extended means picking up the whole base, feet and all, and setting it down again. Retract first if the move is more than a short slide.
How do you take a retractable banner stand down?
Hold the top rail the entire time you unhook it, then walk the insert down into the base. Six actions, and the third one is the one that protects the print.
- Put both hands on the top rail.
- Unhook the rail from the support pole while those hands stay on it.
- Walk the insert down into the base at a steady pace. Do not let go.
- Lift the support pole out of the base once the insert is fully inside.
- Fold both stabilizing feet back in.
- Pack the base, the pole, and the feet only after the insert has disappeared into the base.
If you release the rail, the graphic can snap back into the base. A snap folds the print against itself and can leave a crease through a logo or a phone number. Walking it down means your hands set the speed, and the roll takes the print in flat.
Wait until you cannot see the print before you pull the pole. A pole removed while the rail is still up leaves the graphic with nothing to hook to, and the insert drops into the base on its own. Feet come in after the pole is out, so the base is empty of the raised print before you fold anything.
How should the stand be stored between events?
Store the stand only after the insert is fully inside the base, in the travel bag that came with the kit. The bag is the storage the product includes.
Keep the pole beside the base inside the bag, with the feet folded, so the next setup starts from the same six steps. A graphic left partly out of the base gets crushed when the bag is set under a table or in a trunk. Close the insert first, then close the bag.
Keep the bag off wet floors and out from under stacks of heavier cases. The base is aluminum and the print is a roll. Weight on top of the bag presses that roll. The product page does not publish a temperature range or a humidity limit for storage, so the practical habit is a dry bag, insert in, nothing heavy on top.
If the message changes and the hardware is still sound, order Insert Only for a replacement graphic. The prices in the table above are the full Stand + Insert kit. The replacement line is chosen on the product page, and it ships without the stand and without the travel bag.
What mistakes should you avoid with a retractable stand?
A common mistake to avoid is letting go of the top rail on the way down, because the graphic can snap back and crease. Three more show up at the same moment in the setup.
Setting the graphic up before both feet are flat makes the base walk while you pull. The stand looks fine until someone brushes it. Open the feet, then pull.
Pulling at an angle scrapes the insert on the opening of the base. If the print comes out crooked, lower it the same slow way, reset your hands on the center of the rail, and pull straight up again. Keep hold of the rail while you do that.
Sending a file built for a different size prints the wrong panel at full size. A 23 x 66 in file is a different insert from a 47 x 81 in file. The cost guide covers artwork prep in detail. On this page, the check is simple: the size on the proof matches the size you will assemble.
The standard kit's bag is a travel bag. Stacking freight on that bag is how the base arrives out of shape for the next show. If the stand travels often and you want a hard-sided case, that is the SD retractable on the banner stand hub, built and priced as its own product.
Choosing this stand when the job is a photo wall is a different decision. A step and repeat backdrop and a tension fabric display are compared in retractable banners vs pop-up displays. Use that guide to pick the format. Use this one to put the standard retractable up and take it down.
How do the file, the proof, and the production clock work?
There is no production setup fee, and a file or image you already have, including a PDF, a phone photo, or a Canva export, goes through AI image to print for $14.99 per item. That charge is once per item. Design it for me is +$29.99 and includes two revisions. It is free when the item is $499 or more. Every Stand + Insert price in the table is under $499, so the design add-on is $29.99 on these stands.
The free digital proof is sent after the order is placed, before anything prints. Production is the next business day after you approve that proof. The clock does not start at checkout, and it does not include transit. Shipping is a flat $10 to any US address. Add transit on top of the production day when you count back from the morning the stand has to be in the room.
On the proof, read the size, the insert name, and the spelling in the top half of the panel. That is the part people see over a table. When the size on the proof matches the row you ordered, approve it and the production day can start.
How do you order the stand?
Order on the standard retractable page: Stand + Insert, the size from the table, and the insert. Leave the LED light off unless you have checked its price on the cost guide. Send the file through the $14.99 path if you already have artwork, or add Design it for me at $29.99 if you want the layout built.
Approve the proof, then plan the setup for after the box arrives: bag open, both feet flat, pole seated, graphic up slowly, rail hooked, rail level. The takedown is the same path in reverse, with your hands still on the rail.
Need a retractable banner stand or other custom printing? Inline Graphics helps businesses, churches, schools, and event organizers across the country design and print cards, banners, signs, decals, displays, and marketing materials that get noticed. Contact us today for a quote.
Frequently Asked Questions
Open the travel bag, set both stabilizing feet flat, seat the fixed-height support pole, pull the insert up slowly, hook the top rail to the pole, and check that the rail is level.
A 33 x 81 in Stand + Insert with UV Printed Fabric is $213.99. The same size with a UV Printed Matte Banner insert is $235.39. Both prices are the stand and the printed insert.
Hold the top rail, unhook it, and walk the insert down into the base. Keep your hands on the rail the whole way. If you let go, the graphic can snap back into the base and crease.
Production is the next business day after you approve the proof. The proof is sent after the order. Shipping is a flat $10 to any US address and comes after production, plus transit.
There is no production setup fee. A file or image you already have goes through AI image to print for $14.99 per item. Design it for me is +$29.99 with two revisions, and it is free when the item is $499 or more. These stands are under that line.
The Stand + Insert kit includes a travel bag, two stabilizing feet, the fixed-height pole, and the printed insert. A hard-sided travel case is a different stand, the SD retractable, on the banner stand hub.
Related Articles
Retractable Banner Stand Cost: 23 x 66 to 47 x 81 in
A 33 x 81 in retractable banner stand is one of five sizes from 23 x 66 to 47 x 81 in. Compare [...]
Read More: Retractable Banner Stand Cost: 23 x 66 to 47 x 81 in
Retractable Banner vs Pop Up Display: Which Fits You?
A 33 x 81 inch retractable kit costs $213.99 and a 36 x 90 inch tension fabric pop-up costs [...]
Read More: Retractable Banner vs Pop Up Display: Which Fits You?
Event Booth Display Options: How to Choose for Your Setup
Compare 6 event booth displays, from a $203.29 feather flag to a $973.69 custom canopy, with [...]
Read More: Event Booth Display Options: How to Choose for Your Setup
Inline Graphics vs Vistaprint Retractable Banners Guide
A 33x81 in retractable stand with UV printed fabric is $213.99. Compare cassette options, [...]
Read More: Inline Graphics vs Vistaprint Retractable Banners Guide