Trade Show
How to Install a Portable Display Shelf for San Antonio Retail and Events
Step-by-step guide to installing portable display shelves and product racks for San Antonio retail and trade shows. From a local printing company.
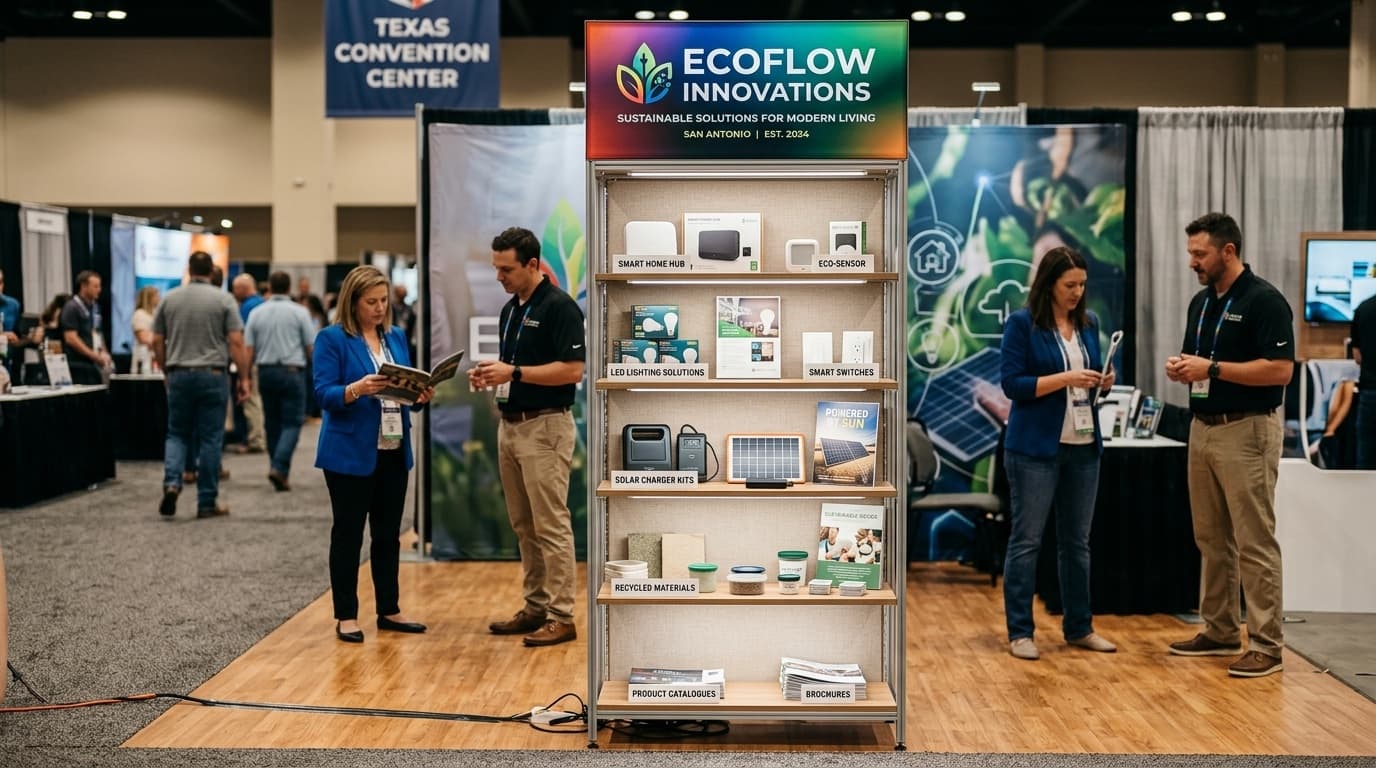
For San Antonio retailers, trade show exhibitors, pop-up vendors at the Pearl Farmers Market, and event marketers showcasing products, a portable display shelf is one of the most useful pieces of equipment available. They turn any 8-foot square of floor space into a finished product display. The installation isn't complicated, but doing it right makes the difference between a shelf that looks professional and one that wobbles, leans, or collapses mid-event.
Here's the practical install guide for portable display shelves.
What a Portable Display Shelf Is
A portable display shelf is a collapsible product rack, usually made of aluminum or steel frame with shelves of glass, acrylic, MDF, or printed graphic panels. They fold or break down into a wheeled travel case, set up in 5–15 minutes, and provide multiple tiers for displaying retail products, samples, books, or marketing collateral.
Common types:
- Tower display, narrow vertical column with 3–5 shelves
- Counter display, short, table-height with 2–3 shelves
- Wing/end-cap display, wider with multiple product rows
- Header-equipped display, includes a top branded sign panel (sometimes called a "shelf with a head")
Step 1: Unpack and Inventory
Before assembling, lay out every component:
- Frame sections (verticals and horizontals)
- Shelf panels
- Header/topper graphic (if included)
- Screws, fasteners, and locking pins
- Optional graphics or fabric wraps
- Carry case or travel bag
Most portable displays use a numbered or color-coded system. Match parts to the instructions before starting.
Step 2: Assemble the Frame
Start with the base:
- Connect the bottom horizontal frame
- Insert vertical posts at each corner
- Add intermediate horizontals as the shelves go up
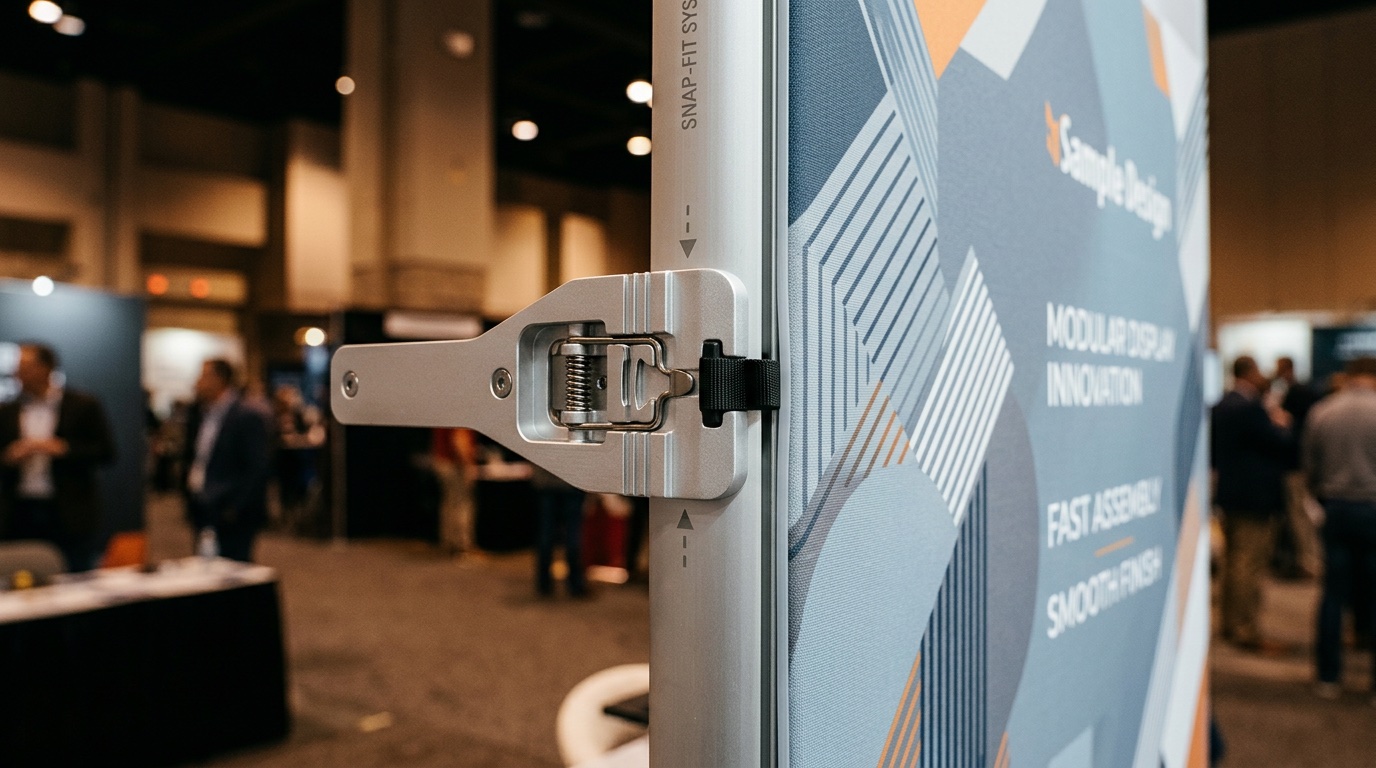
- Lock all connection points with the included fasteners
The frame should feel stable before you add shelves. If anything wobbles, double-check that all connection points are fully locked.
Step 3: Install the Shelves
Shelves typically rest on cross-bars or slide into grooves on the verticals:
- Install from the bottom up
- Ensure each shelf is level before moving to the next
- Don't force shelves into place, if they don't fit, recheck the frame alignment
For glass shelves, handle carefully and avoid impact. For acrylic shelves, watch for scratches on display surfaces.
Step 4: Add the Header Graphic
If your display has a printed header (the branded sign on top):
- Slide or clip into the top frame slot
- Center it horizontally
- Lock in place with the included fasteners
The header is often the most-photographed part of the display. Make sure it's straight and tight.
Step 5: Install Side or Backwall Graphics
Many portable displays accept side panels or backwall graphics:
- Fabric panels stretch over the frame and attach with hook-and-loop or zipper systems
- Rigid panels slide into slots on the verticals
- Wrapping graphics adhere directly to the frame
Step 6: Position and Anchor the Display
Once assembled:
- Position the display in its intended spot
- Check that it's level on the floor
- For trade show booths at the Convention Center, position the display away from foot traffic edges where it might be bumped
- For retail use, secure to nearby walls with brackets if the location is high-traffic
San Antonio trade show floors are usually concrete with carpet on top. Most portable displays sit stably without additional anchoring.
Step 7: Stock the Display
Load products from the bottom up:
- Heavy items on the lowest shelves
- Light items on top
- Brand-facing arrangement, products oriented so logos face the customer
- Spaced for breathing room, overcrowded shelves look cluttered
Step 8: Photograph for Reuse
Before the event, photograph the fully-stocked display from multiple angles. Future setups go faster when you have a reference for how products were arranged.
Common Installation Mistakes
The most common portable display mistakes we see at San Antonio events:
- Skipping the locking pins (the display wobbles)
- Overloading the top shelf (display becomes top-heavy)
- Forcing parts that don't fit (recheck assembly first)
- Mounting the header off-center (the display looks unprofessional)
- Setting up in front of an HVAC vent or busy walkway (display gets bumped repeatedly)
Care and Storage
Between uses:
- Disassemble carefully, note the order for next time
- Clean shelves before storage
- Repack graphics rolled, not folded
- Store the case in a climate-controlled space
A quality portable display lasts 5+ years with proper care.
Why Work With Inline Graphics
Inline Graphics is a San Antonio printing company that prints custom header graphics, sidewall panels, and product display signage for portable display shelves used in retail, trade shows, and events across Bexar County. We help with sizing, material selection, and design so your portable display shows up looking like a professional retail fixture.
Need custom printing in San Antonio? Inline Graphics helps local businesses, churches, schools, and event organizers design and print banners, signs, decals, displays, and marketing materials that get noticed. Contact us today for a quote.