How to Get Wrinkles Out of a Vinyl Banner: 4 Safe Methods
 Jean
April 27, 2026Updated October 19, 20269 min read
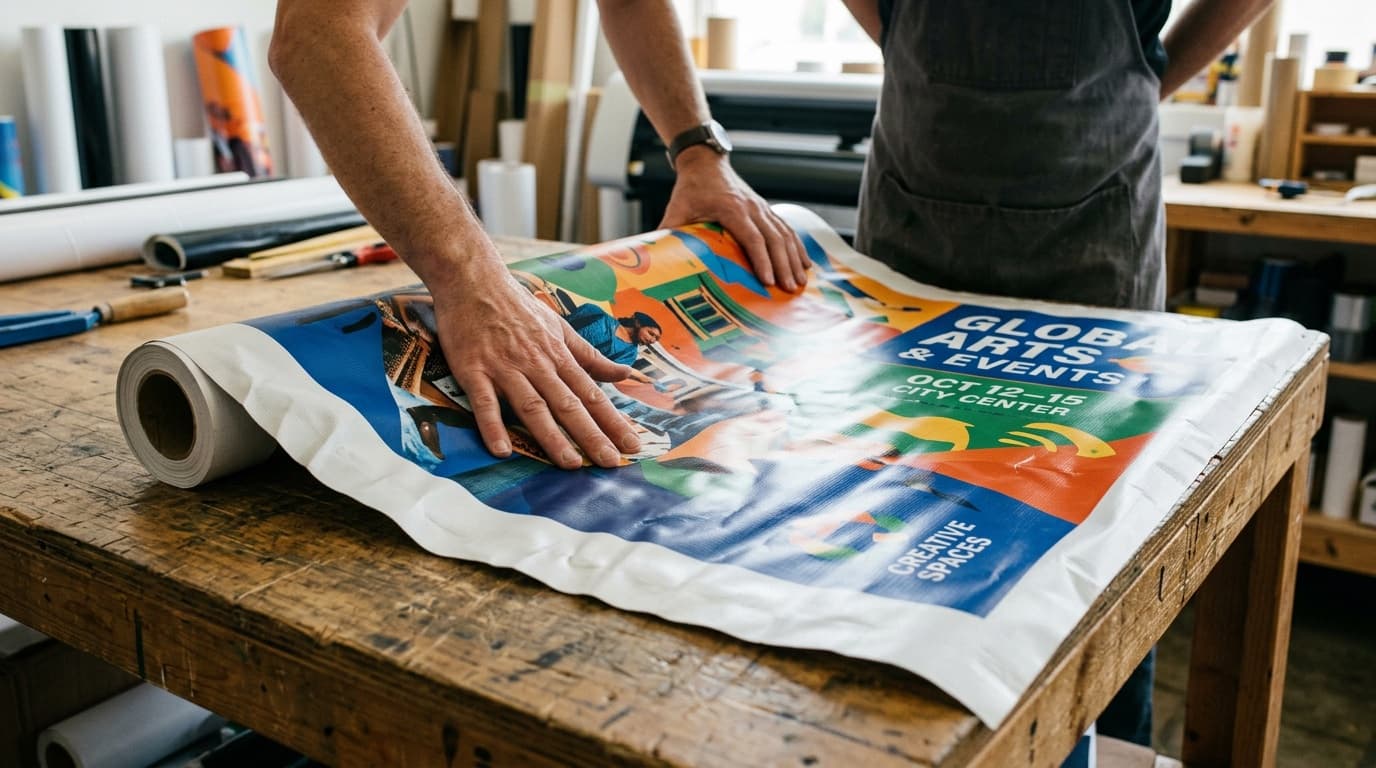
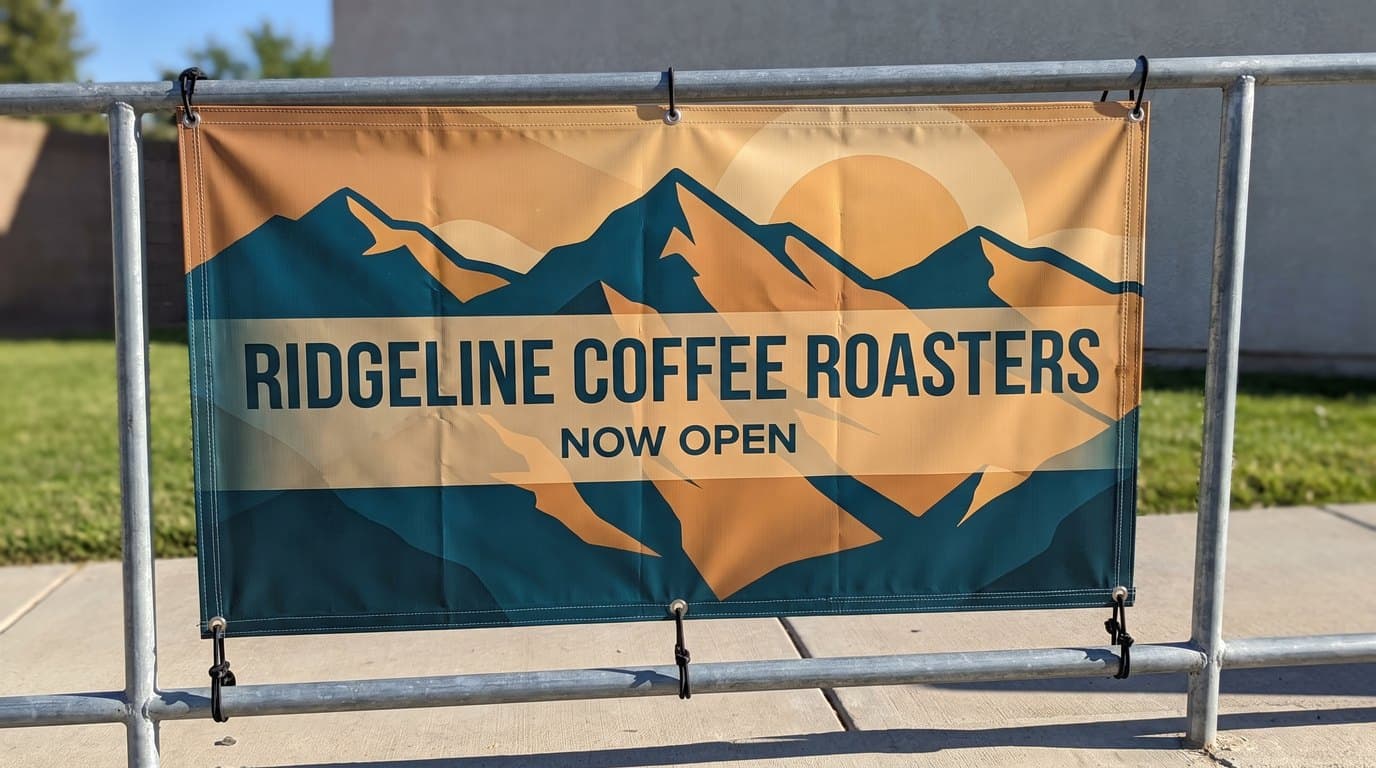
How Do You Get Wrinkles Out of a Vinyl Banner?
Check the printer's care directions, then hang the banner under gentle, even tension for 1 to 3 hours in a warm setting. If the directions allow applied heat, test a hidden corner first and keep the heat moving across the back. Never place a bare iron on the printed face.
Check the printer's care directions, then hang the banner under gentle, even tension for one to three hours in a warm setting. Many shipping creases relax without direct heat. If they remain, use applied heat only when the care guidance allows it, test a hidden area first, and stop if the material changes gloss, color, or shape.
A 3 x 6 ft single-sided 13oz vinyl banner is $133.00, with hems and grommets included. Printed in the USA in 3 business days after proof approval and shipped nationwide, flat $10 shipping to any US address.
Work down this list from the lowest-risk approach. Material weight, ink system, lamination, hems, and previous damage can change how a banner responds, so no method is risk-free. A cracked, delaminated, or brittle banner should be replaced rather than heated.
| Method | Heat source | Time | Risk to the print | Use it when |
|---|---|---|---|---|
| Gentle, even tension | Warm setting, following the care directions | 1 to 3 hours | Lowest, but over-tension and prolonged heat can still damage material | Shipping creases in otherwise sound vinyl |
| Hair dryer | Medium setting, about 8 to 10 in away | Short passes up to 30 seconds | Moderate | Only when the care directions allow applied heat |
| Heat gun | Lowest setting, about 8 to 10 in away, always moving | Short passes up to 30 seconds | High, can distort vinyl or blister ink | Skilled use only, when specifically allowed |
| Warm iron through a cloth | Lowest setting, steam off, never touching vinyl | 10 to 20 seconds per pass | Highest | Only when specifically allowed by the care directions |
| Reprint | None | 3 business day production | No heat risk | Cracked folds, UV fading, torn hems |
Why Do Vinyl Banners Wrinkle in the First Place?
Banners often wrinkle because of shipping, folding, uneven tension, or storage. Vinyl responds to temperature and pressure, but the printed surface and finishing may respond differently from the base material. That is why care directions for the finished banner take priority over a universal heat setting.
We roll banners for shipping wherever the size allows because a roll leaves a broad curve instead of a hard fold. A folded banner can develop stress lines at each crease, especially when it remains folded under weight or in a hot storage area. A closed vehicle, attic, or garage that reaches about 110 degrees Fahrenheit can also worsen distortion and damage the print.
Method 1: Hang It in the Sun Under Tension
Check the care directions, then hang the banner under light, even tension in a warm area for one to three hours. Brief outdoor warmth may help when the finished banner is rated for it, but prolonged sun can fade or overheat some prints. Warm shade or a climate-controlled room is the safer choice when the care directions are unclear.
Use every available grommet and apply only enough tension to hold the banner flat. The default custom vinyl banner configuration includes hems and grommets, which spread the load along the reinforced edge. Uneven or excessive pull can stretch the material, distort the print, or tear a grommet. Bungee cords can soften gust loads outdoors, but the banner still needs secure mounting and reasonable weather conditions.
Cool conditions may slow the process. If the temperature stays below about 60 degrees Fahrenheit, move the banner to a warmer indoor setting rather than automatically adding direct heat. Stop if the crease is cracked, the ink is lifting, or the material feels brittle.
Method 2: A Hair Dryer or Heat Gun on Low
Use a hair dryer or heat gun only if the printer's care directions allow applied heat. Test a hidden corner first. A hair dryer on medium from about 8 to 10 inches away is a cautious starting reference. A heat gun is much hotter and is best left to someone familiar with the specific material. Work from the back, keep the tool moving, and maintain only light tension.
Four rules reduce the risk:
- Keep your distance. About 8 to 10 inches is a starting reference. Increase that distance if the material warms quickly.
- Never stop moving. Sweep across the crease in short passes of no more than about 30 seconds, then let that area cool before checking it.
- Work from the back when permitted. This reduces direct exposure to the printed face, but heat can still reach the ink and coatings.
- Test first. Try a hidden corner near a grommet before working on the center. Stop at any gloss, softness, distortion, odor, or color change.
Never run a heat gun at full power over a printed banner. It can quickly exceed the tolerance of vinyl, ink, or coatings. A blistered patch, shiny area, or distorted section is permanent damage, so stop before the surface visibly changes.
Method 3: A Warm Iron Through a Cloth
This is the highest-risk option on the list. Use it only when the printer's care directions specifically allow ironing. If those directions are missing, do not iron the banner. A bare iron or an unsuitable temperature can permanently melt, stretch, or mark the material.
When ironing is specifically permitted, lay the banner printed side down on a flat, clean, padded surface. Cover the back with a clean cotton cloth so the iron never touches the vinyl. Start at the lowest setting with steam off, test a hidden area, and use gentle passes of 10 to 20 seconds while lifting and moving the iron. Let the area cool before deciding whether another pass is needed.
Two things to avoid: any pass directly over a grommet, which will conduct heat straight into the material around it, and the printed face, ever, cloth or no cloth.
What Not to Do to a Wrinkled Banner
Most of the banners we are asked to replace early were not worn out, they were rescued badly. These are the ones we see.
- Do not iron the printed side. Even through a cloth, the face is where the ink coating lives and heat plus pressure is what lifts it.
- Do not pour hot or boiling water over it. Water adds nothing that heat does not already do, and standing water in a hem or a pole pocket takes days to dry out.
- Do not stretch one corner to pull a crease out. Uneven tension distorts the print permanently, and a stretched banner never hangs square again.
- Do not leave it folded in a plastic bag in the heat. That is the exact recipe for setting a crease, and a sealed bag also traps moisture against the print.
- Do not put it in a clothes dryer. The tumbling gives you fresh creases in new places, at a temperature you cannot control.
How Do You Store a Banner So It Does Not Crease?
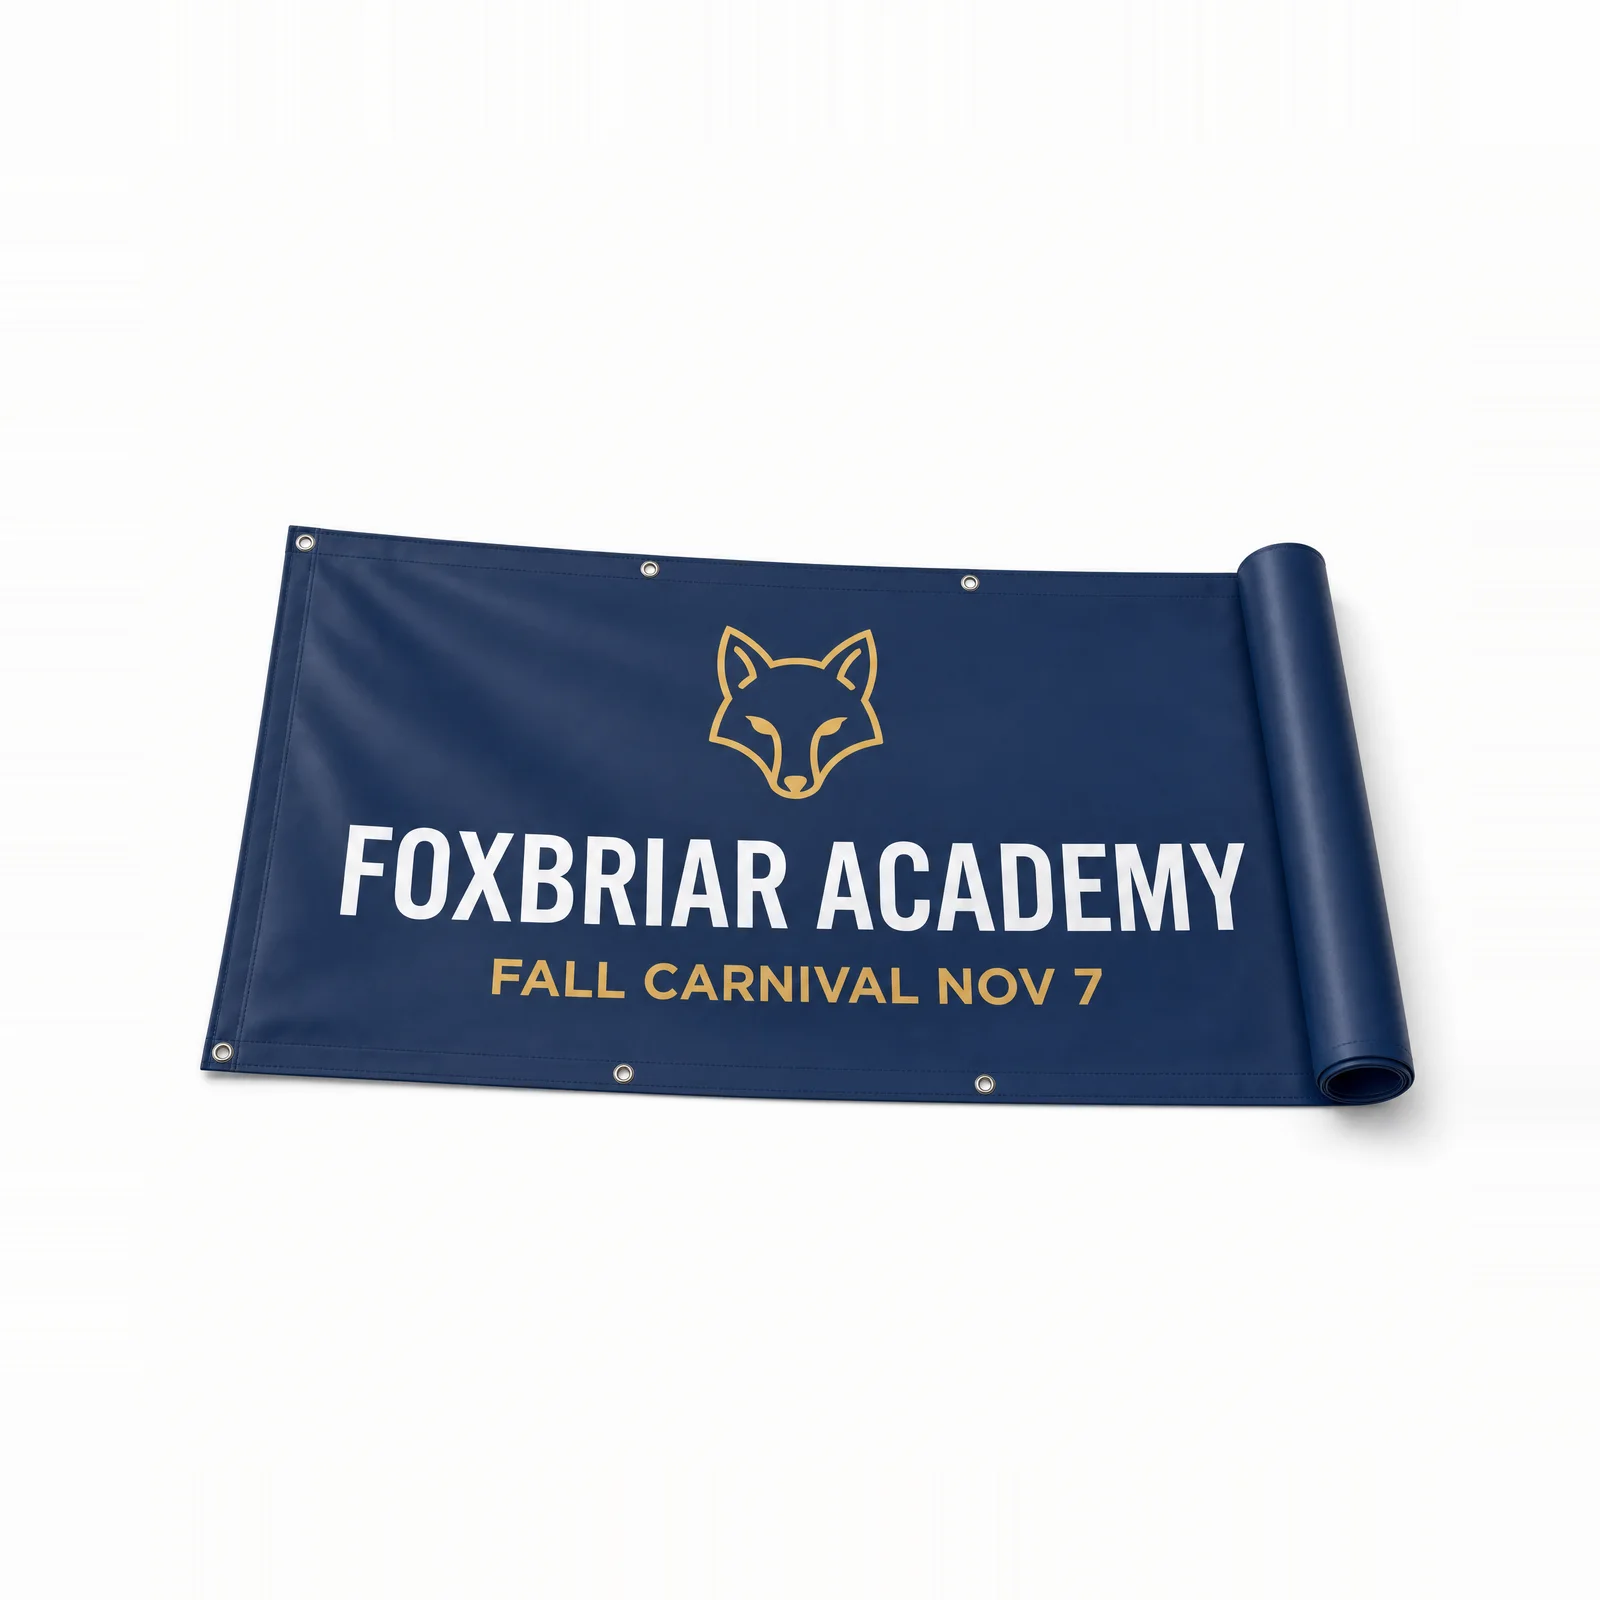
Roll it, printed side out, on a tube about 3 inches across or larger, and store it somewhere that stays cool and dry. This prevents the repeated hard folds that make later setup more difficult.
Let the banner cool and dry before storage, then roll it without forcing a tight curve. Printed side out keeps the face on the outside of the roll rather than compressed inside it. A tube about 3 inches across or larger provides a broad core, and the shipping tube can be reused when it remains clean and dry.
Where you put it matters as much as how you roll it. A closet or interior storage room is usually more stable than a vehicle, attic, or uninsulated garage. Keep the roll away from heavy objects, moisture, and prolonged heat, then inspect the surface before the next use.
What We See in the Shop
The call we get most often is two days before an event, from somebody who has just unrolled a banner that has been folded in a box since last year. The first move is still the simple one: inspect the print, check the care directions, hang it under gentle tension, and give it time before reaching for a heating tool.
The second pattern is heat damage from the panic version of that same call. A heat gun held in one spot for 10 seconds can leave a shiny wave in the middle of the headline. That distortion does not relax like a shipping crease, so the safest decision is to stop before the surface changes.
The third is quieter and it is the one worth learning from. Banners that come back to us for a reprint after two or three seasons are almost never worn out by the weather. They are creased along the same four lines, because they were folded into a tote the same way every year. The banners that outlive them went back on a tube every time.
When Is It Cheaper to Reprint Than to Fix?
Reprint when the vinyl has cracked at a fold, when the color has faded through multiple seasons outdoors, when the hem has torn out at a grommet, or when the message on it is out of date anyway. At that point you are spending an afternoon to rescue something that will still look tired when it goes up.
The math is friendlier than most people expect. A custom vinyl banner on 13oz starts at $64.19 for a 2 x 3 or a 2 x 4, a 3 x 6 is $133.00 and a 4 x 8 is $229.00, with hems and grommets included in every price and flat $10 shipping to any US address. If the old banner was fighting wind on a fence line, a mesh banner starts at $64.19 for a 2 x 3 and runs to $634.00 for an 8 x 10, ships for a flat $10 ground per order, and lets roughly 30 percent of the wind through instead of pulling at the grommets. The full size ladder for both is in banner sizes.
You see a free digital proof with every order before anything prints, and production is 3 business days once you approve it. Tell us the event date when you order and we will confirm the timeline before production starts.
Frequently Asked Questions
One to three hours is a useful first check while the banner hangs under gentle, even tension in a warm setting. Follow the printer's care directions, avoid over-tension, and move the banner indoors if outdoor heat or sun is not allowed. Some deep or damaged creases may not relax safely.
Only when the printer's care directions specifically allow it. Work from the back through a clean cotton cloth, start at the lowest setting with steam off, test a hidden area, and keep the iron moving. Never place a bare iron on vinyl.
A steamer is not a universal vinyl-banner care method. Moisture can collect in hems or pole pockets, and the combination of heat and water may affect inks or coatings. Follow the finished banner's care directions and start with gentle tension instead.
Rolled, printed side out, on a tube about 3 inches across or larger. A length of PVC pipe from any hardware store works. Folding puts a hard crease in the same spot every time it is put away, and after a season those fold lines stop coming out at all.
Yes. Too much heat can distort the vinyl, change its gloss, or lift and blister the printed surface. When the care directions allow heat, about 8 to 10 inches away and passes no longer than 30 seconds are cautious reference values. Test a hidden corner first and stop at any visible change.
Start with gentle, even tension and follow the printer's mesh-banner care directions. Do not assume an iron or heat-gun method is safe for perforated material because heat and pressure can land unevenly across the openings. Replace mesh that is cracked, stretched, or otherwise damaged.
A 13oz vinyl banner in either 2 x 3 or 2 x 4 starts at $64.19. A 3 x 6 is $133.00 and a 4 x 8 is $229.00, with hems and grommets included. Perforated mesh starts at $64.19 for a 2 x 3 and runs to $634.00 for an 8 x 10, and every order ships for a flat $10 ground. Production is 3 business days after you approve the proof.
Related Articles
Banner Sizes: 2x4, 3x6, 4x8, 6x10 Feet and Letter Height
Standard banner sizes are 2 x 4, 3 x 6, 4 x 8 and 6 x 10 feet. Get the letter height rule, hem [...]
Read More: Banner Sizes: 2x4, 3x6, 4x8, 6x10 Feet and Letter Height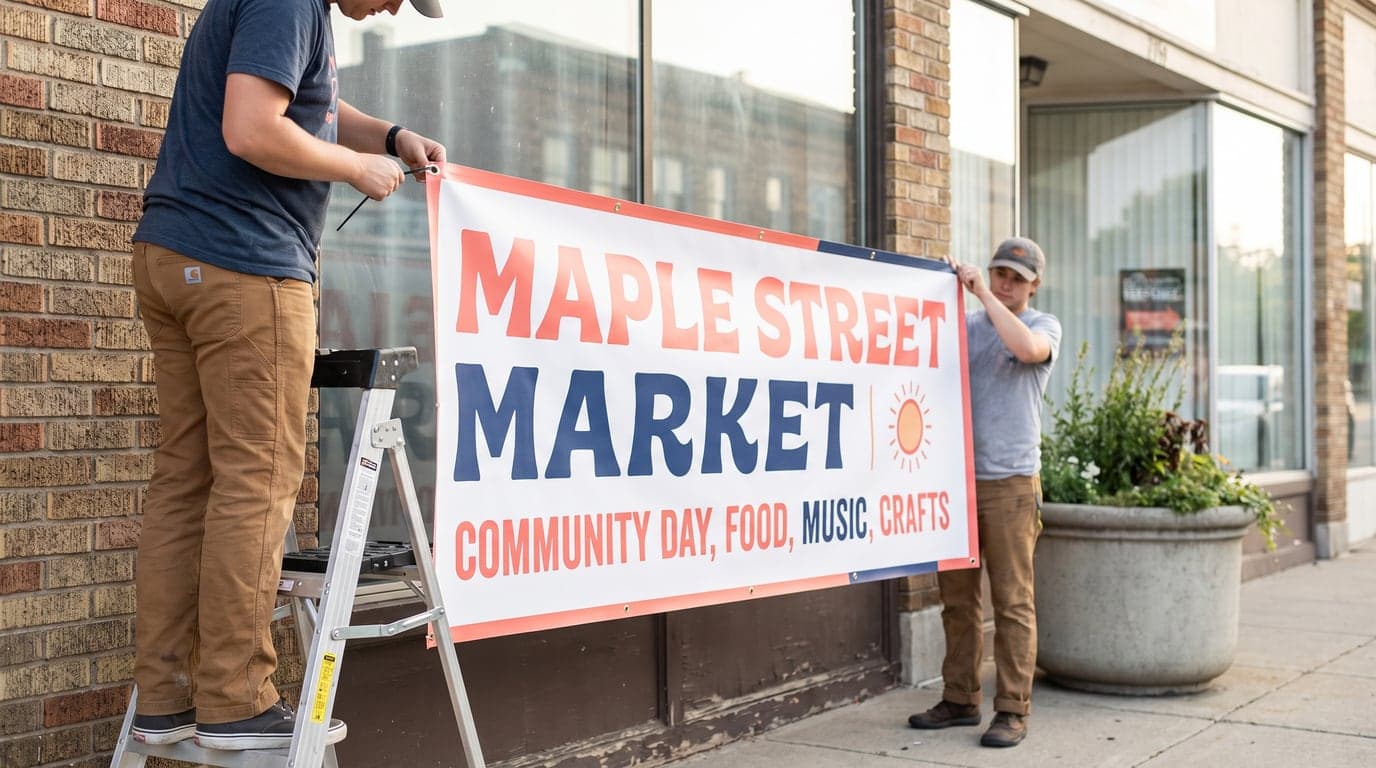
How to Hang a Banner: Safe Steps for Walls and Fences
A 6 ft x 3 ft banner hangs best when its surface, hardware, and load are matched before every [...]
Read More: How to Hang a Banner: Safe Steps for Walls and Fences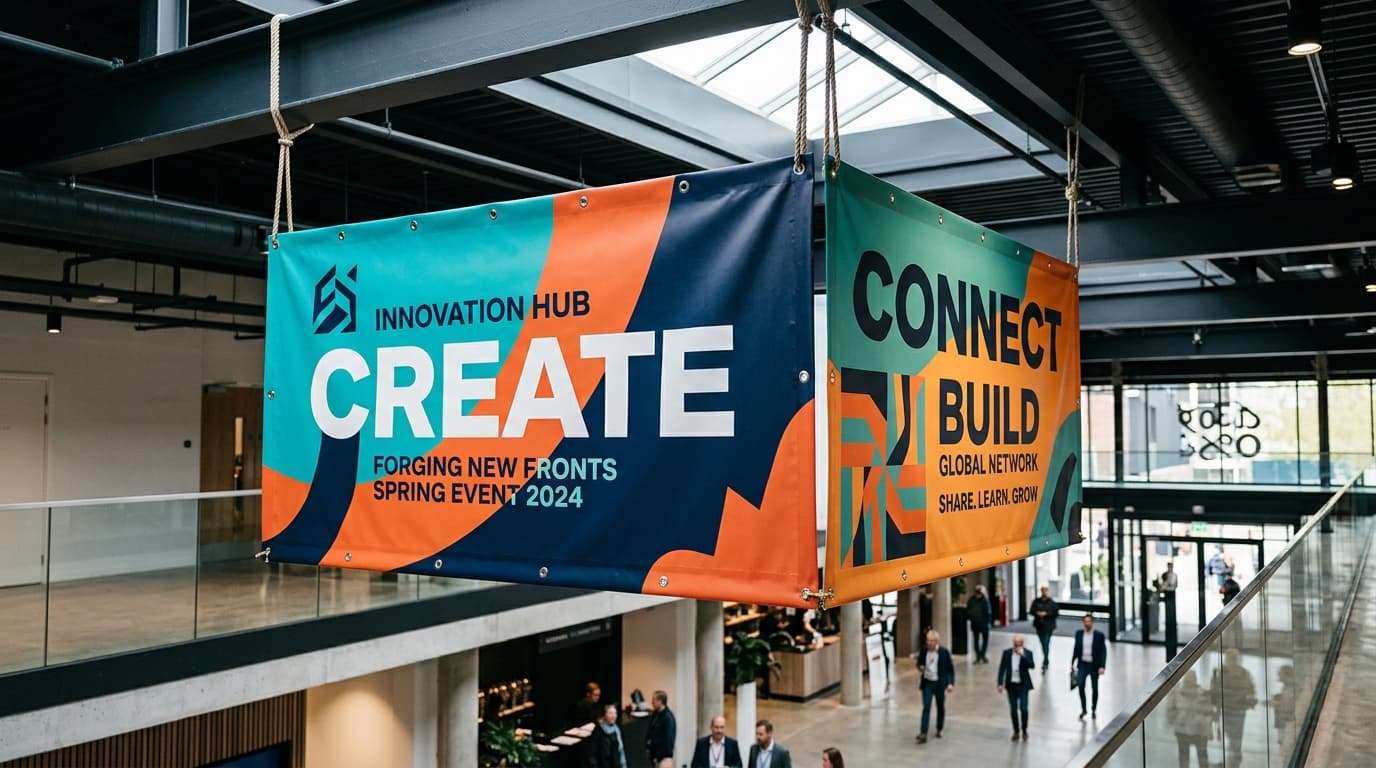
Single vs Double-Sided Banners: Cost, Uses and Specs
Double-sided banners use 18oz vinyl and cost about 60 percent more than single-sided. Compare [...]
Read More: Single vs Double-Sided Banners: Cost, Uses and Specs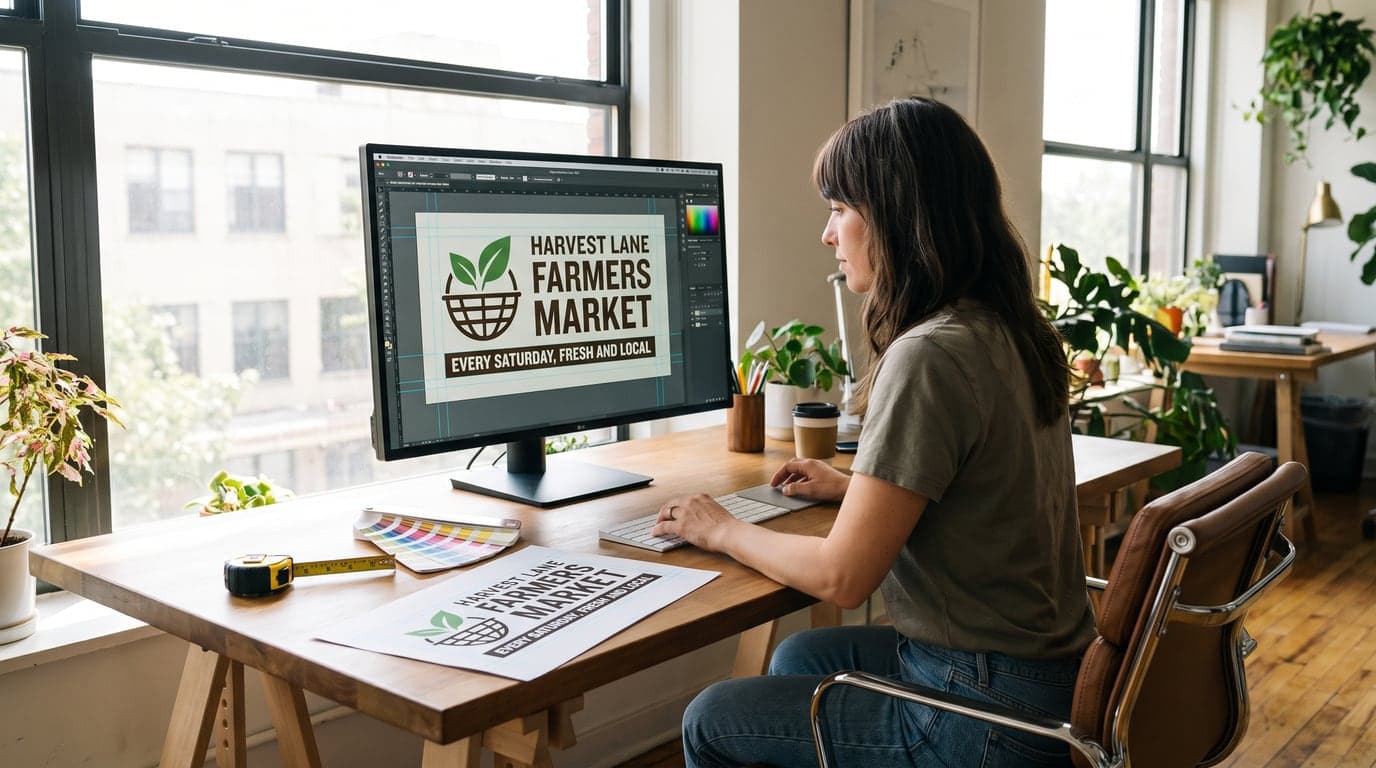
Banner Design Guidelines: Clear Artwork That Prints Well
Banner design guidelines start with a 6' × 3' layout, bold hierarchy, safe margins, and sharp [...]
Read More: Banner Design Guidelines: Clear Artwork That Prints Well