How to Hang a Banner: Safe Steps for Walls and Fences
 Daniel
March 31, 2026Updated October 19, 20269 min read

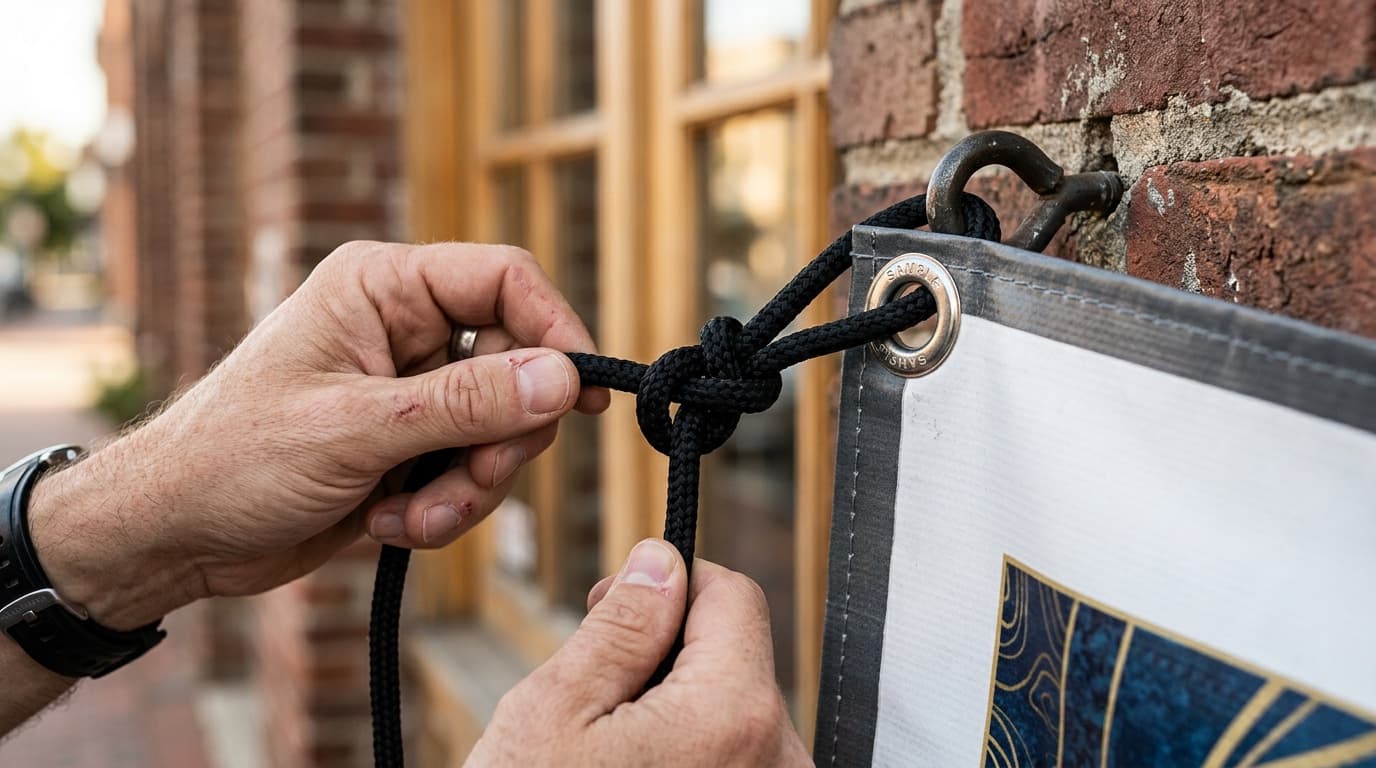
How Do You Hang a Banner Safely?
Hang a 6 ft x 3 ft banner with surface-rated hardware through every grommet, adding tension gradually. That single-sided 13oz Standard banner is $133.00. Printed in the USA in 3 business days after artwork approval and shipped nationwide, flat $10 shipping to any US address.
The safe sequence is to measure, identify the surface, choose suitable hardware, position the banner, connect every available grommet, and add tension gradually. The details depend on the mounting surface, the structure behind it, the banner's exposure, and the property's rules. A method that works on a sound chain-link fence is not automatically right for masonry, wood, posts, or an indoor wall.
A 6 ft x 3 ft single-sided 13oz Standard banner is $133.00 with hems and grommets included. Printed in the USA in 3 business days after artwork approval and shipped nationwide, flat $10 shipping to any US address.
Treat the banner, attachments, anchors, and supporting structure as one load path. Use hardware appropriate to the surface and expected load, and follow the hardware maker's instructions. Check property requirements before making holes or attaching anything. Avoid concealed electrical lines, plumbing, gas lines, and other utilities. Work at height, masonry drilling, public areas, and uncertain structures belong with qualified help.
| Mounting situation | First check | Typical planning direction | Stop and get help when |
|---|---|---|---|
| Chain-link fence | Ownership, condition, clear openings | Compatible ties through each grommet | The fence moves, is damaged, or borders a public path |
| Wood surface | Sound framing and permission | Rated hooks or fasteners into suitable structure | The wood is soft, split, hidden, or not structural |
| Brick or concrete | Exact masonry type and utilities | A rated masonry fastening system | The wall, anchor, drilling path, or access is uncertain |
| Metal railing or frame | Load capacity, sharp edges, movement | Compatible ties or connectors | The rail is decorative, loose, or a required guard |
| Between posts | Both supports and the full span | A rated line or cable system | Either post or its footing is uncertain |
| Indoor temporary display | Venue rules and wall finish | An approved removable or stand-based system | Attachment is prohibited or may damage the finish |
This is a planning guide, not a hardware rating. The hardware package and property instructions control the setup.
What Should You Measure Before Hanging a Banner?
Measure the finished banner, the usable mounting area, and the distance between attachment points. Record width and height in the same unit. A 6 ft × 3 ft banner needs space for its full width and height plus whatever clearance the approved hardware requires. Do not order from a visual guess or assume the wall edge is square.
Mark where the corners should land, then compare those marks with the grommet positions. Check doors, windows, vents, lights, signs, cameras, sprinklers, handrails, and required exit paths. The banner must not cover safety information, block access, or create a snag across a walking route.
How Do You Match Hardware to the Mounting Surface?
Choose hardware by surface, structure, exposure, and expected load, not by banner size alone. Wind and movement can change the forces on an outdoor banner. Hardware packaging should state the materials and conditions it is designed for. Follow those instructions, including requirements for pilot holes, embedment, edge distance, compatible connectors, and installation tools.
On a fence or metal frame, protect the vinyl from sharp edges and keep connectors from rubbing through the hem. On wood, a fastener needs sound supporting material, not only thin trim or a decorative panel. On masonry, identify whether the surface is brick, block, concrete, veneer, or another assembly before selecting an anchor.
Never drill until utilities and restricted areas are accounted for. Never assume a post, rail, facade panel, or ceiling member can take the load because it looks solid. If the structure is unclear, the correct next step is an assessment by someone qualified for that surface and site.
How Do You Position a Banner Before Fastening It?
Position the banner with helpers before fully fastening any point. Lay it on a clean surface, confirm the top edge and reading direction, and loosely connect the upper corners. Step back and check height, centering, and clearance. Make the remaining connections while the banner is supported instead of allowing its weight to hang from one corner.
Do not climb while holding a loose banner in wind. Use access equipment correctly and keep both hands available for safe movement. If the top edge cannot be reached from a stable working position, use qualified help instead of improvising from furniture, vehicle beds, or an unsuitable ladder.
How Do You Apply Even Tension?
Apply tension in small, alternating steps after all available grommets are connected. Begin with the corners only snug enough to hold alignment. Work around the perimeter, removing broad wrinkles while watching the hem and grommets. The goal is a flat presentation, not maximum force.
Stop tightening when the banner lies cleanly without a loose edge. A grommet that leans, a hem that puckers, a fastener that shifts, or a support that moves is a warning, not a cue to pull harder. Release tension and correct the alignment, connection, or hardware choice.
Elastic connections can allow controlled movement when they are part of an appropriate, rated system. Rigid connections can also be suitable in the right assembly. Neither approach is universally correct. Follow the maker's instructions for the exact connector and review how the complete setup behaves before the area returns to normal use.
How Should an Outdoor Banner Be Planned for Exposure?
An outdoor banner needs a site-specific plan for wind, rain, sun, nearby traffic, and the people around it. An open fence line, corner, rooftop edge, or span between posts can expose a banner differently from a protected wall. There is no universal wind threshold that makes every setup safe, and a material choice does not eliminate the load on the structure.
Check the setup after significant weather, impact, vandalism, or any visible change. Look for loosened hardware, enlarged grommet holes, torn hems, abrasion, sag, and movement in the supporting surface. Remove the banner from service if anything in the load path is damaged or uncertain. Property rules or hardware instructions may require additional checks.
What Do Hems and Grommets Do?
Hems reinforce the banner's perimeter, and grommets provide defined attachment points through that reinforced edge. Both are included with the custom printed banner configuration. They help distribute connections around the perimeter, but they do not rate the wall, fence, posts, anchors, ties, or installation.
Use every available grommet that belongs in the planned setup. Leaving a corner loose concentrates movement at the next connected point. Do not punch improvised holes through the printed field or attach hardware directly through unsupported vinyl. If the supplied finishing does not match the mounting plan, resolve that before hanging the banner.
Custom printed banners are available from 2 ft × 4 ft through 10 ft × 20 ft, or in any custom size. A 6 ft × 3 ft, single-sided, 13oz Standard banner is $133.00. It is printed in the USA in 3 business days after artwork approval and ships nationwide for a flat $10.
What We Notice at the Proof and Finishing Stage
Files arrive as AI images, screenshots, or logos that are too small for the intended print size. On a print order, Inline Graphics can make a file print ready for $14.99 per item by cleaning it up and upscaling it, always with a proof before printing. Hems and grommets occupy the banner's edge, so copy placed near the perimeter gets crowded.
How Would a Bookstore Hang a Banner on a Railing?
In this example, Cedar Row Books is a sample independent bookstore planning a 6 ft × 3 ft banner for a weekend author event. The manager measures the permitted area on an interior metal railing and confirms that the property allows temporary ties but no drilling. The railing is inspected for damage, sharp edges, and any conflict with its required guard function.
The team chooses connectors whose maker approves them for the railing material and expected load. Two people support the banner, loosely attach the upper corners, and check that the entrance, handrail, and exit path remain clear. They connect every remaining grommet and tighten in small alternating steps until the vinyl is flat.
Before opening the area, they check each connector and view the message from the approaching walkway. The event date and author name stay clear of the hem. Because this is a public-facing area, the property manager approves the completed setup. If the railing moved, served as an unsuitable support, or required work at height, the store would stop and use qualified help.
What Banner Hanging Mistakes Should You Avoid?
Avoid choosing hardware from appearance alone. A large screw is not proof of a suitable anchor, and a heavy tie is not proof that a fence or railing can carry the load. The complete system matters.
Avoid fully tightening one corner before the rest are connected. That pulls the artwork out of square and concentrates stress at one point. Avoid leaving loose corners to flap, running a line across a public path, covering an exit sign, or placing hardware where it can cut the vinyl.
Do not drill into an unknown wall, post, or facade. Utilities and concealed construction cannot be judged from the finished surface. Do not work above a safe reach or improvise access equipment. Finally, do not assume a printer provides installation. Inline Graphics prints the banner; the property owner and installer are responsible for selecting and approving the site-specific mounting system.
What Comes With a Custom Printed Banner?
A custom printed banner includes the selected printed vinyl, hems, and grommets. The supported example is a 6 ft × 3 ft, single-sided banner in 13oz Standard vinyl for $133.00. Standard sizes run from 2 ft × 4 ft to 10 ft × 20 ft, and custom dimensions are available.
Production is 3 business days after artwork approval, and shipping is a flat $10 to any US address. The printed product does not include site-specific anchors, ties, access equipment, structural assessment, permits, property permission, or installation.
Measure the mounting area before ordering, keep a photograph of the surface, and decide who is qualified to make the final attachment. Then configure the custom printed banner around the space the site can safely support.
Frequently Asked Questions
Measure the banner and usable area, identify the surface, select hardware rated for that surface and expected load, and follow the property owner's and hardware maker's instructions. Attach every available grommet before adding tension. Use qualified help for work at height, masonry, public areas, or any structure you cannot confidently assess.
Use attachments compatible with the fence and outdoor exposure, then connect the banner through every available grommet without leaving loose corners. Confirm that the fence owner allows the installation and that the fence can take the expected load. A public fence, damaged fence, or uncertain structure calls for permission and qualified help.
Use a masonry fastening system selected for the actual wall material and load, following its maker's instructions. Check for utilities and obtain property approval before drilling. Masonry condition varies, so use a qualified installer when the substrate, anchor choice, access, or load path is uncertain.
Tighten it only enough to remove obvious sag while keeping the grommets and hem flat. Add tension in small, balanced steps around the perimeter instead of pulling one corner fully tight. Stop if a grommet tilts, the hem puckers, the mounting surface moves, or the hardware deforms.
It can when both posts, the connecting hardware, and the complete load path are suitable for the banner and site conditions. Do not assume a decorative post is structural. Follow property rules and hardware instructions, keep the area below clear during setup, and seek qualified help when either support is uncertain.
Hems and grommets are included with the custom printed banner configuration. Sizes run from 2 ft × 4 ft through 10 ft × 20 ft, or any custom size. Mounting hardware and installation are separate site decisions because the correct hardware depends on the surface, structure, exposure, and property rules.
A 6 ft × 3 ft single-sided 13oz Standard Custom Printed Banner is $133.00. Production is 3 business days after artwork approval, and shipping is a flat $10 to any US address.
Related Articles
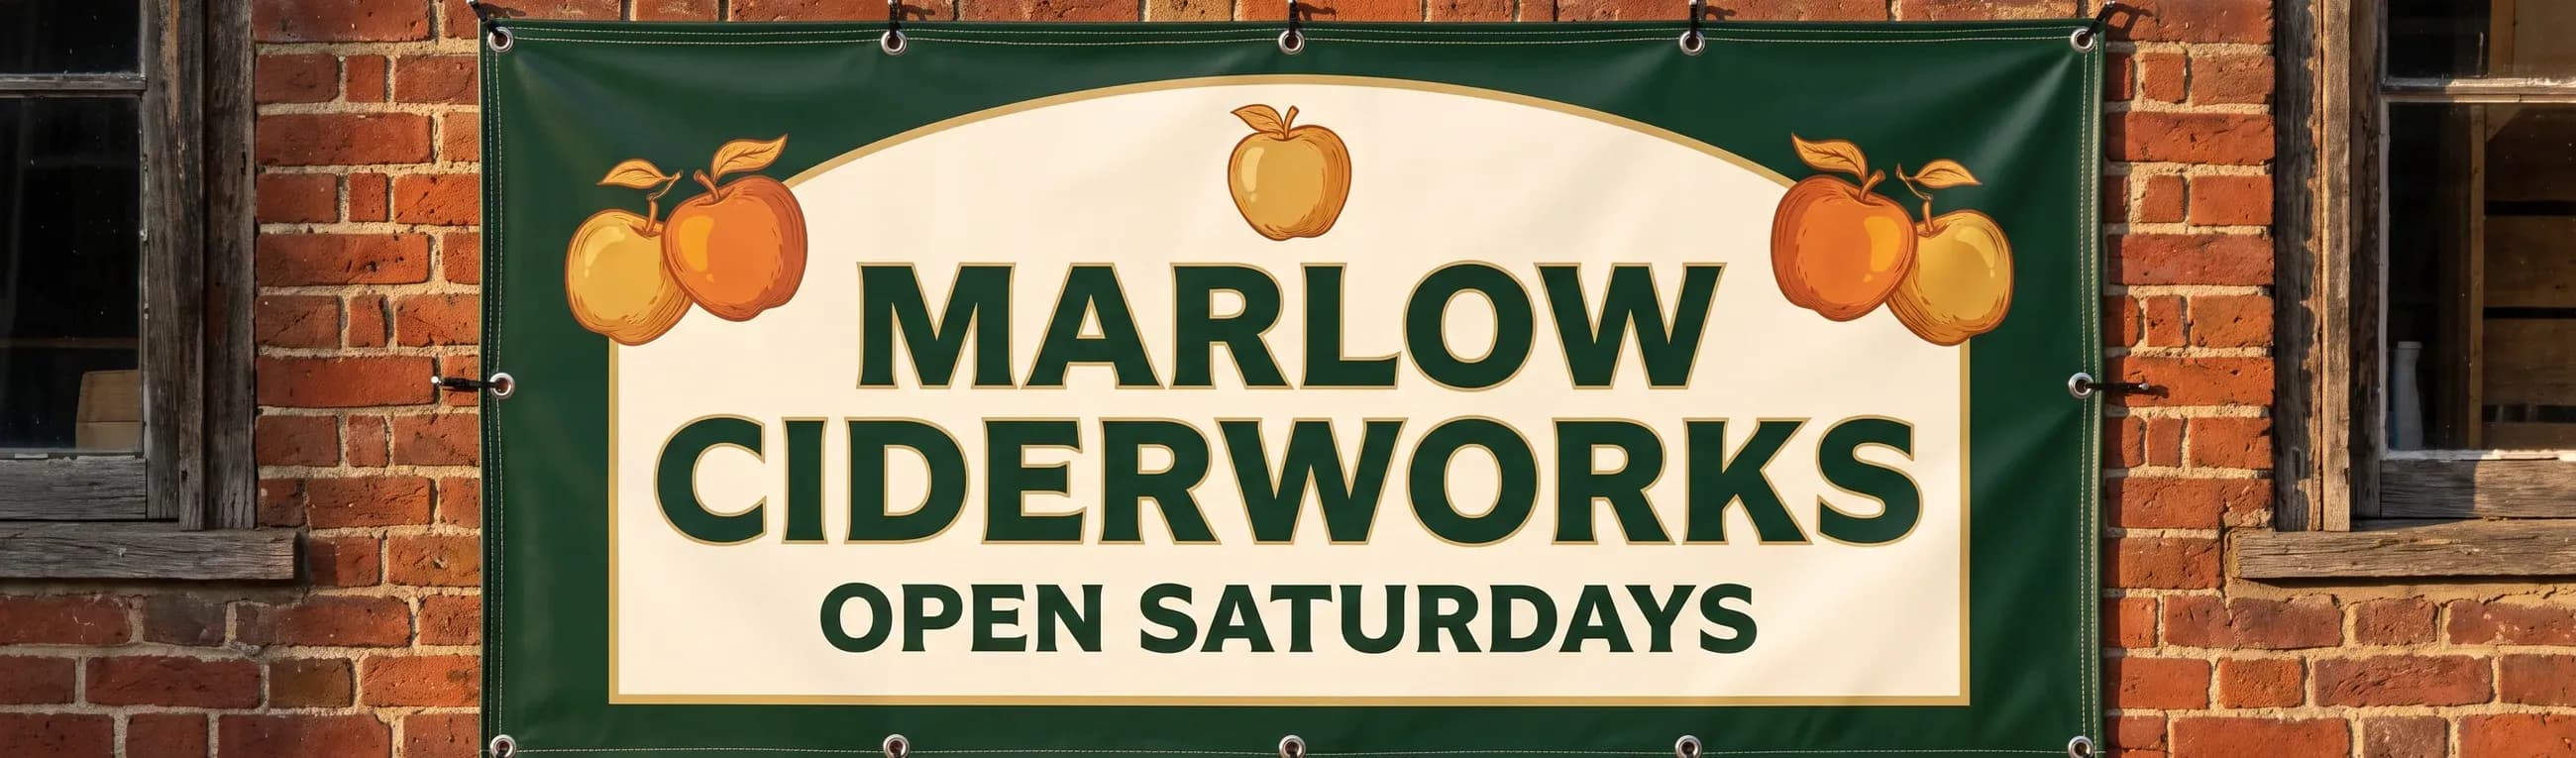
Banner Sizes: 2x4, 3x6, 4x8, 6x10 Feet and Letter Height
Standard banner sizes are 2 x 4, 3 x 6, 4 x 8 and 6 x 10 feet. Get the letter height rule, hem [...]
Read More: Banner Sizes: 2x4, 3x6, 4x8, 6x10 Feet and Letter Height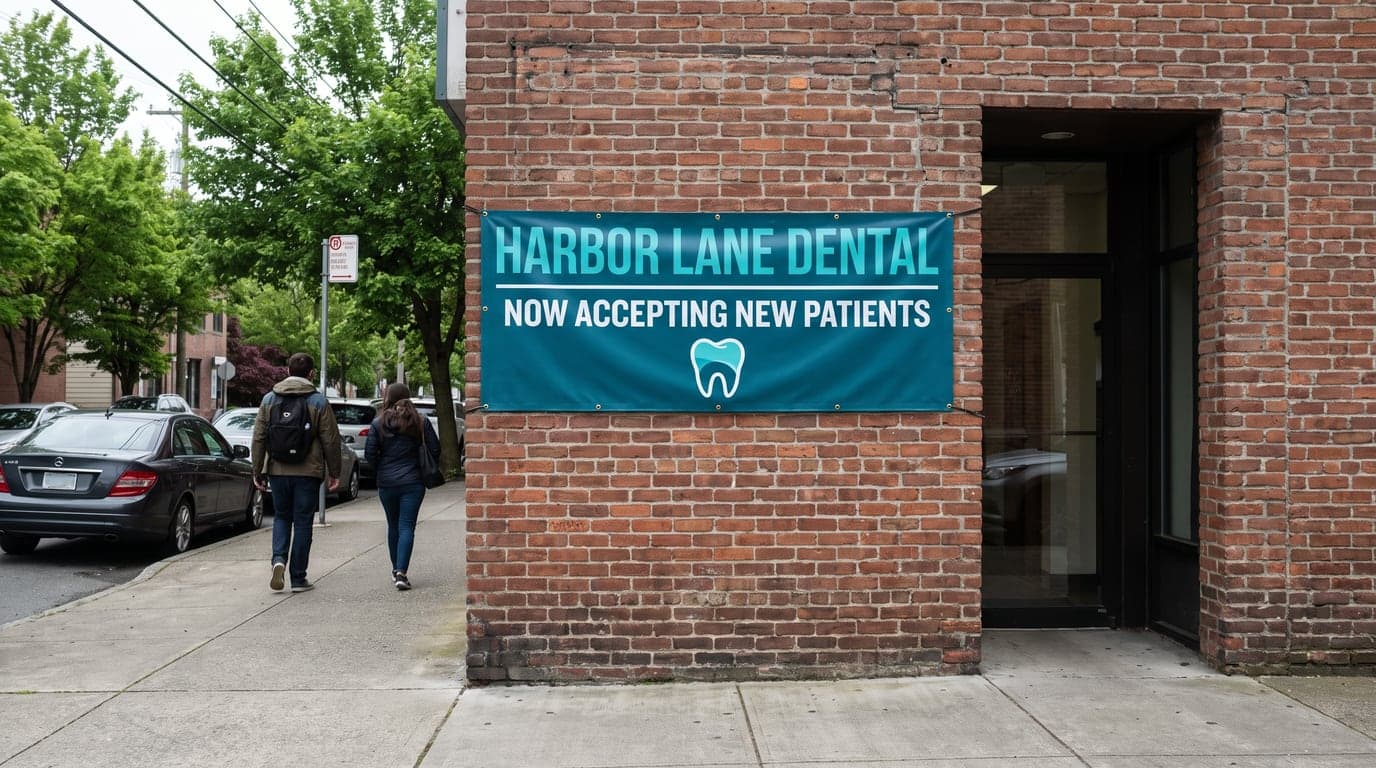
Top 7 Advantages of Banner Advertising for Business
The 7 advantages of banner advertising are visibility, flexible sizing, weather-resistant [...]
Read More: Top 7 Advantages of Banner Advertising for Business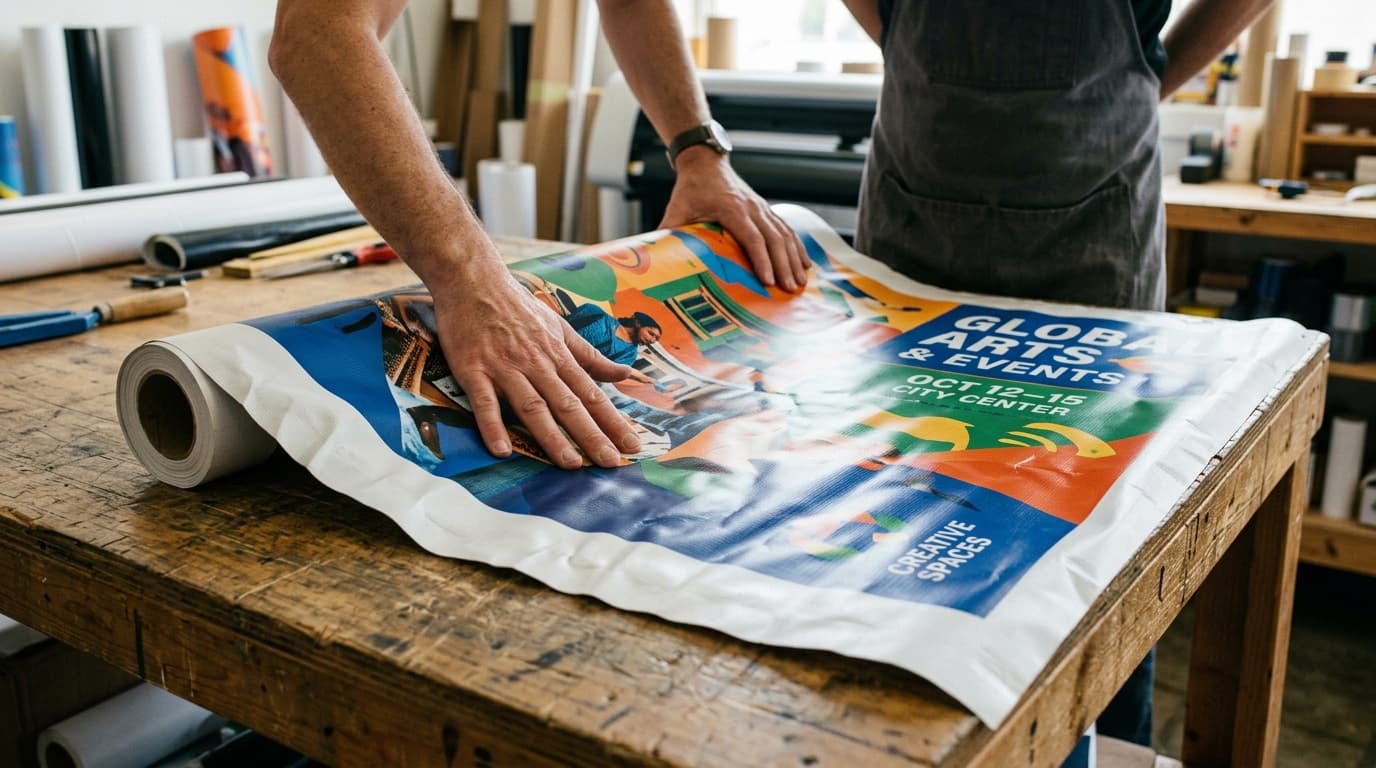
How to Get Wrinkles Out of a Vinyl Banner: 4 Safe Methods
Start with gentle, even tension for 1 to 3 hours. Learn when mild heat may be appropriate, what [...]
Read More: How to Get Wrinkles Out of a Vinyl Banner: 4 Safe Methods
Single vs Double-Sided Banners: Cost, Uses and Specs
Double-sided banners use 18oz vinyl and cost about 60 percent more than single-sided. Compare [...]
Read More: Single vs Double-Sided Banners: Cost, Uses and Specs